This section describes how to customize the Internet Booking Engine (IBE).
Frontdesk Anywhere offers real-time commissionless online bookings on their website through IBE (Internet Booking Engine). Configuring the booking engine is fast, simple and user friendly. IBE 3.5 offers a wide variety of customizations, allowing you to configure its style to complement your website. Rooms can be sold online with multiple pictures, promotion codes and up-sell items.
Your account’s booking engine can be accessed using the below URL:
https://bookings.frontdeskanywhere.net/#account/XXXXXXXX
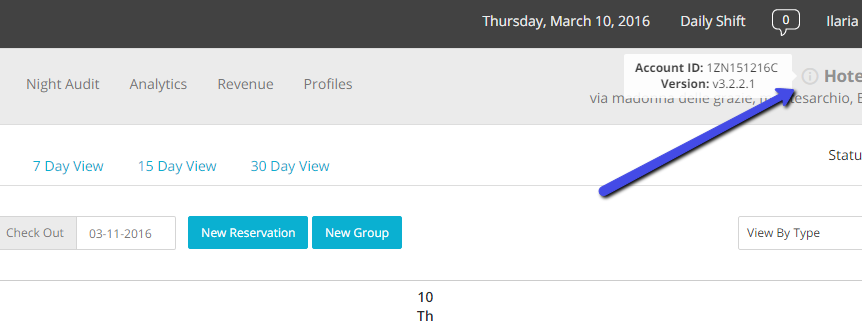
Replace XXXXXXX with your Frontdesk Anywhere account number. You can find this number on the Frontdesk homepage, right next to your property’s name:
This guide covers the set-up of IBE 3.5 and selling POS products on your website.
IBE Customization
In order to configure and personalize your IBE, you will need to have access to the Admin Settings control panel in your Frontdesk Anywhere account.
You will see a full list of links dedicated to IBE:
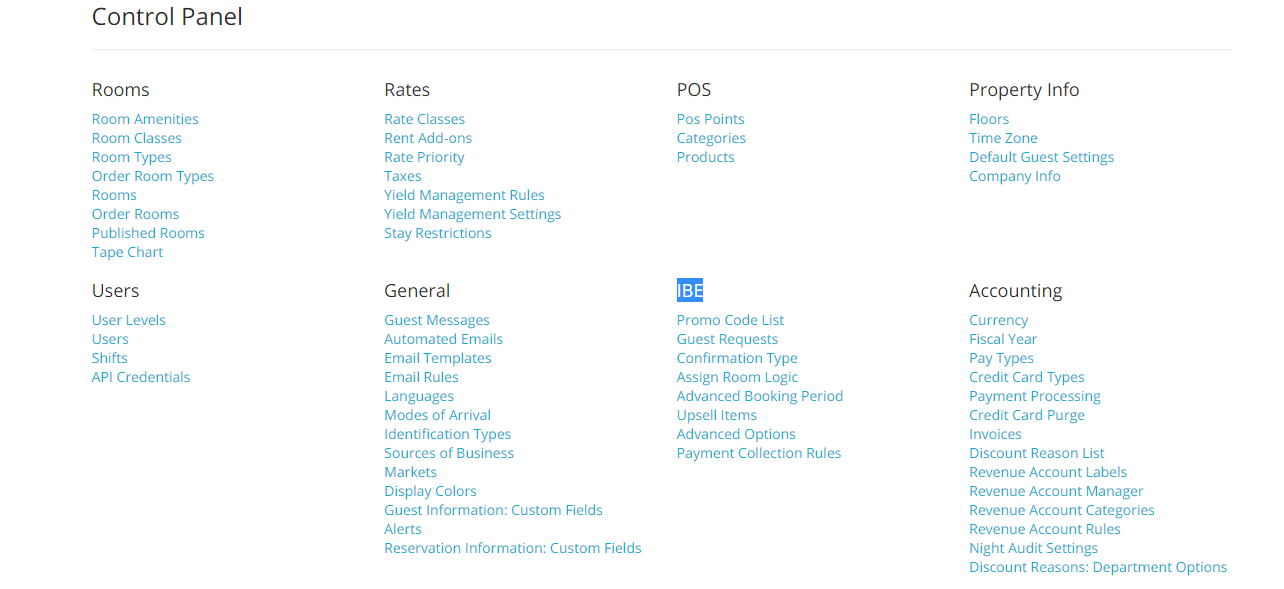
Here you will find a list of the main settings that need to be configured in order to begin using the Frontdesk Anywhere booking engine.
IBE allows you to create special promotions that will only be visible to certain customers. For example, you may want to create a special rate valid only for returning customers: giving them a promo code will enable these guests to access a discounted or specific negotiated rates.
Note: We recommend to use Promo Codes for those promotional rates available all year long. Promo codes are accessible if the stay dates coincide with the booking window. In other words, it is currently not possible to book for future dates by using a promo code
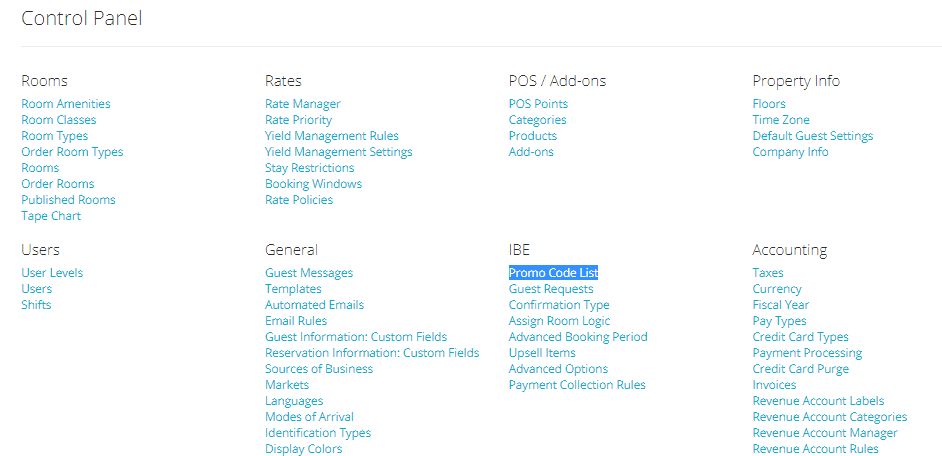
- In the click on the lnk Promo Codes List under section IBE:
- Click on the button Add Promo Code :

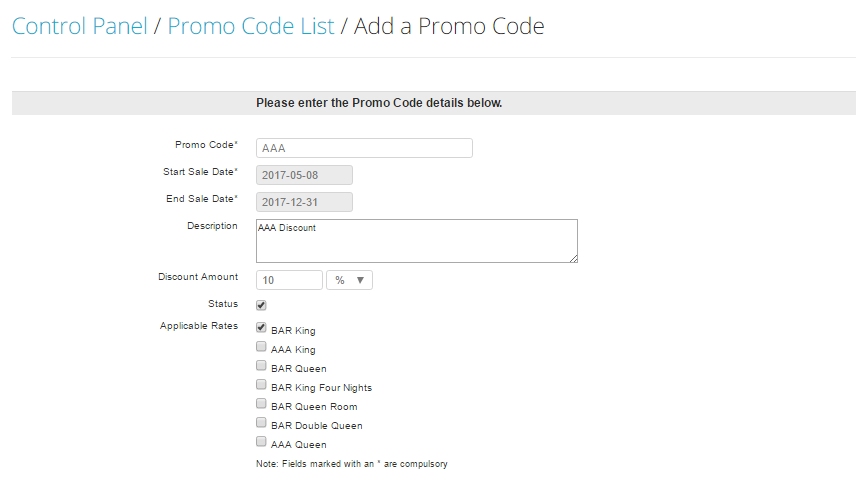
- Type in the Promo Code in the first textbox: this will be the code you will give out to guests. Enter the booking dates where the promo is going to be available. As mentioned above, make sure the starting date for the pormo code is the current day. Also, place a small description.
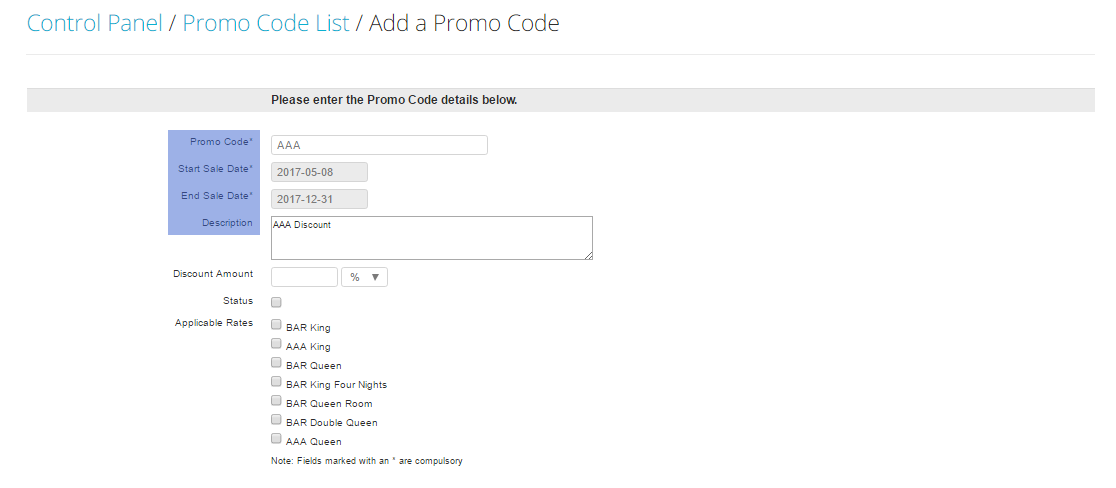
- Enter the discount amount in the box Discount Amount and select from the drop down menu whether the amount should be a fixed price (symbol $) or a percentage (symbol %). Make sure the checkbox next to the tag Status is checked: this is very important as this checkbox activates the Promo Code. You will also need to select to what rate the discount should be applied: simply check the box next to the rate/s:
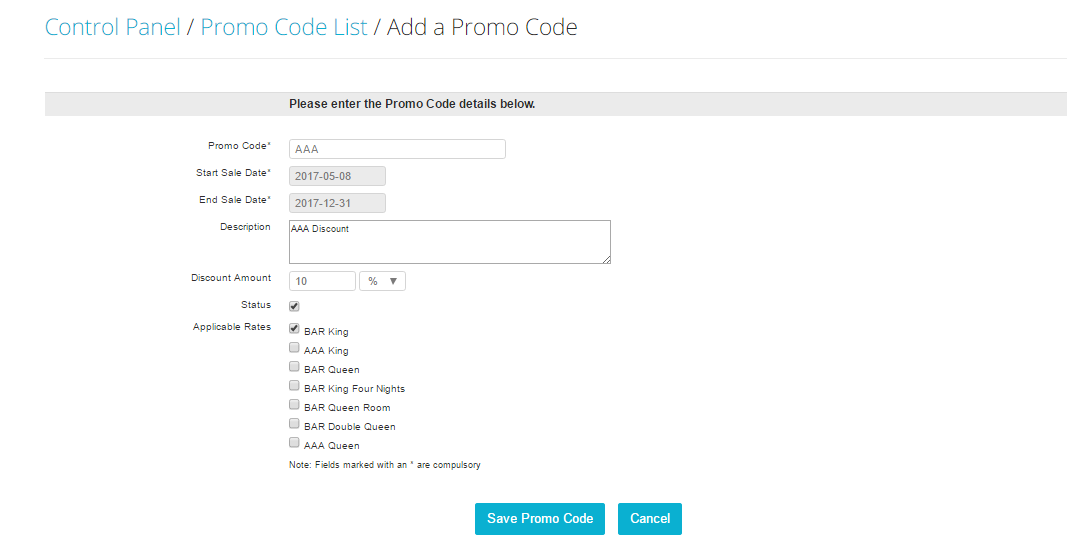
- Click on the blue Save Promo Code button to save your work
Guest Requests
You can set up pre-defined options to offer your guests. These options will conveniently appear at the time the guest finalizes their reservation, and they will be delivered in each folio’s Comment box.
- Click on the link Guest Requests under section IBE:

- Click on the button Add Special Room Request:

- Type in the special request and click on the button Save Special Room Request:

Confirmation Typeù
IBE gives you the ability to choose whether you want reservations get confirmed as either Email or Credit Card. With either selection the email is required but you can choose to omit the requirement of providing a credit card so the guest is not charged immediately.
- To choose your online reservation confirmation type, click on the link Confirmation Type in the Admin Settings, under sectionIBE:
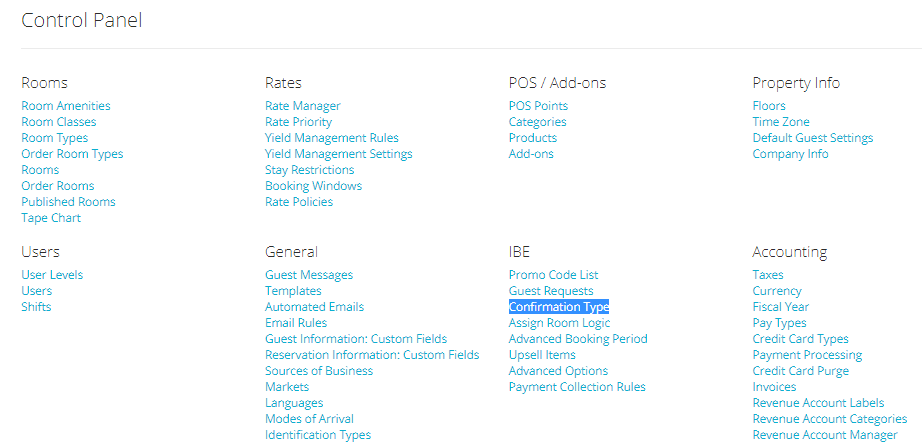
- Select your choice using the scroll down menu, and when finished, click on the blue button Save Changes:

Assign Room Logic
You can choose if and how you want to assign rooms for reservations coming from your IBE.
- In the Admin Settings, click on the link Assign Room Logic:
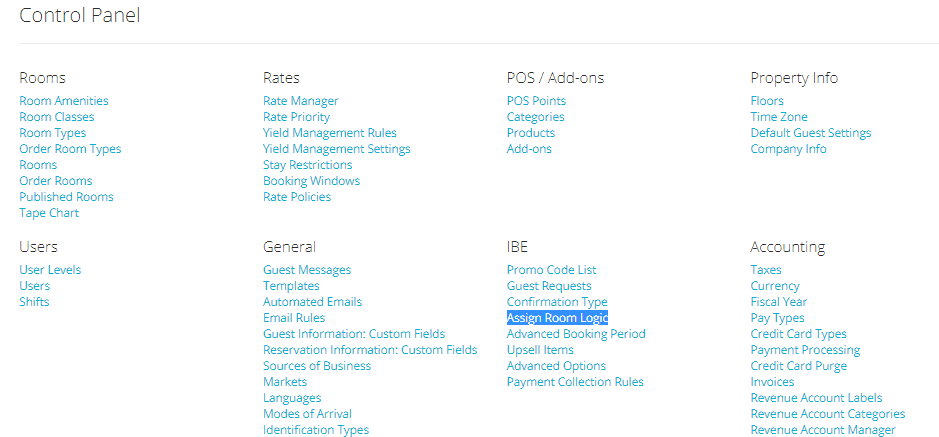
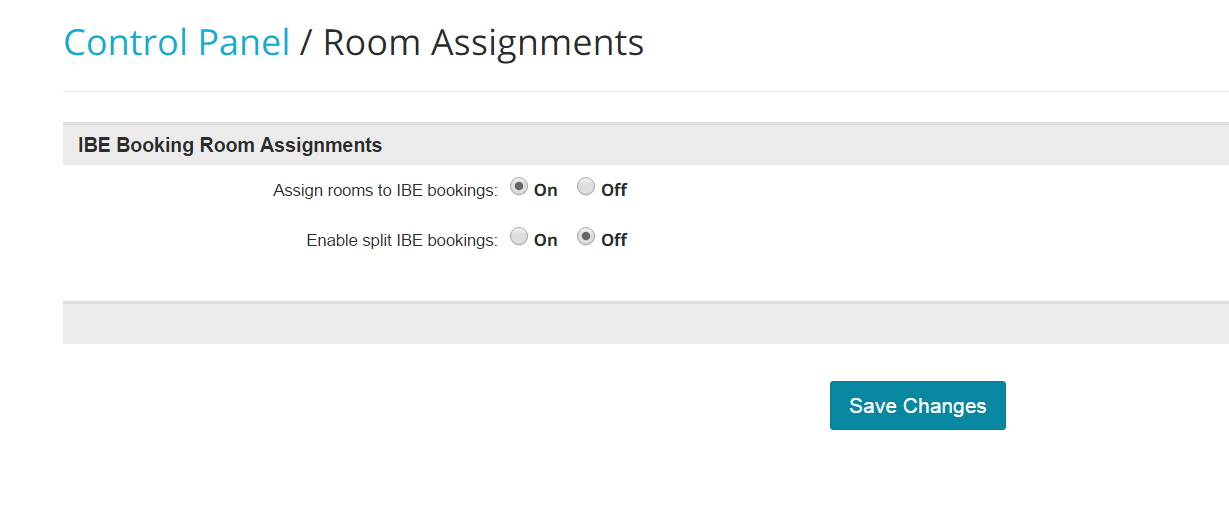
You will see different option:
Assign Rooms to IBE Bookings: if this option is turned on (ON), the system will automatically assign rooms to incoming reservations. If the option is turned off (OFF), all bookings will come in Unassigned status.
Note: Unassign bookings are not overbookings. An Unassign booking is a booking that does not have any room assigned to it, yet.
Enable Split IBE Bookings: if one single room is not available for the entire reservation duration, but some other room is, the option ON will split the reservation into whatever rooms are available. Disabling this feature (OFF) will prevent splits, but will also prevent bookings even though there may still be availability at the property across rooms.
Click on the button Save Changes once all selection has been made:
Advanced Booking Period
You can configure how many months in advance you want your inventory to be available online for sale.
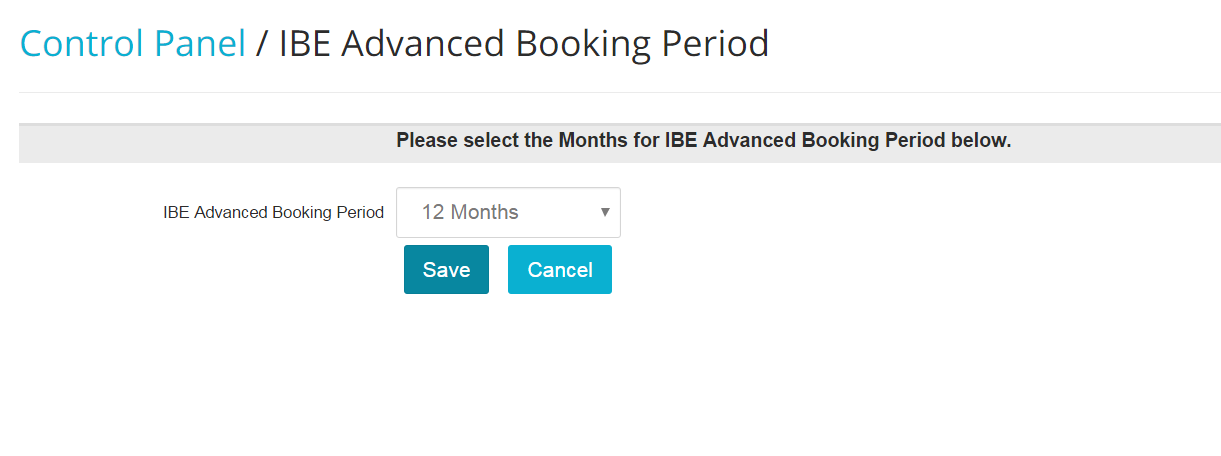
- Click on the link Advanced Booking Period under section IBE:
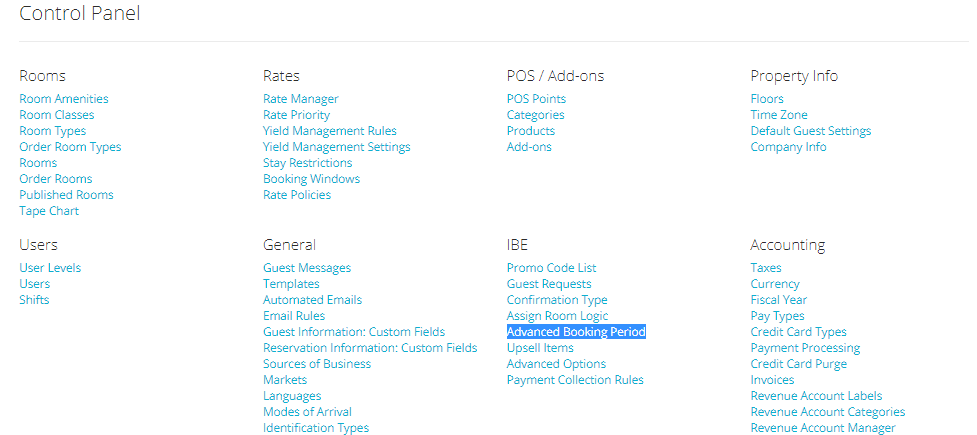
- Choose your selection from the scroll down menu. Values between 2 and 36 months are allowed. When finished, click on the button Save.
Upsell Items
You can sell any active POS item on your IBE. Items will appear on the guest’s confirmation email, and they will appear in each folio, under the POS section.
You can also add pictures to be uploaded for each POS item. This is a great way to illustrate what’s on offer and incentivize the guest to purchase.
Before starting, click here to learn how to set up your POS items.
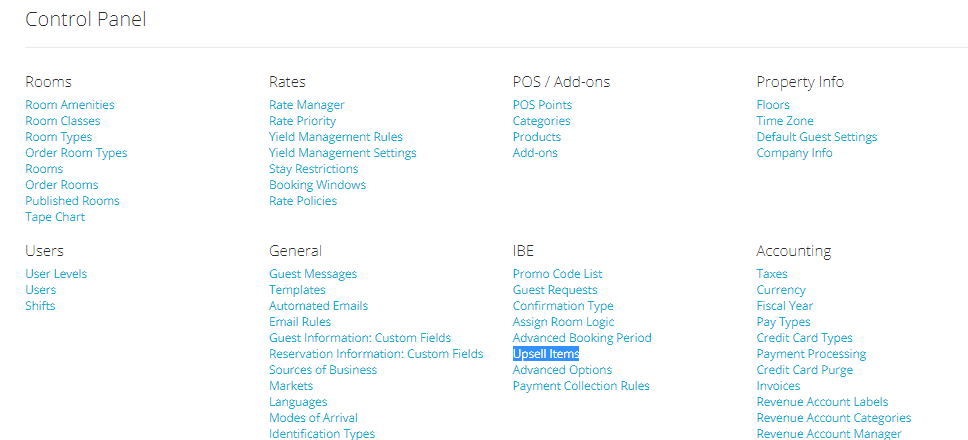
- To add POS items to your IBE, click on the link Upsell Items:
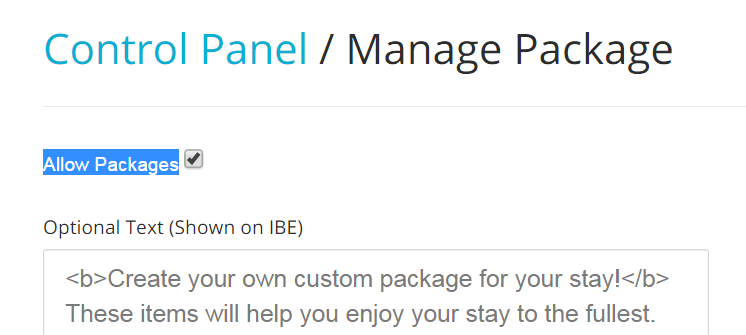
- Click on the check-box Allow Packages to enable upselling extra items on IBE:
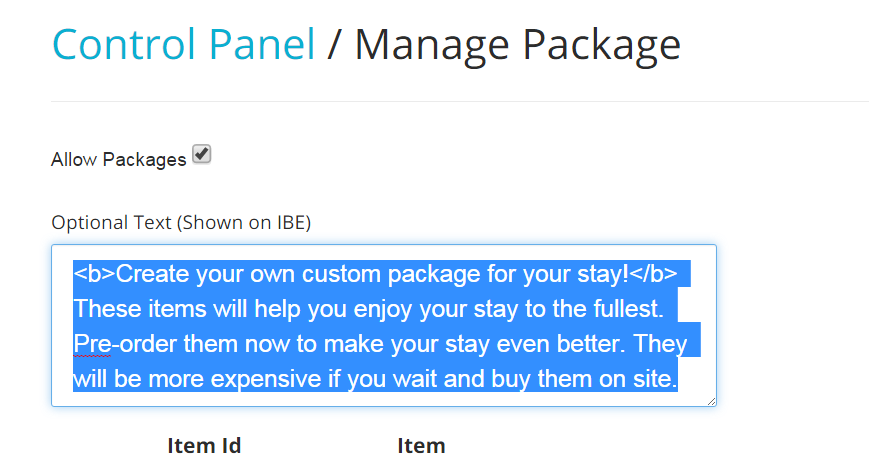
- You can amend the text that will be shown on IBE in the Upsell Items section, when a guest is reserving their room:
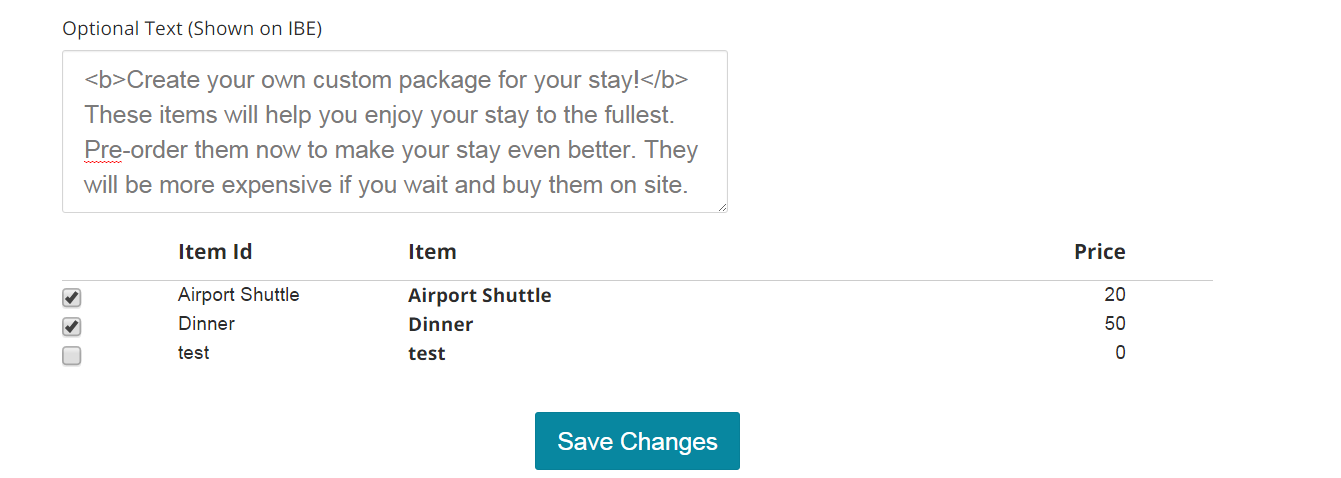
- Check the box next to the item you want to offer on IBE, and when finished, click on the blue button Save Changes.
Advanced Options
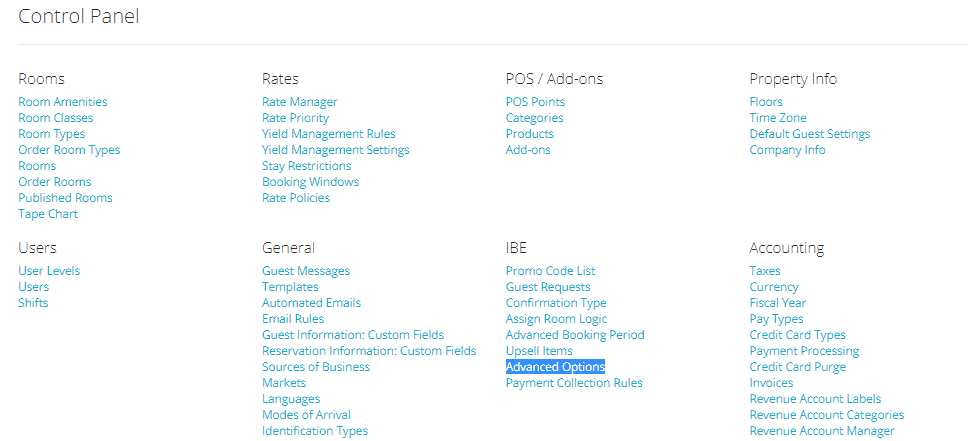
There are many different advanced options that may be configured for IBE! Click on the link Advanced Options under section IBE:
Background Image: Upload an image to use as the background for IBE (JPEG only). Click on the button Choose File to browse one from your PC.
Background Image Options: Decide whether to display the background image only on the first page of IBE or throughout the whole booking process (default is first page only).

Promo Code Field: You can make the Promo Code field dynamic, meanining that IBE can display that field only if there is anactive promo code in your account.
Google Analytics ID: Use this to add in your Google Analytics ID to enable Google Analytics tracking on IBE. Click on the word here to have more information about Google Analytics:

Button Color: Choose the color for IBE buttons as well as for the IBE calendar. Customers usually match or find a complementary color to their logo color.
Payment Collection Rules
Payment Collection Rules only work if you have already a payment gateway setup active for IBE. The confirmation type for IBE also must be set to Credit Card.
The Payment Collection Rules are used to automatically charge your guests when they finalize their reservations.
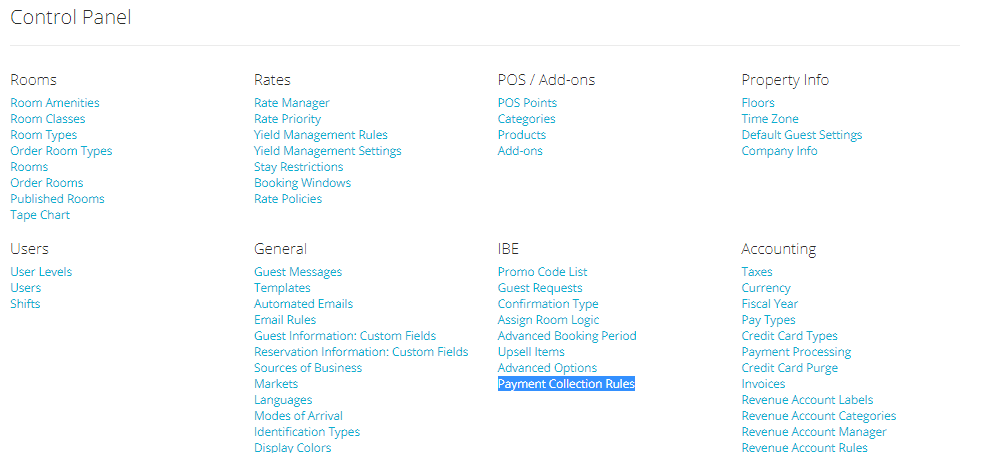
- Click on the link Payment Collection Rules under section IBE:
- Click on the button Add Payment Collection Rule:
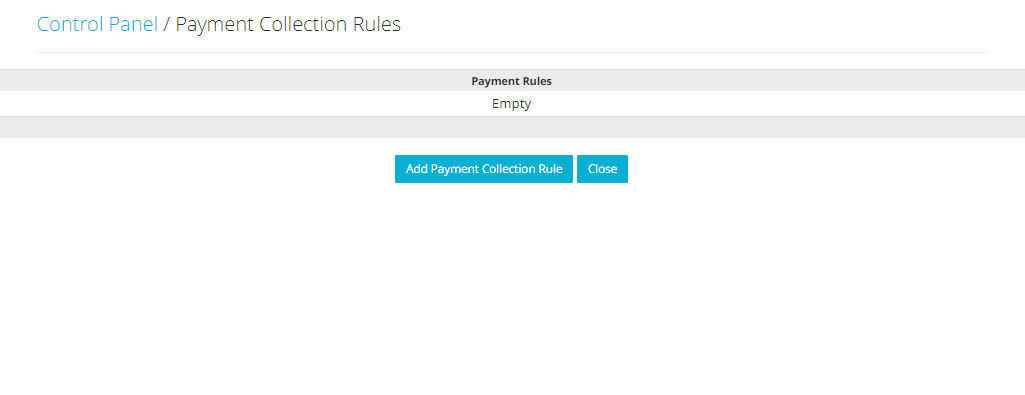
-Payment Collection Rules are configured on rate level: from the scroll down menu, choose what rate needs to be linked to the Rule you are creating:

- Choose your option from the ones available on the screen. Here is a breakdown:
Collect First Night Rent: choose this option if you want to charge your guests only on the price of the first night of their booking. You will need to specify either a percentage or an amount: the latter will be calculated on the first night rent only:

Collect Sum of Entire Stay: this option will have the system charge the guest a specific percentage which is calculated on the sum of their entire stay.

Collect Higher Amount From Options Above: selecting this option will have the system charge whichever total amount is higher among the options defined before. Hence, if you choose to go for this option, make sure the previous two are defined.

Authorize Only: If you do not want to charge your guests, bu you only want to authorize theirt card, then you will need to choose this option. This comes handy if your only goal is to make sure that the guest is using a valid credit card for their booking. The authorization that will be processed is of $1.00 and it will not be charged on your guest’s bill or credit card bill.

- You will also need to choose the time period within which the rule will remain active as well as create multiple rules. For example, you may wish to create one rule which collects 100% of the entire stay that is enforced only if the arrival date is within one week of the booking date, and a second rule which simply authorizes the card for bookings farther than a week away.
Note: Payment Collection rules are only checked once at the time the booking is made.
- Make sure to click on the green Save button on the right side of the rule to save your work. After saving a rule, you will be able to add another one. Becareful not to configure conflicting Payment Collection Rules for the same rate:

Other Options
Additional settings that are used by IBE can be found in other areas of the Admin Settings.
Logo (under section Property Info). In order to create the best appearance, you should upload a company logo for IBE.
Important: Any logo used should have a white background color and be in JPEG format.
Room Types Pictures section Rooms. You may add as many images to IBE as you like, and they will display in a gallery. This is a great new feature to allow guests to get the full picture of the room they will be staying at. Simply add 3 pictures at a time, save and then add more. The preferred image type is JPEG.
You may also change the Room Alias. The default is ‘room’, but other options can be ‘bed’ or ‘site’ for hostels and campgrounds respectively. IBE will replace the word ‘room’ with the chosen room alias in IBE. Be aware that the title, description, max occupancy, default occupancy, and selected amenities are all displayed by IBE.
Stay Restrictions http://docs.frontdeskanywhere.net.s3-website-us-west-1.amazonaws.com/build/stay_restrictions.html. Set special restrictions for IBE.
Published Rooms: (section Rooms). You can check how to hide inventory from your online booking engine by clicking here
Guest Messages (under section General) IBE uses three of the guest messages during the booking process.
Invoice message: shown to the guest on the booking page, confirmation page and sent in the confirmation email
Cancellation Policy: shown to the guest on the booking and confirmation pages.
Terms & Conditions: Shown in a separate window that the guest must click on a link to open. Guests must check a box stating they agree to the terms prior to the booking being made.
Tags: