The General section of your Frontdesk Anywhere helps you personalize your account, set up hotel messages and configure automatic emails. You will also be able to decide which fields are to be mandatory in any reservation folio, and if necessary you will be given the option to create new ones.
Languages
Frontdesk Anywhere comes with a few optional languages that you can set up as default for both your OBE and your PMS.
- In the Admin Settings click on the link Languages under section General:
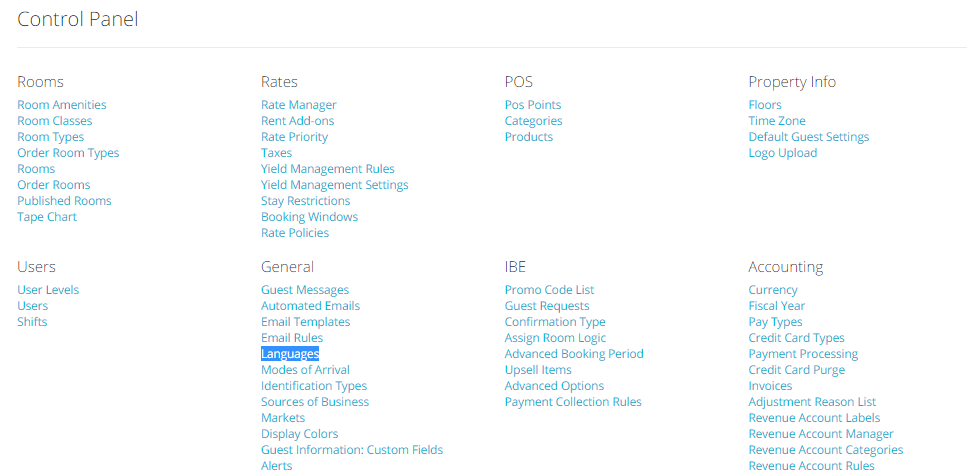
- You will see that English, Spanish and French are already loaded in the system: you can select which of these you want to have as default for your Online Booking Engine and for your system by checking the relevant boxes:

- You can also add different languages for some of the items in the system; to do this, click on the blue button Add a Language and fill in all the fields with the appropriate translation:
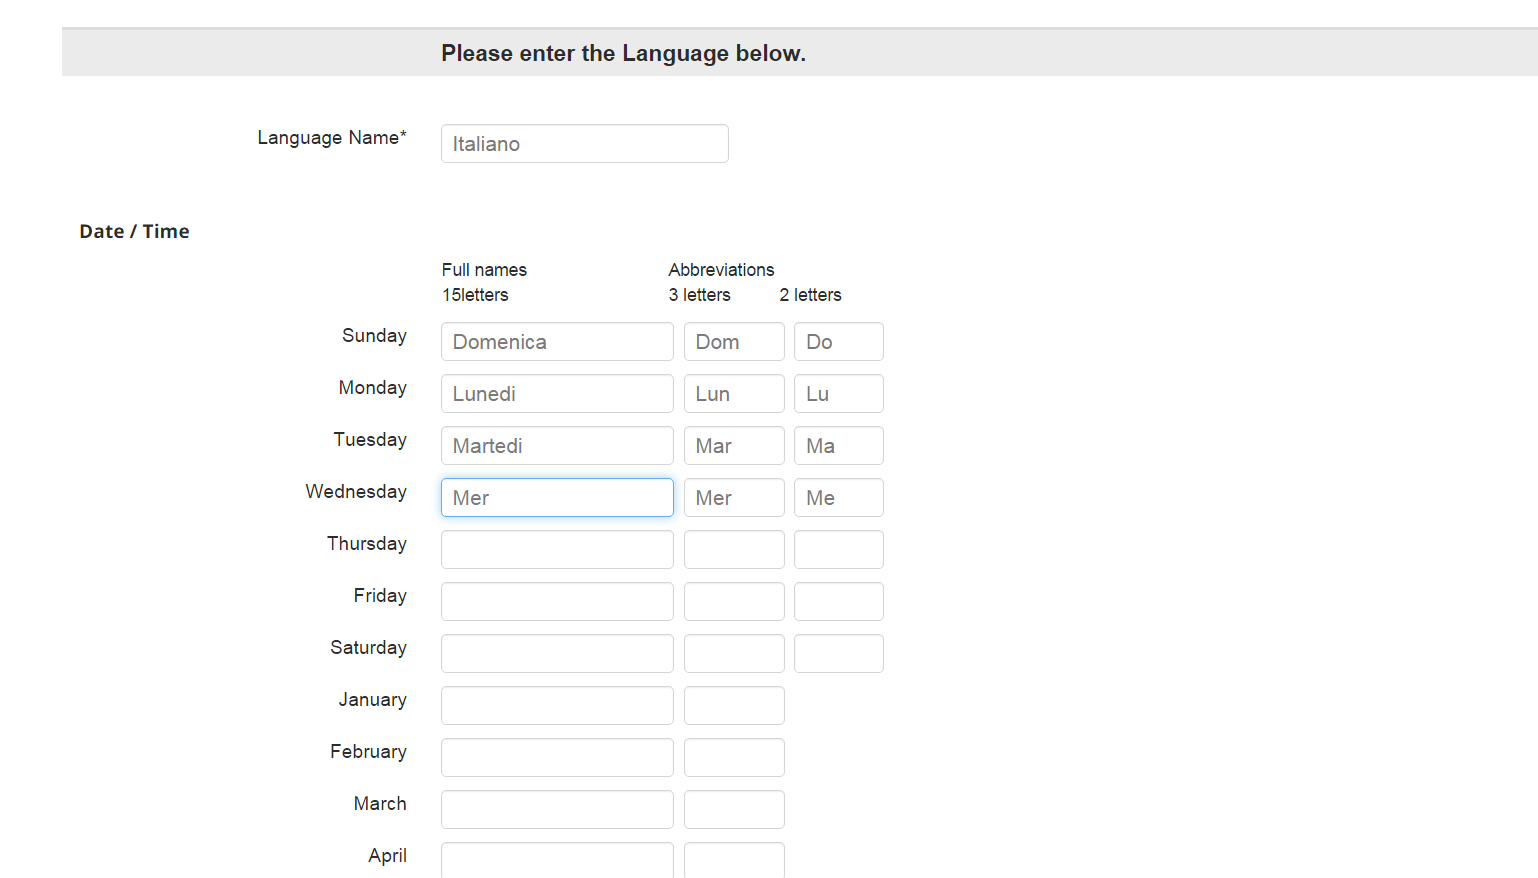
- When finished, click on the blue button Save Language at the bottom of the page:

Note: Making a certain language the default one does not mean that all users will have the same language upon log-in. Each user can choose a different language for the same account and they can set this up on the _Preferences_ area:

Setting up a default language only means that all new users will see the system in that language upon their first log-in.
Modes Of Arrival
Create your guest’s modes of arrival to keep track of how they come to your property!
- In the Admin Settings, click on the link Modes of Arrival under section General:
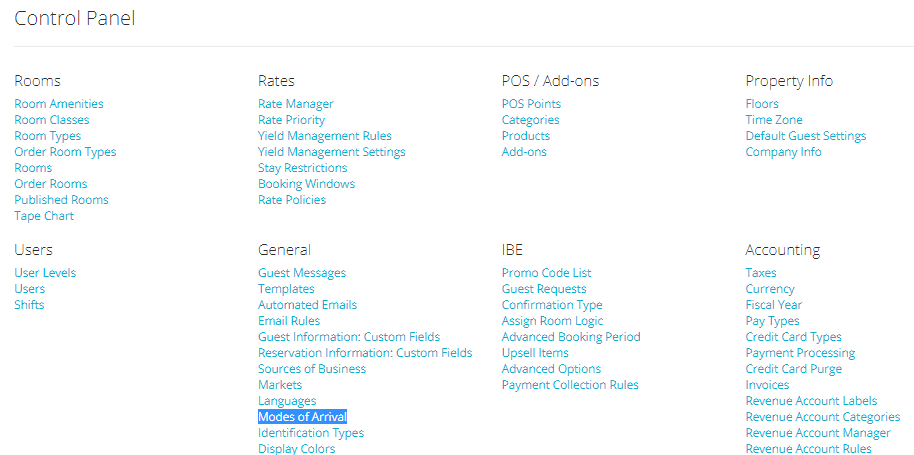
- The system comes with a few Modes of Arrival defaulted in the system:
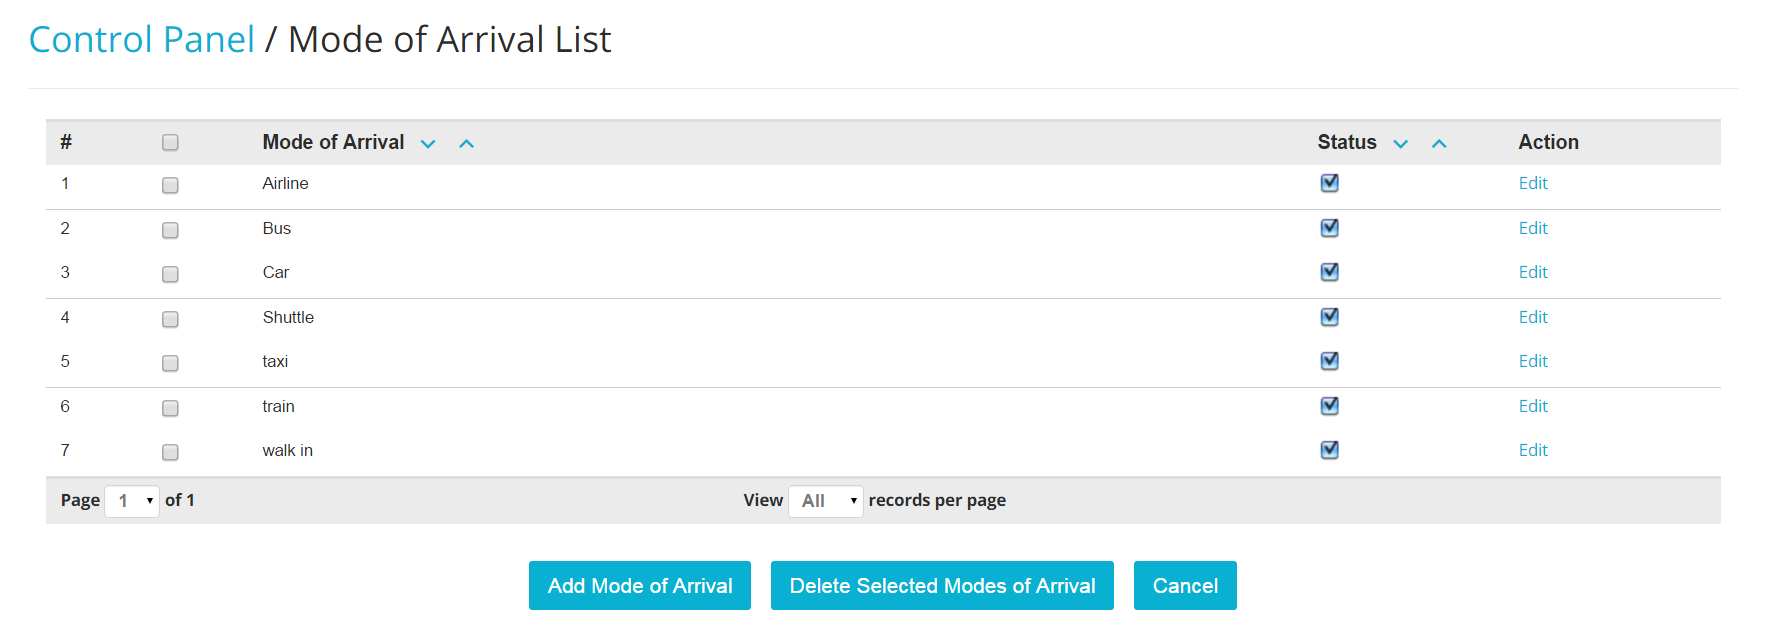
- If some of these arrival modes do not apply to your property, you can either deactivate them by un-checking the box under column Status:
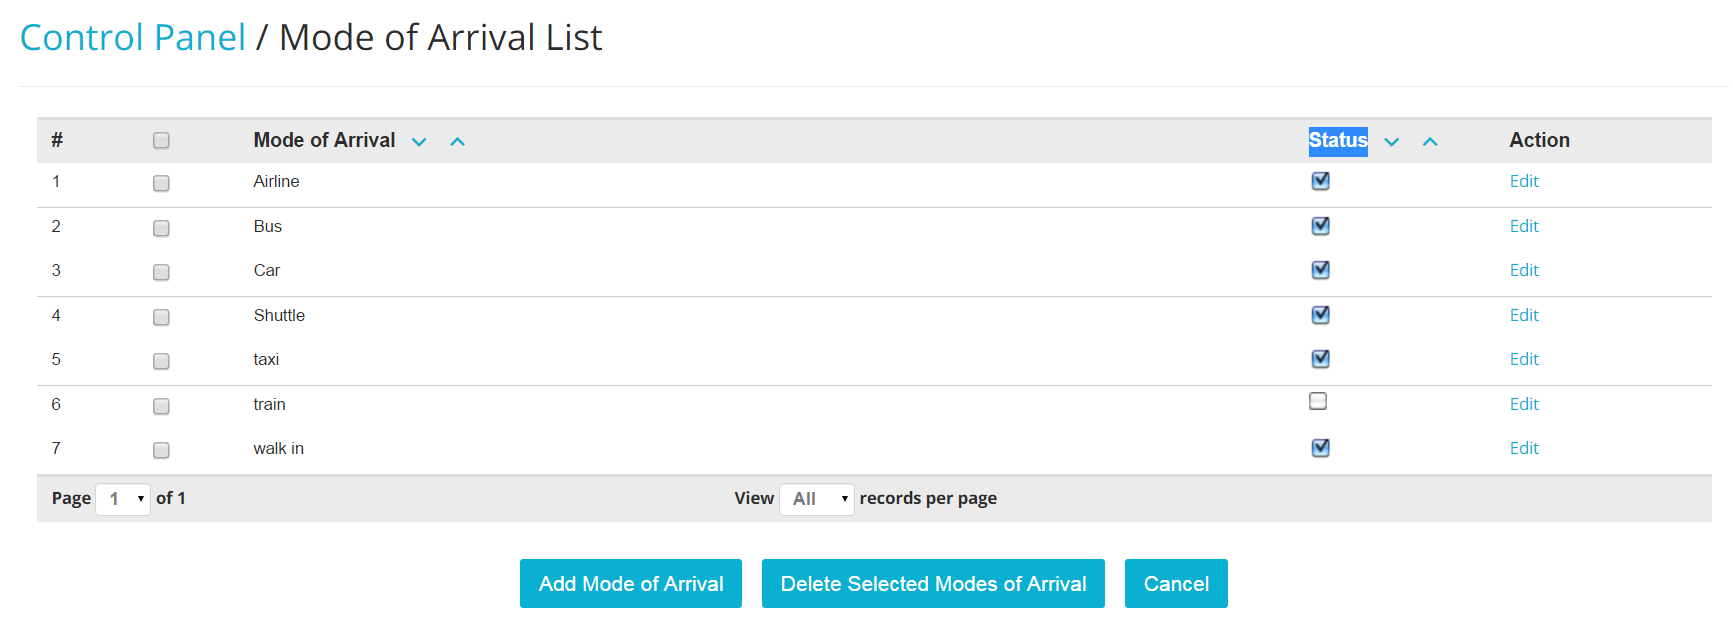
or you can erase them by selecting the check box on the left hand side of any Modes of Arrival, and by clicking on the blue button Delete Selected Modes of Arrival:
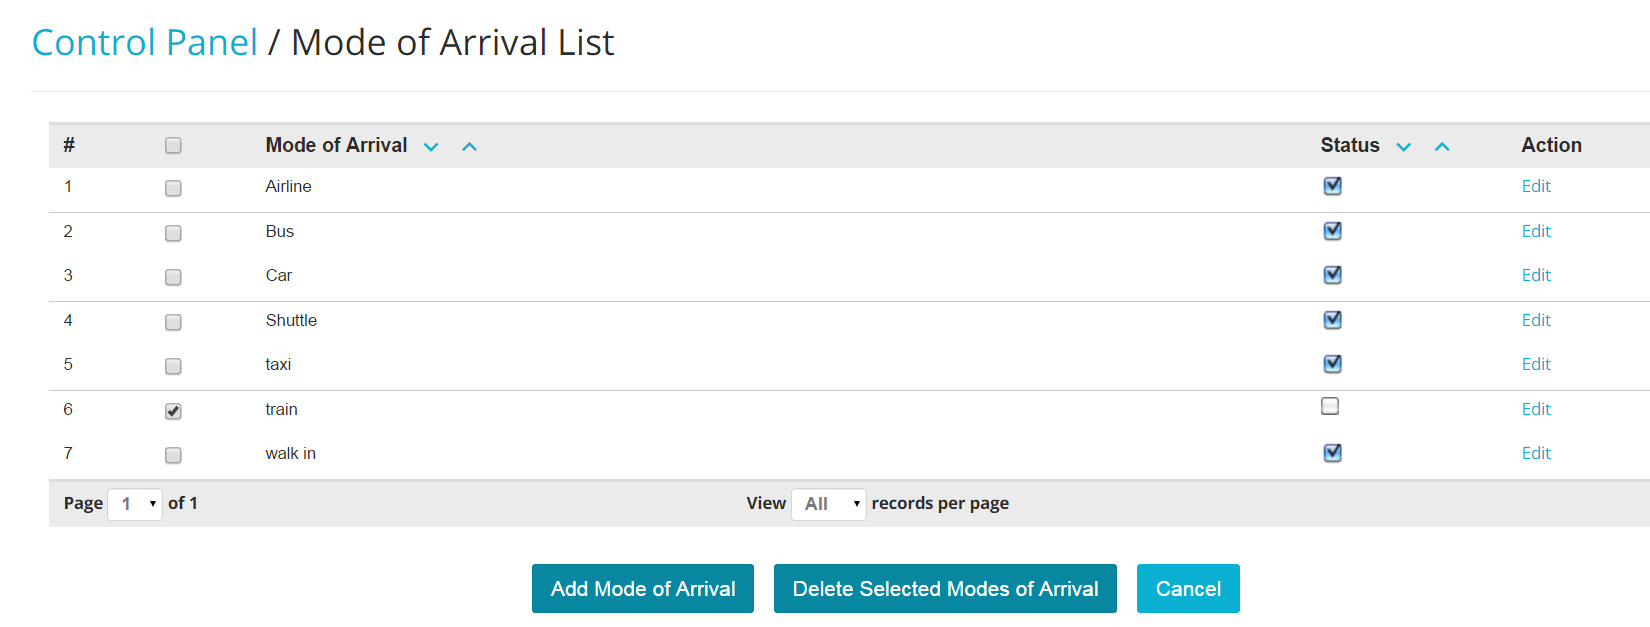
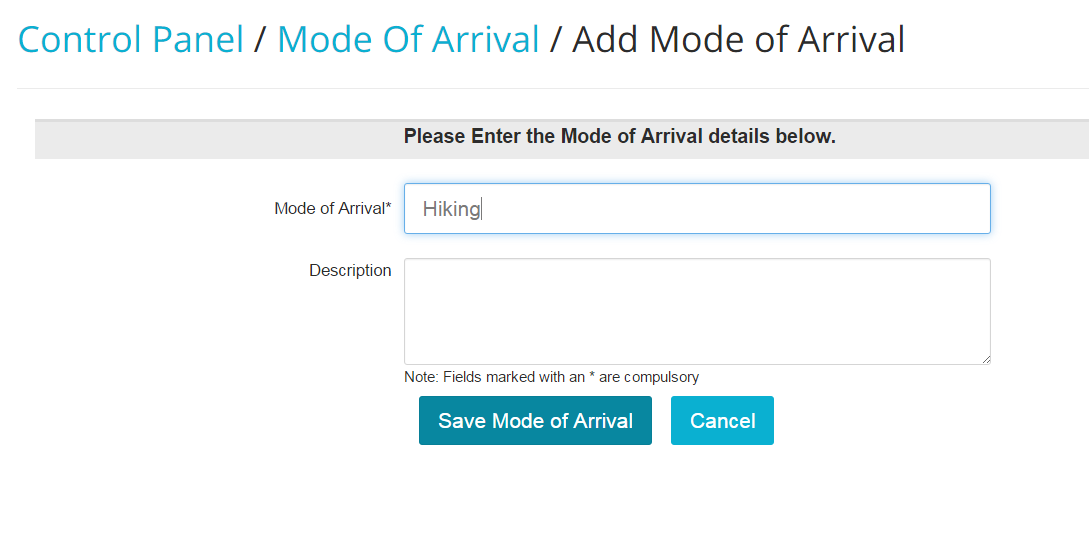
- To create new Modes of Arrival, click on the blue button Add Mode of Arrival:

- Insert the name for the new Mode of Arrival and click on the blue button Save Mode of Arrival:
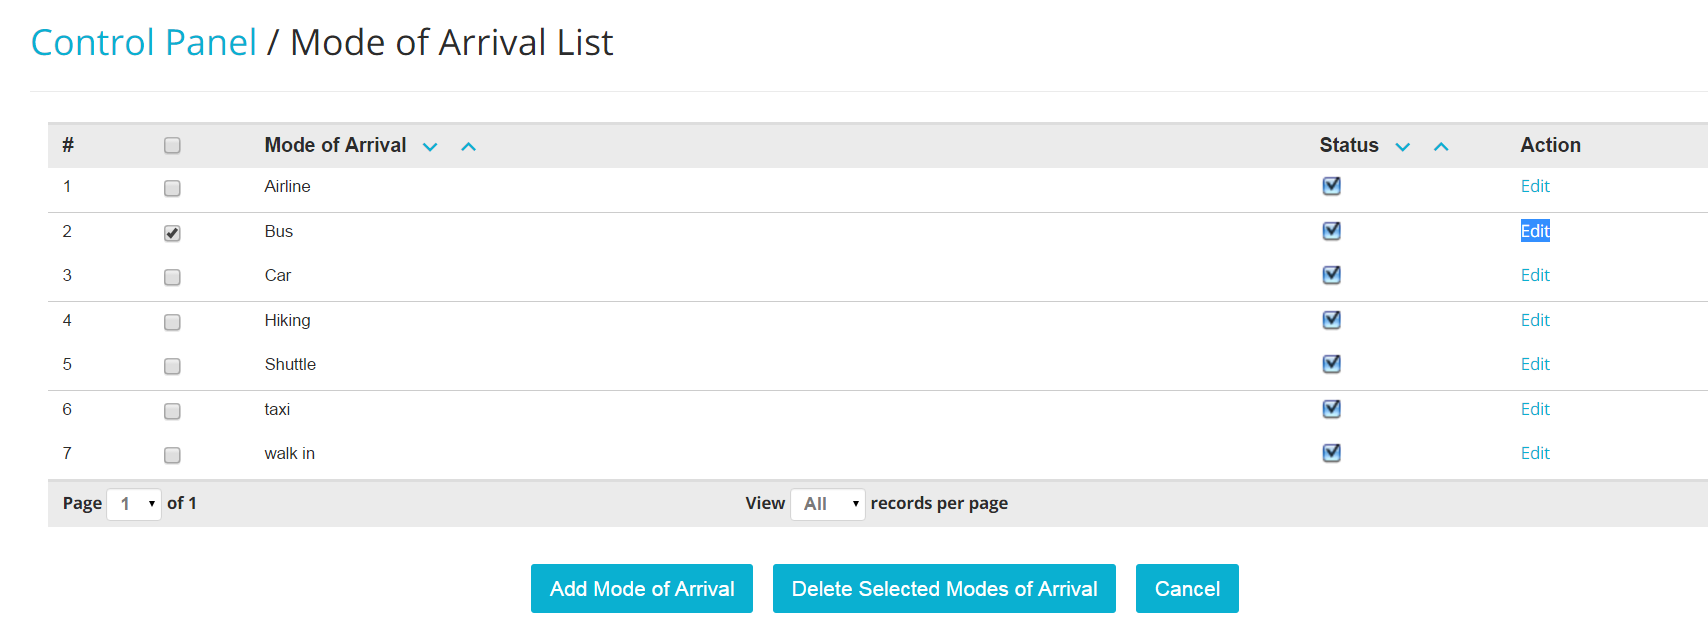
- You can also edit a Mode of Arrival by clicking on the blue link Edit on the right hand side of the Mode of Arrival list:
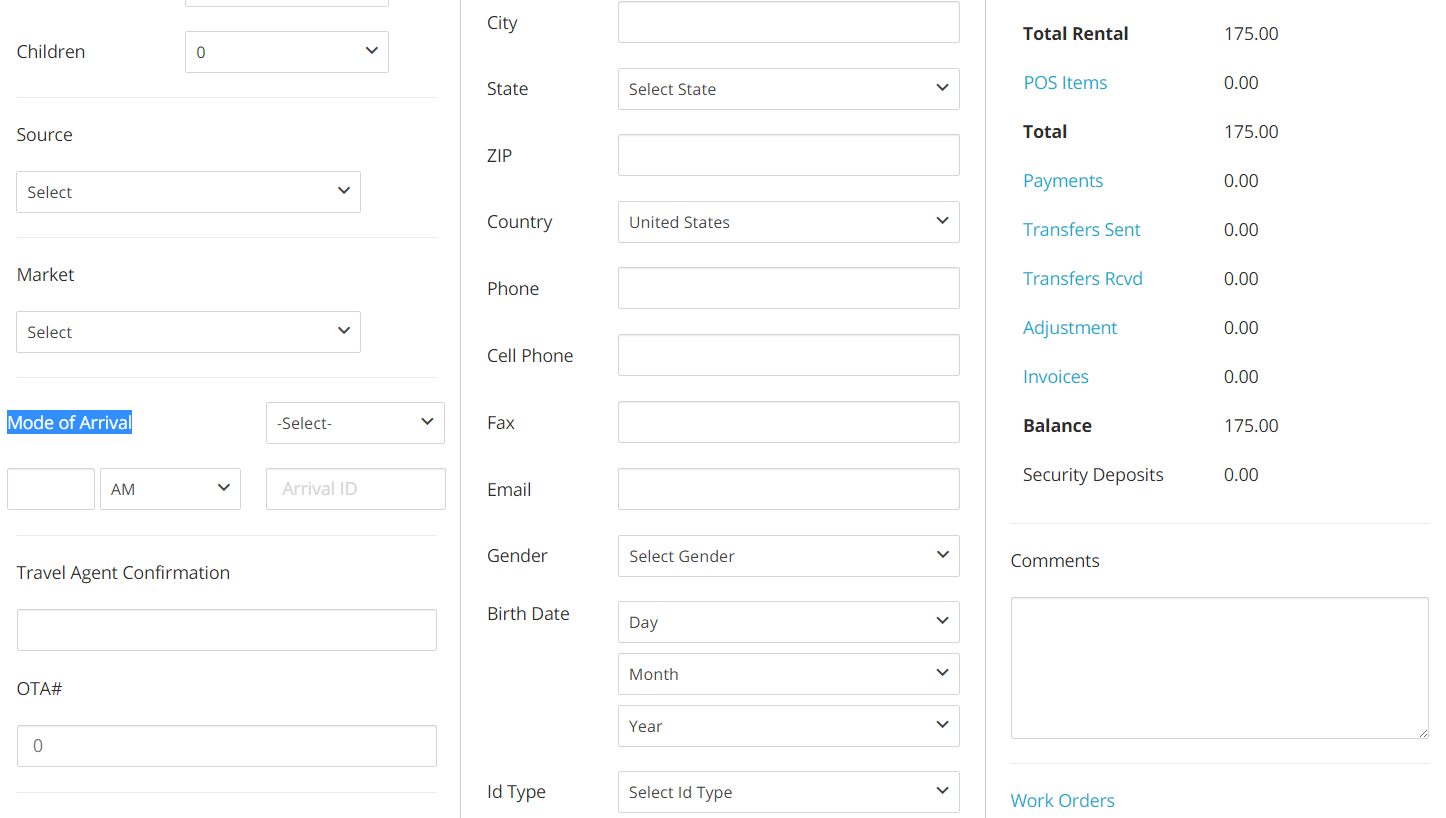
- All Modes of Arrival show up in each reservation folio on the left hand side of the screen:
Identification Type
You configure all the Identification Types that are accepted at your property in a simple click!
- In the Admin Settings, click on the link Identification Types under section General:
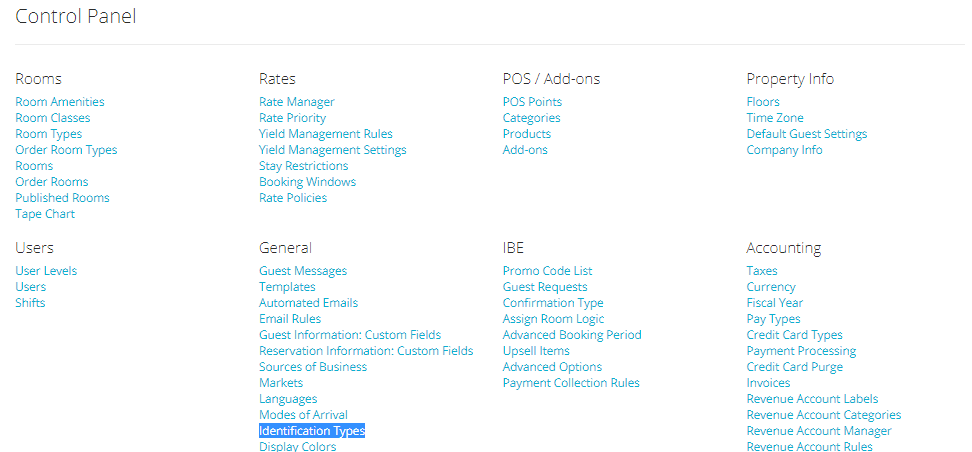
- Your account comes with some defaulted identification types. To create a new identification type, click on the blue button Add Identification Type at the bottom of the page:

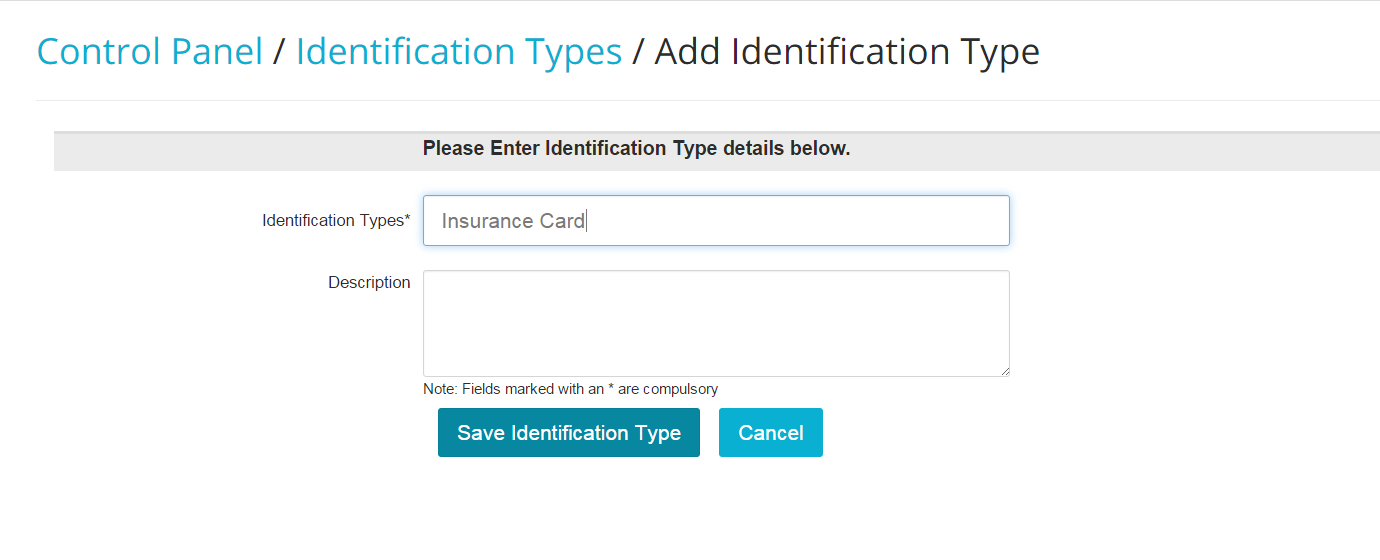
- Insert the name for the new identification type, and click on the blue button Save Identification Type when done:
- To EDIT an Identification Type, click on the blue link Edit on the right hand side of the Identification Types List:

- You can make an existing Identification Type inactive by unchecking the box under the column Status:

- To permanently erase an Identification Type, select it by using the check box on the left hand side of the list and click on the blue button Delete Selected Identification Types:

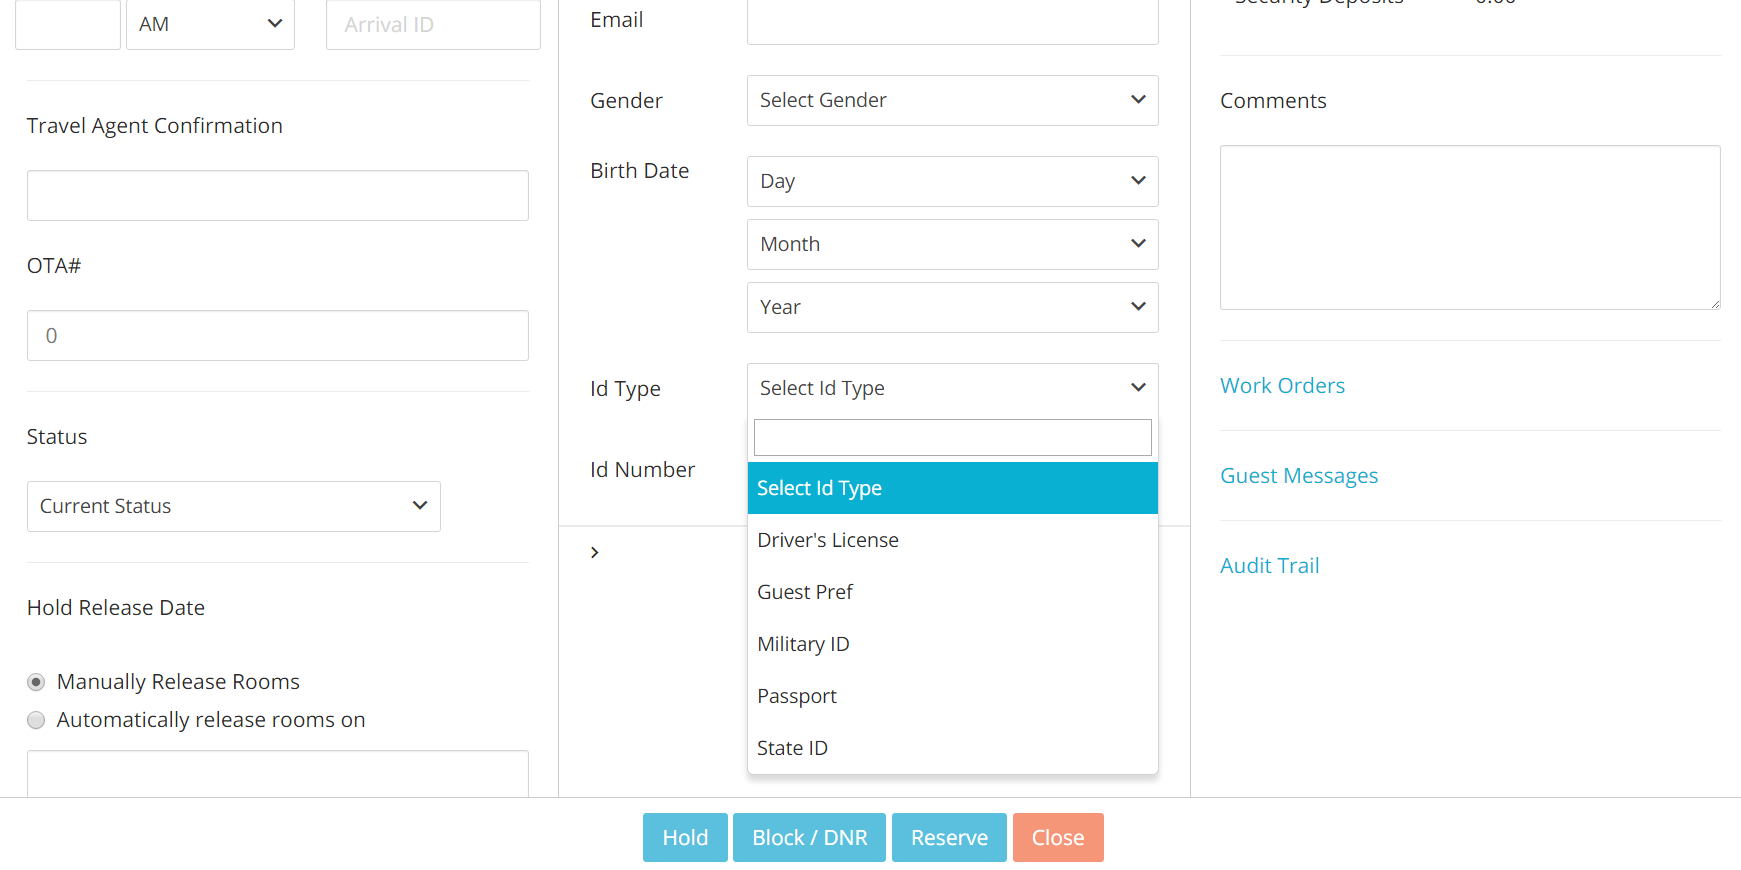
- All active Identification Types will appear in the central section of each reservation folio:
Markets
Markets are used to group guests into market segments: you can report on this field to have a better understanding on who your guests are.
- In the Admin Settings, click on the link Markets under section General:
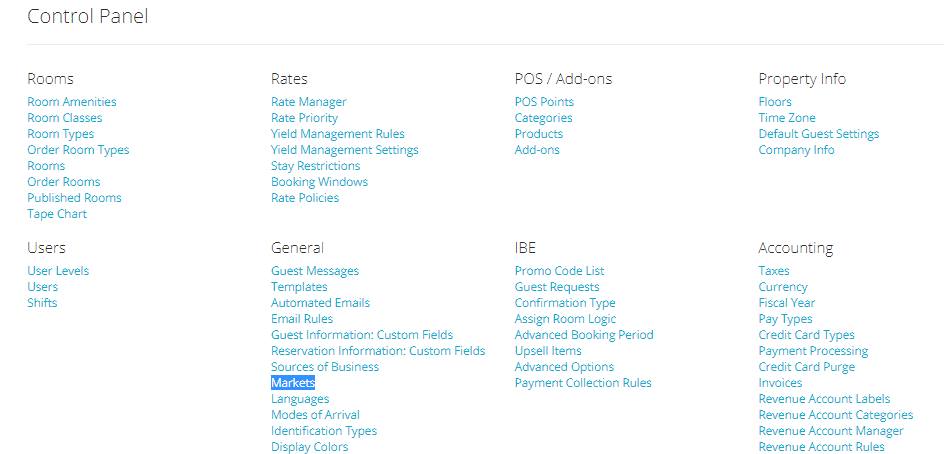
- Your account comes with some of the most commonly used Markets:

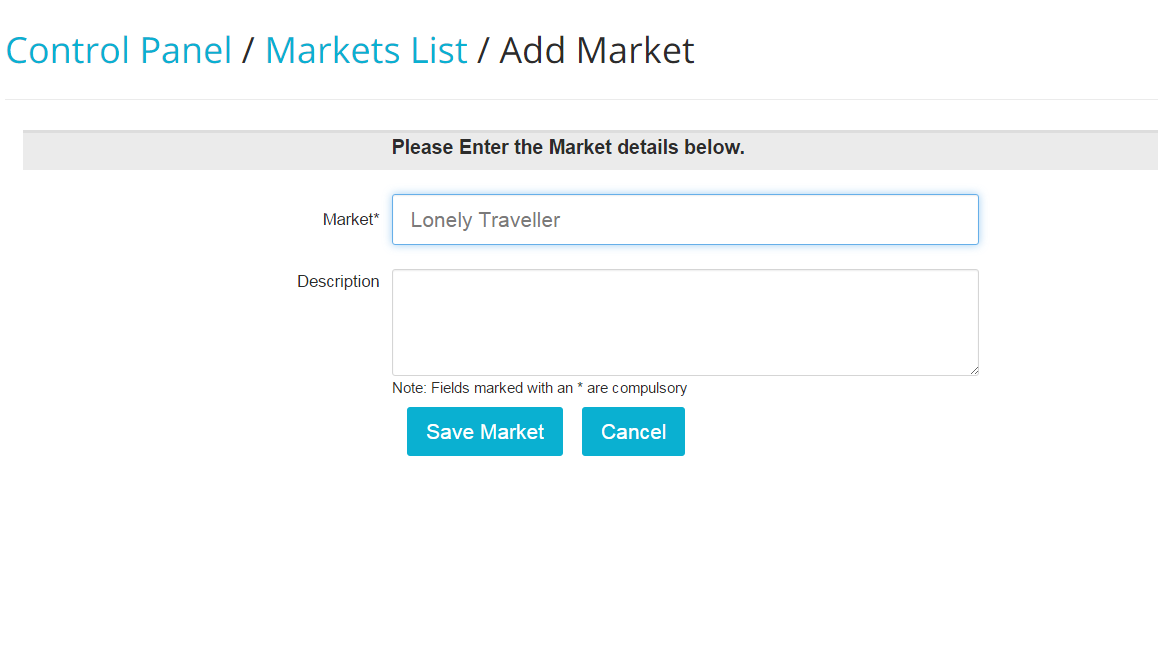
- To add a Market, click on the blue button Add Market and place the right name in the field. When done, click on the blue button Save Market:
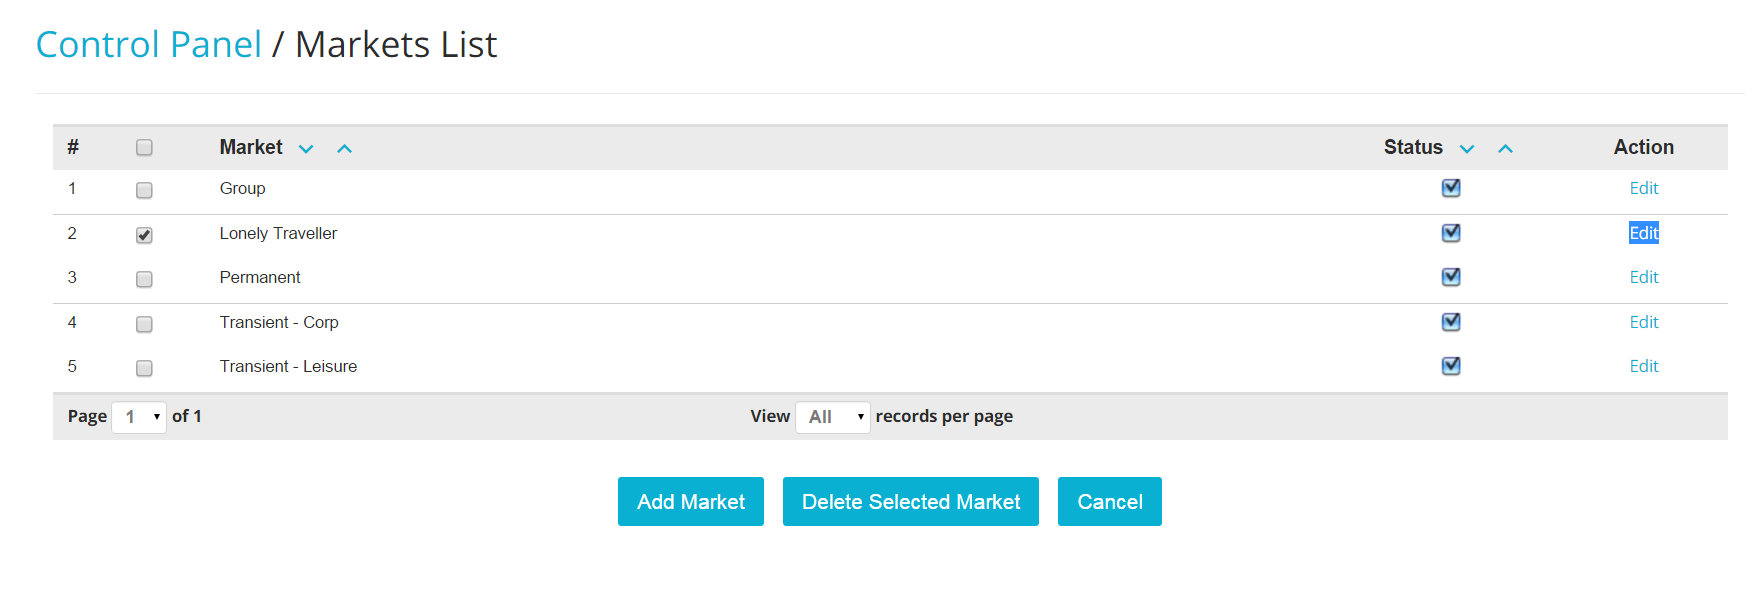
- To edit a Market, click on the link Edit on the right hand side of the Markets List:
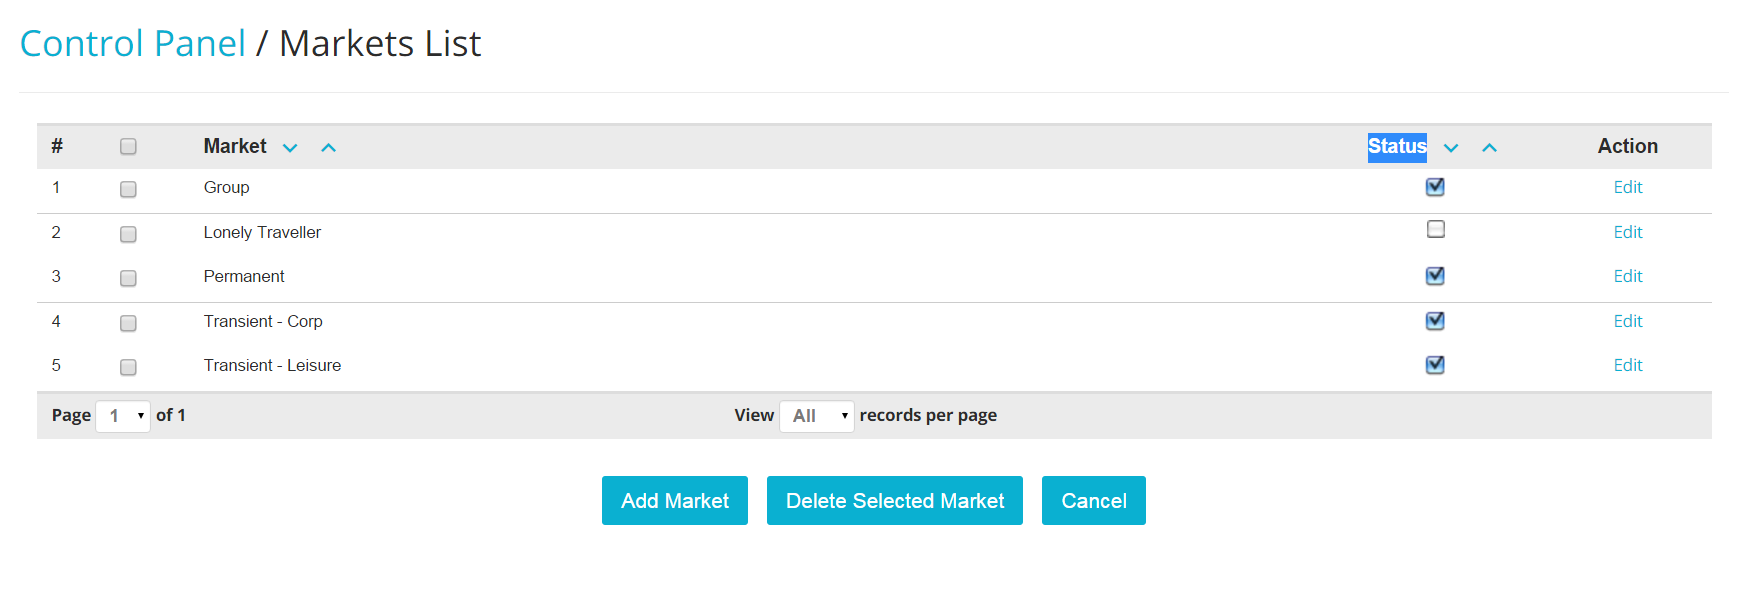
- To make a Market inactive, uncheck the relevant box under column Status:
- To erase a Market, select it by using the checkbox on the left hand side and click on the blue button Delete Selected Market:

- All active Markets will appear on the left side of any reservation folio:
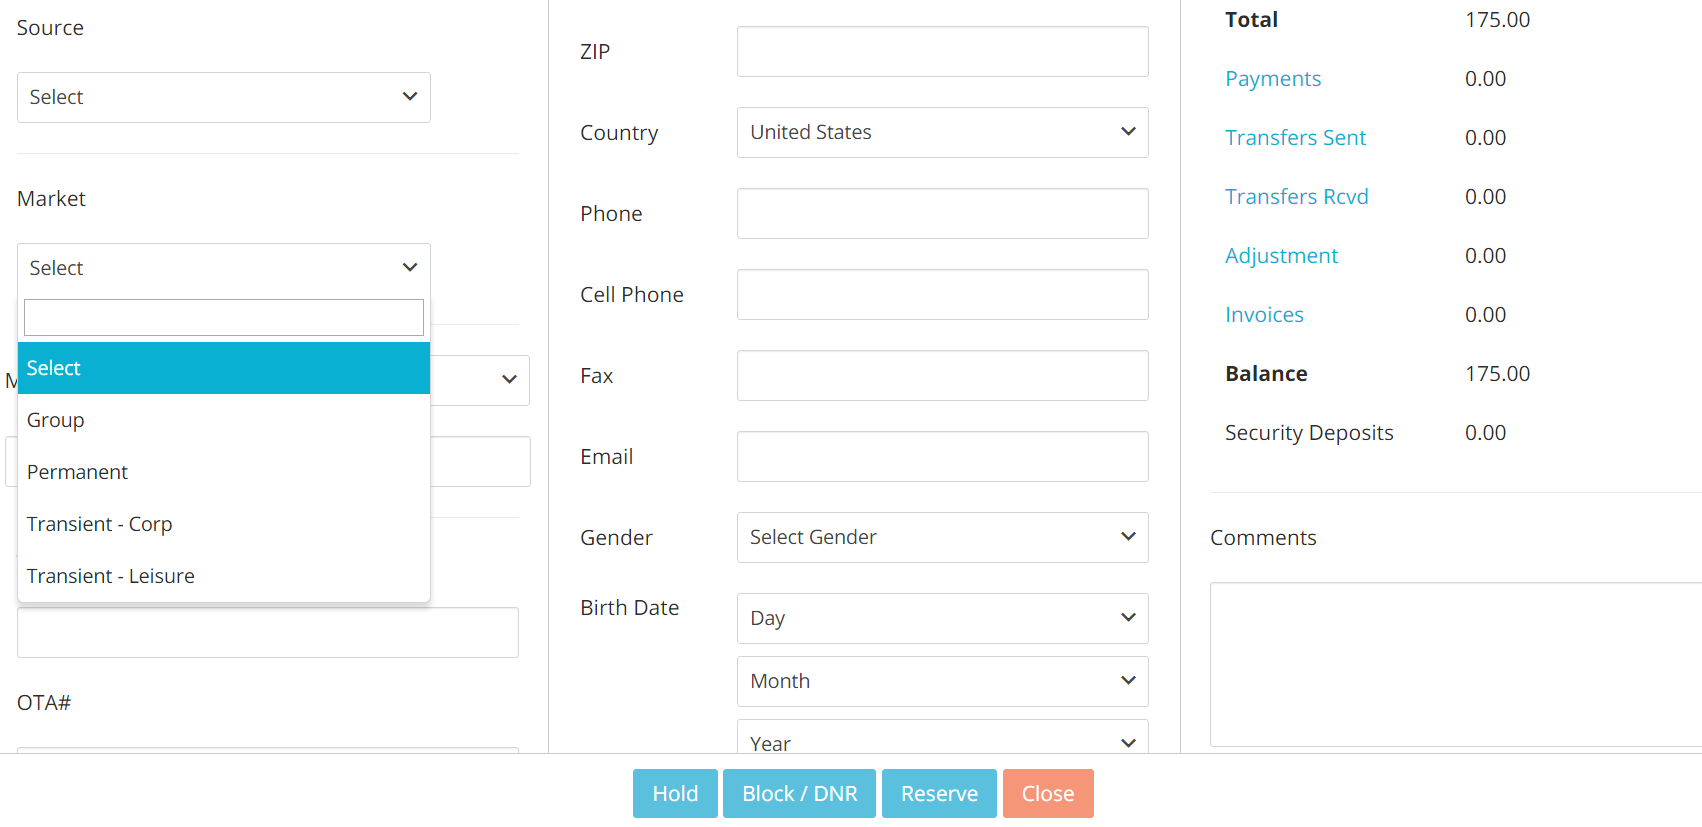
Frontdesk Anywhere allows you to personalize the number and type of fields you want to have in your reservation folios. Before starting, let us look at a reservation folio:
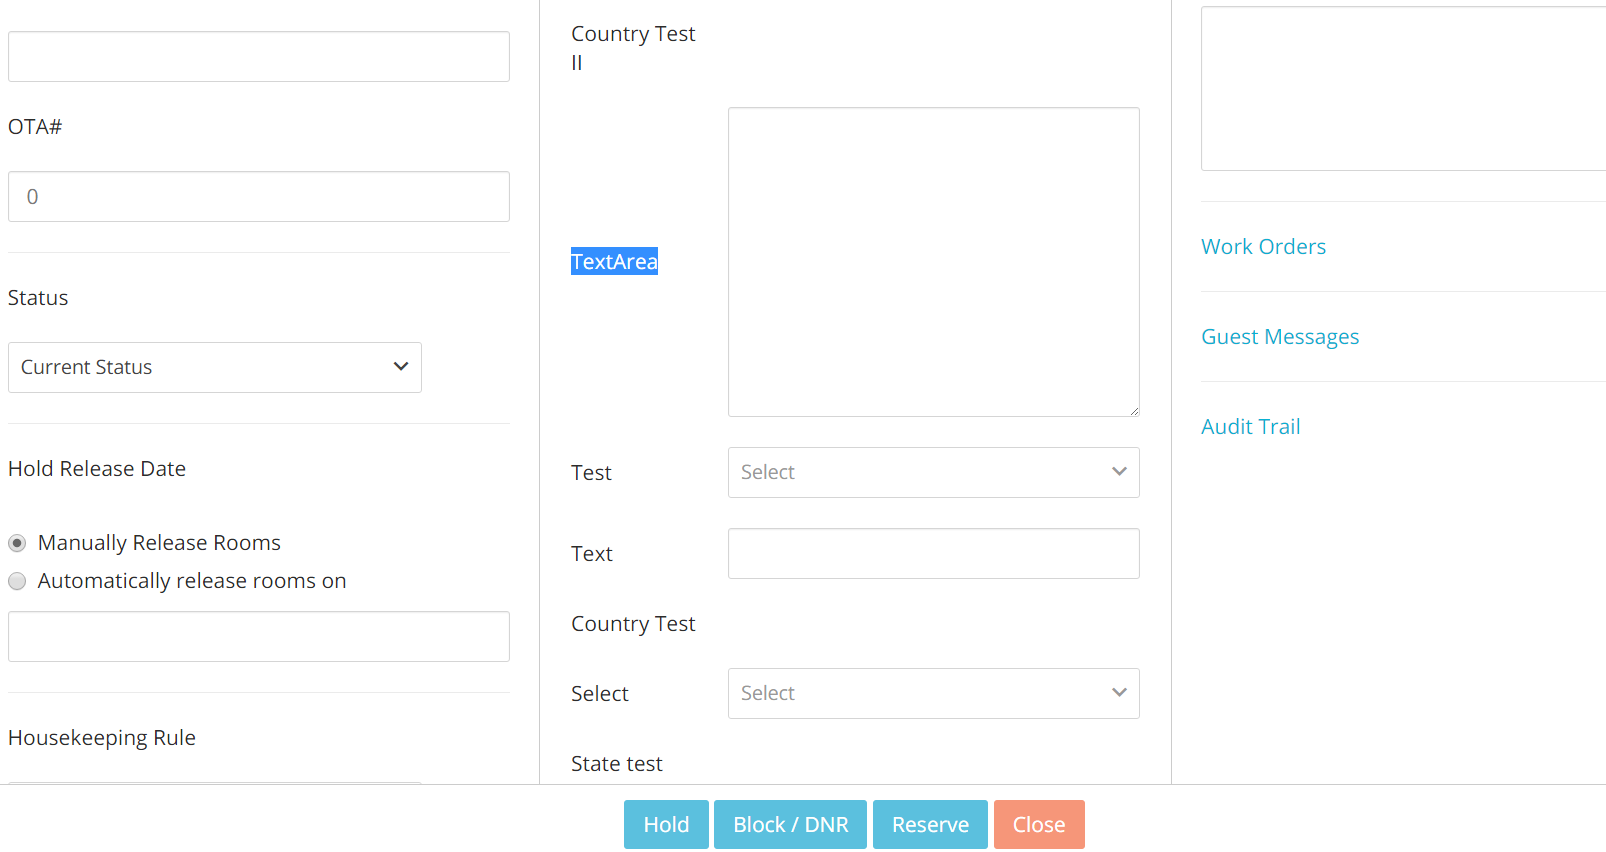
You will notice that the folio is made out of three columns: the first one contains general information about the reservation, the middle one has fields regarding information about profiles. A profile can be a Guest, a Travel Agent or a Company.
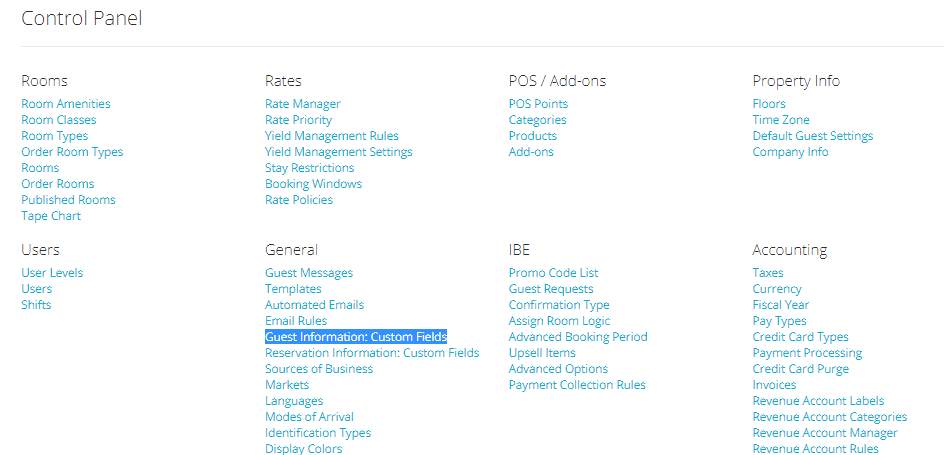
The links Reservation Information: Custom Fields and Guest Information: Custom Fields in the Admin Settings are the links via which you can configure what appears in those folio sections:
- In the Admin Settings, click on the link Guest Information: Custom Fields:
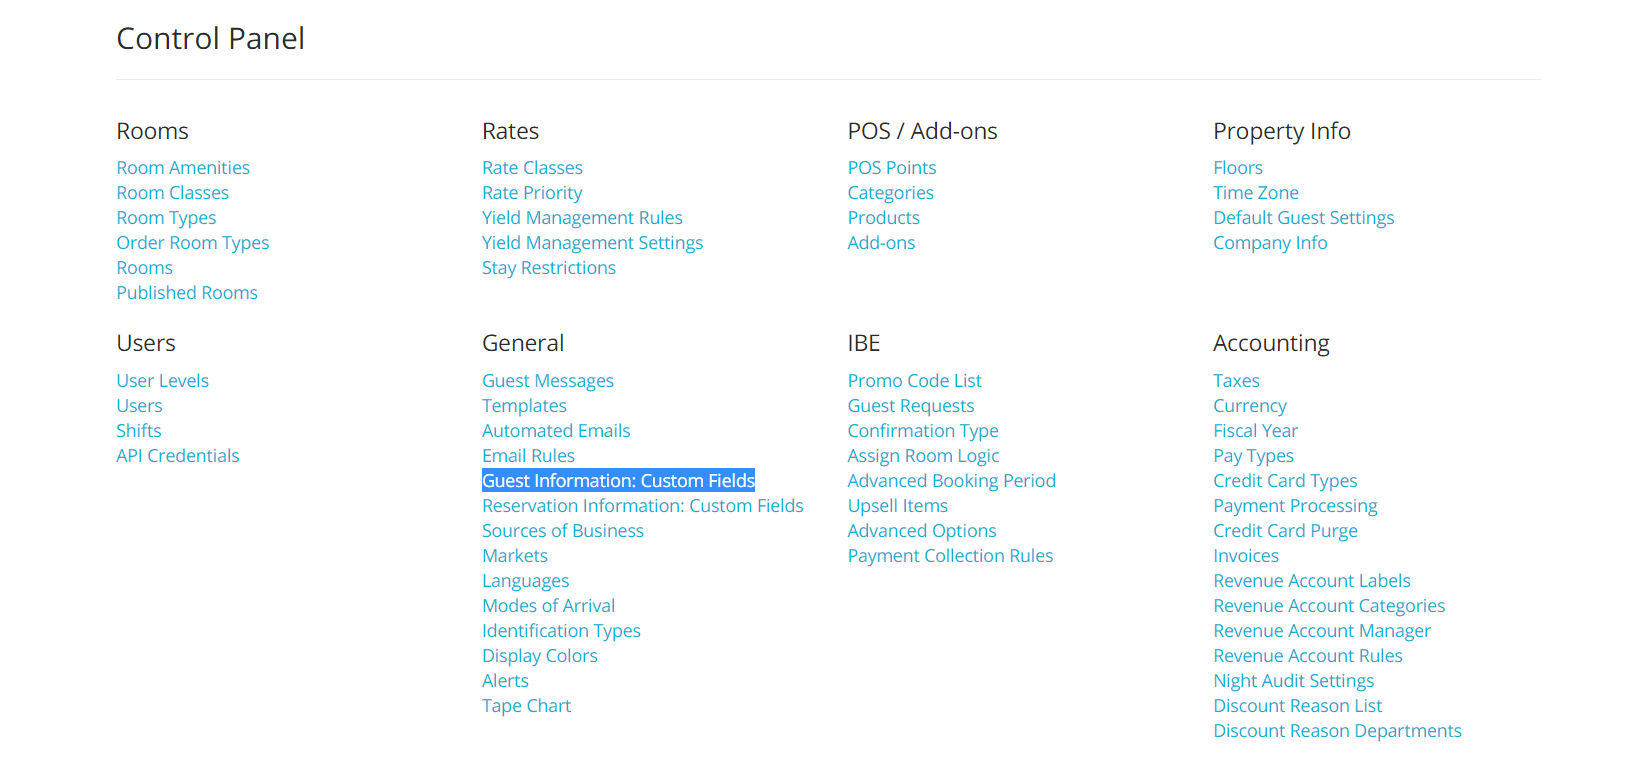
- You will see a list of all the current active fields in your folios:
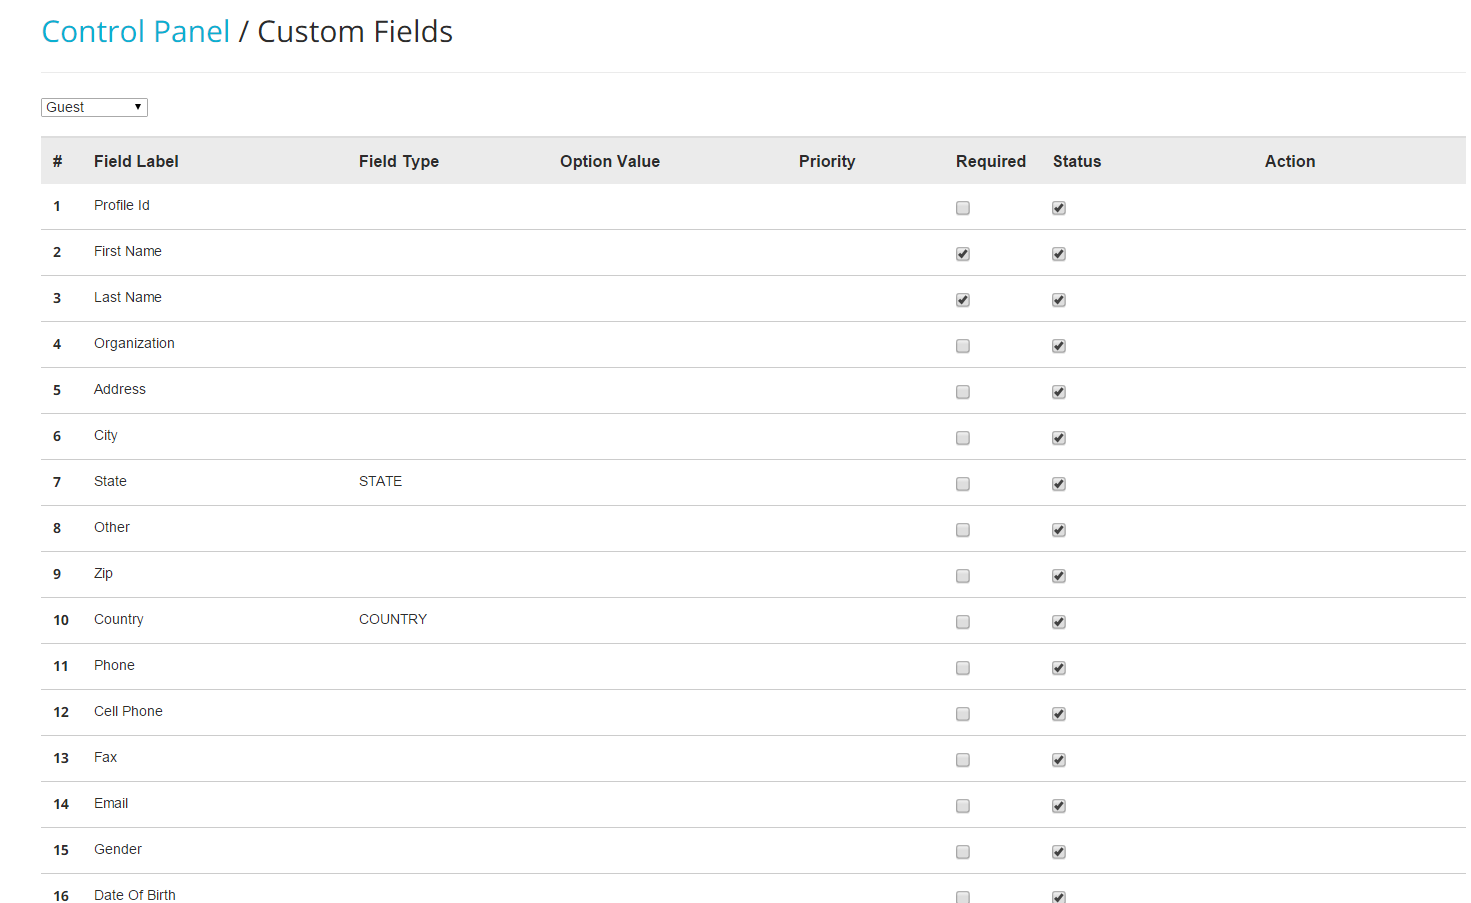
- For each field, select whether you want it active or not by checking/unchecking the box under column Status:
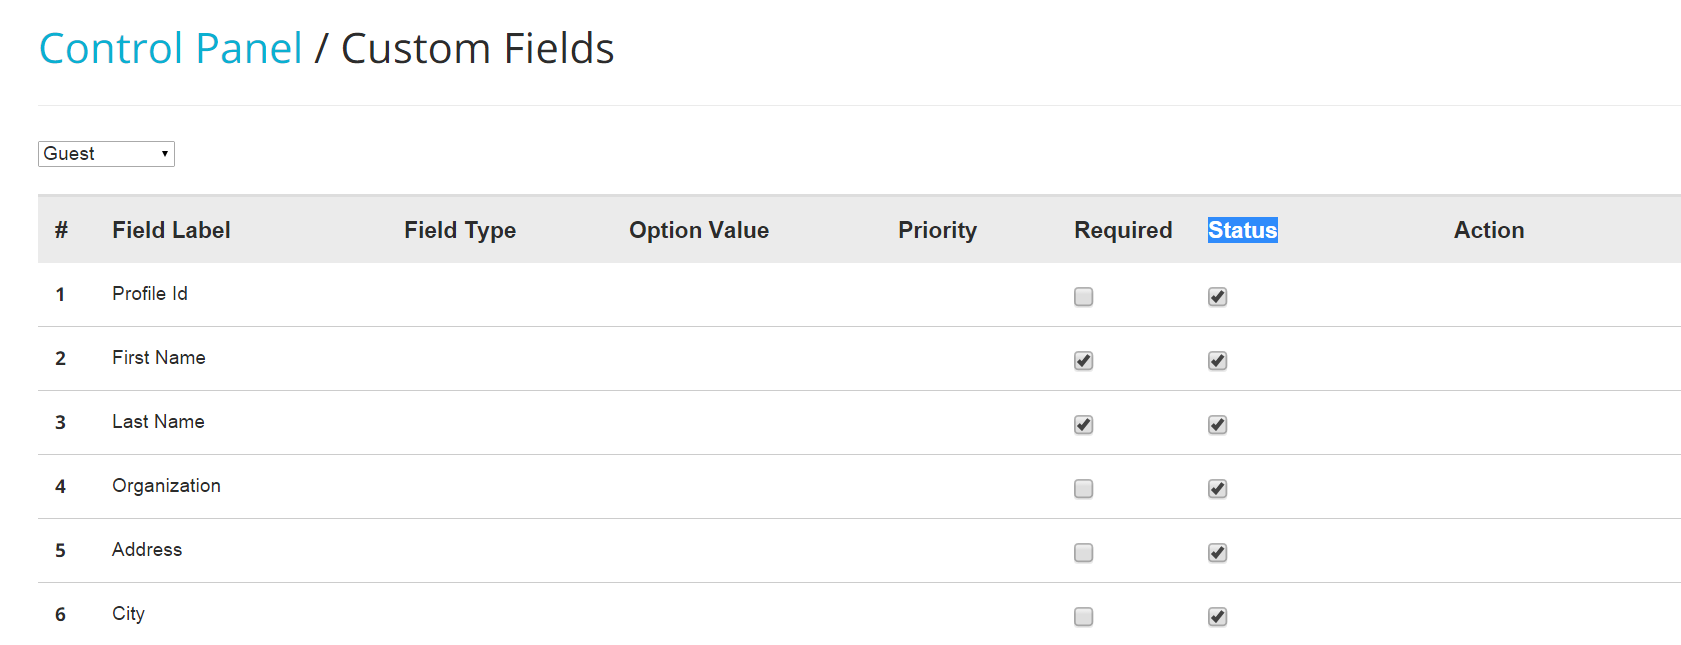
Note: It is currently impossible to erase a field. If you do not wish to have a field showing in your folios, you will simply need to make it **Inactive**.
- For any field, select whether the field is required by checking/unchecking the box under column Required:
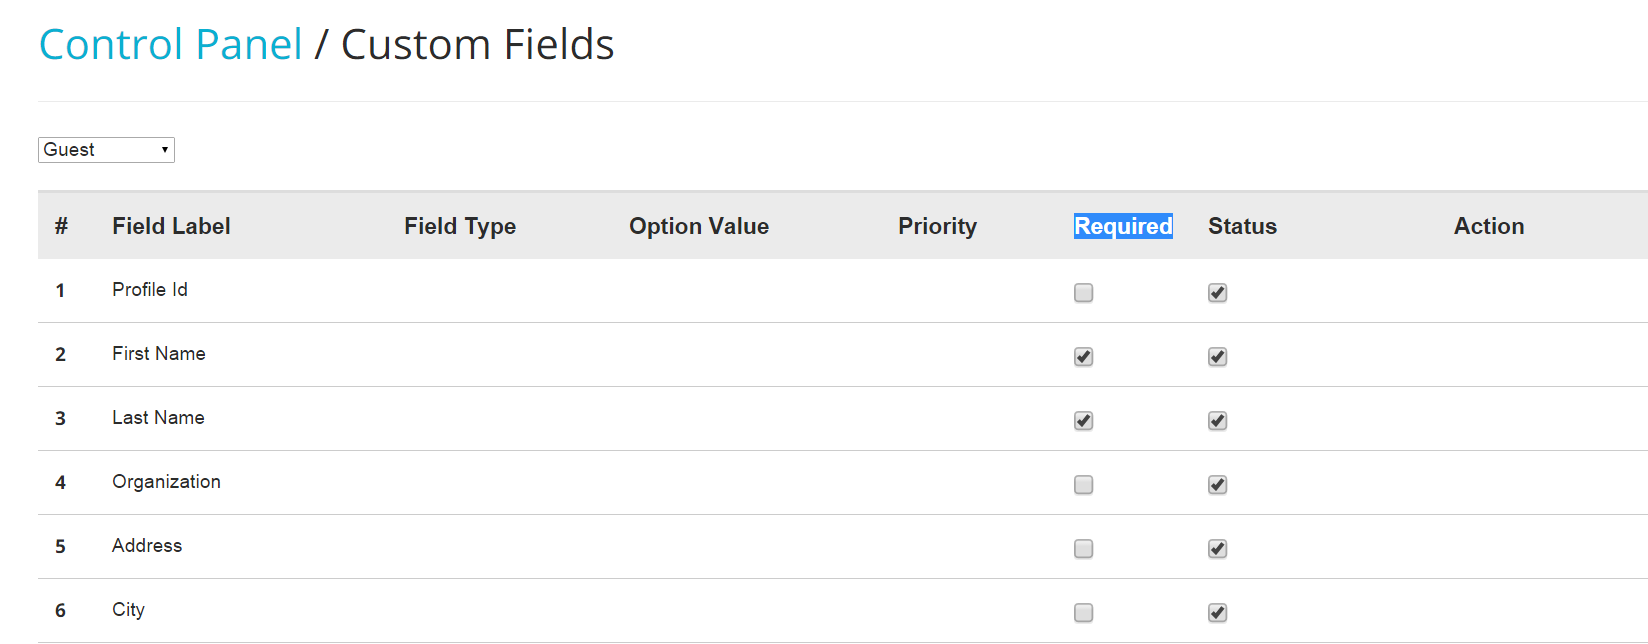
When you mark a field as Required, the system will force agents to insert the information into that field before they are able to create/operate on a folio.
- To add a Custom Field, click on the blue button Add Custom Field at the bottom of the page:
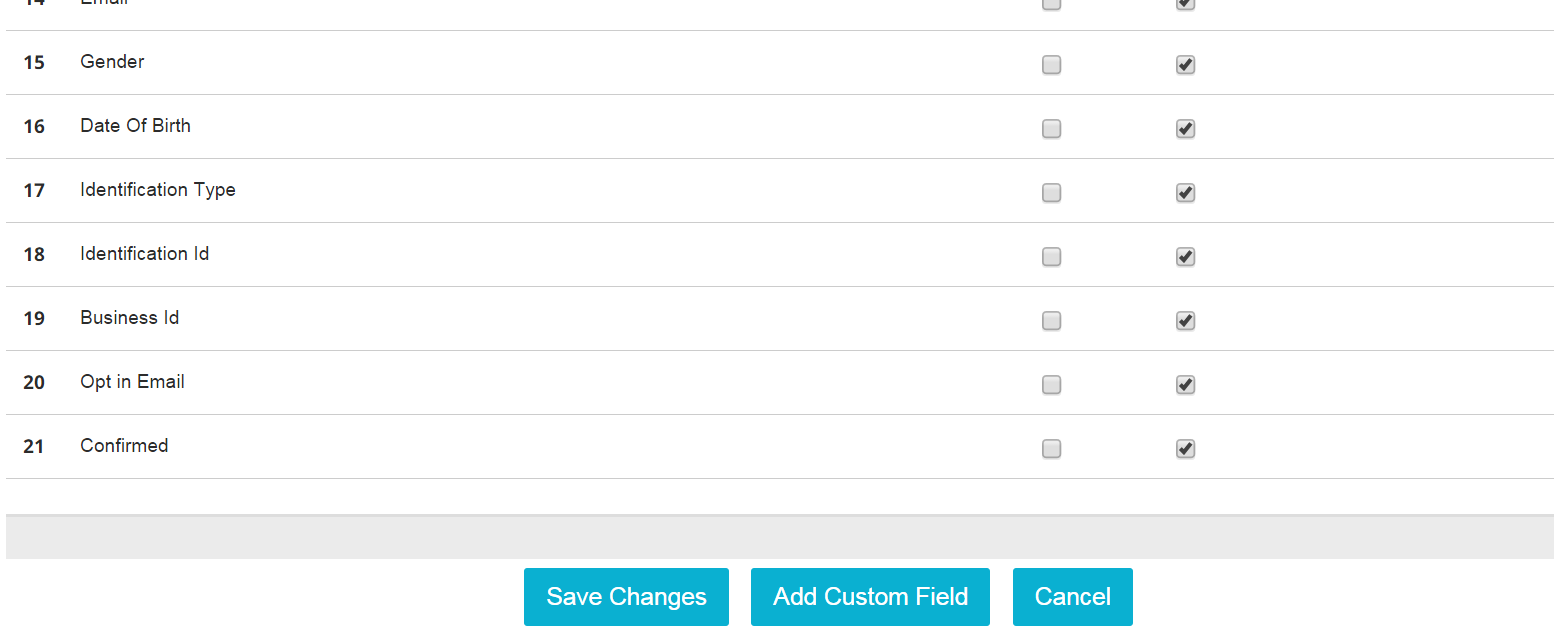
- Insert the name in the first box and choose what type of field you want to create by picking the irght choice form the scrll down menu:
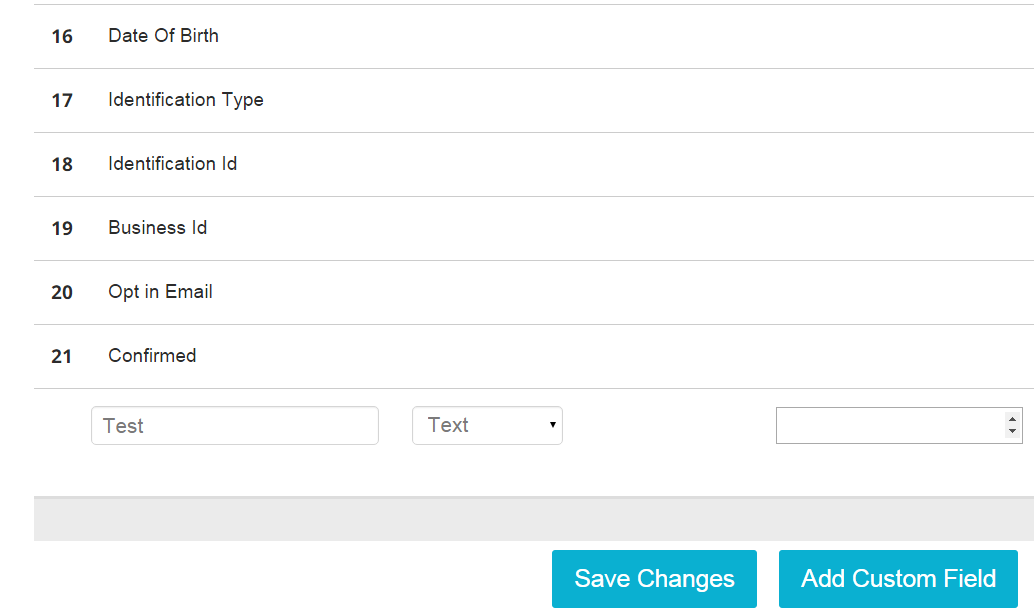
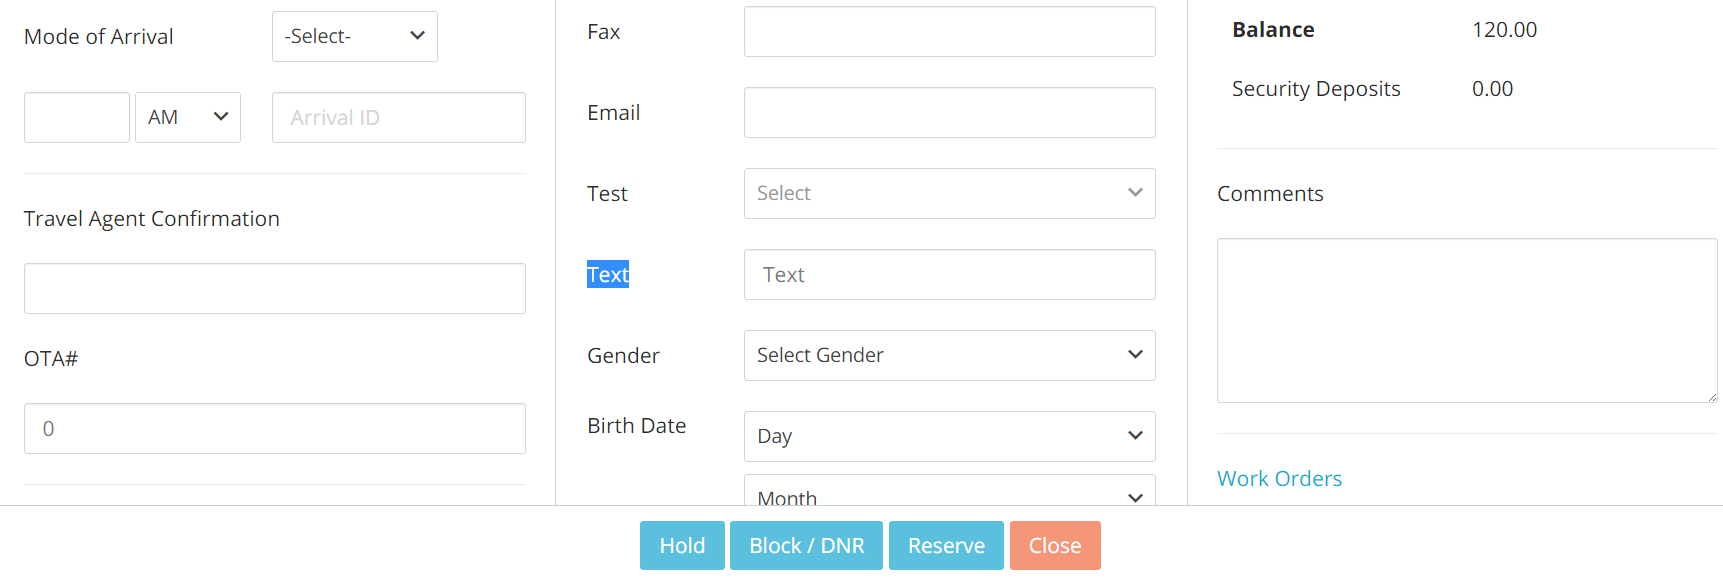
A TEXT option will create an editable field like the following:
A SELECT option will create a scroll down menu with different options for the agent to select, like this one:
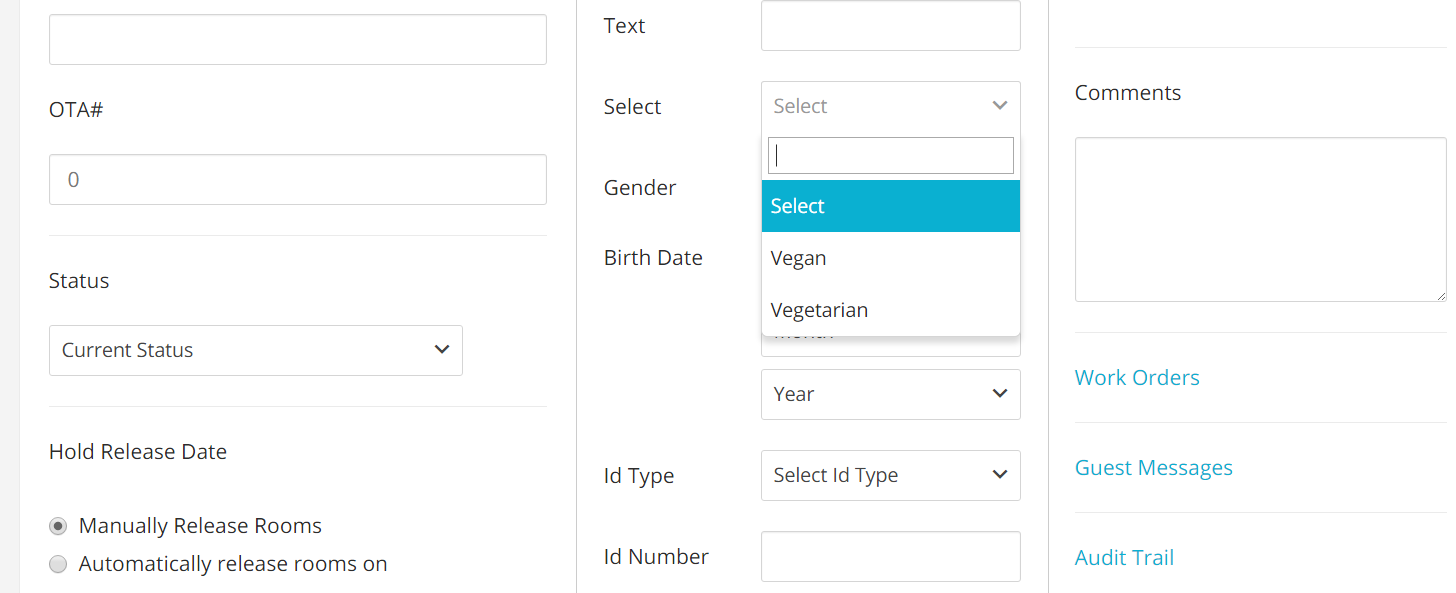
If you choose to create one, save it and then add those options by clicking on the blue link Add Option:

Insert your options and click on the button Save.
A MULTISELECT option will create a scroll down menu where multiple options can be chosen, like the following one:
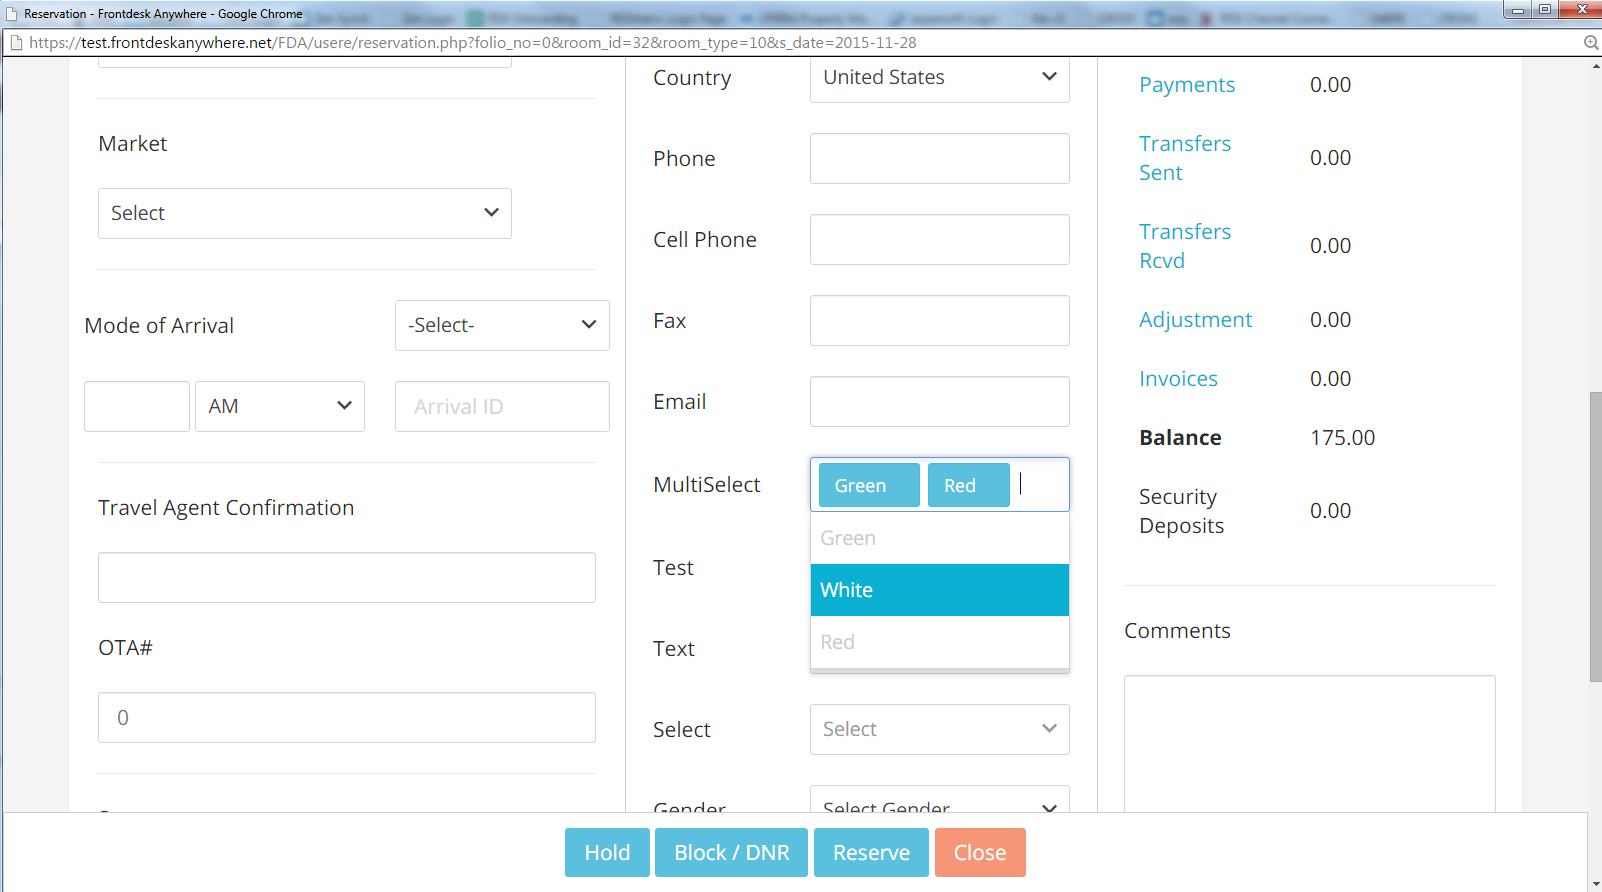
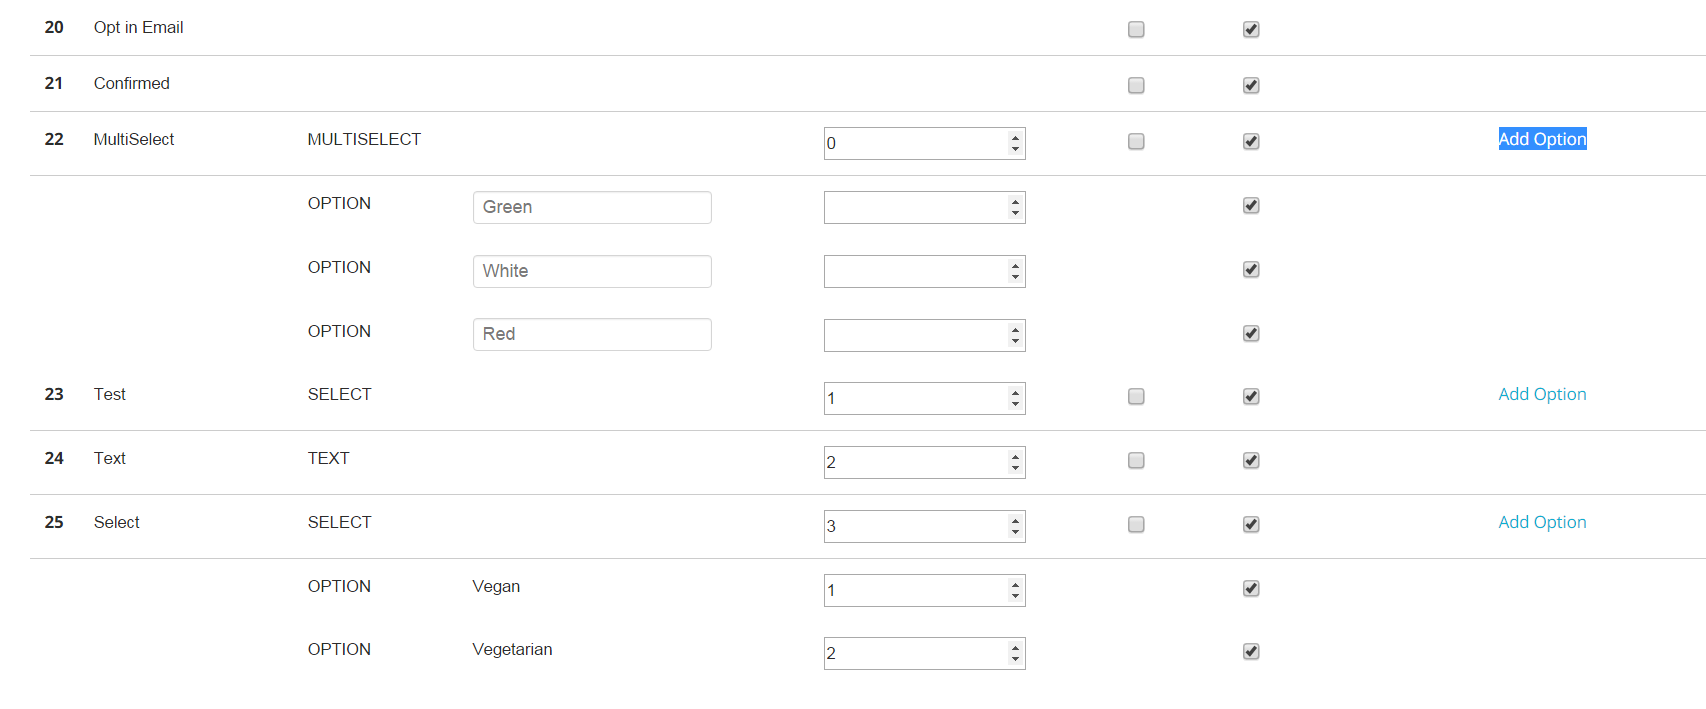
If you want to create one, save it and then add the options by clicking on the blue link Add Option:
A TEXT AREA will create a comment box in the folio guest profile:
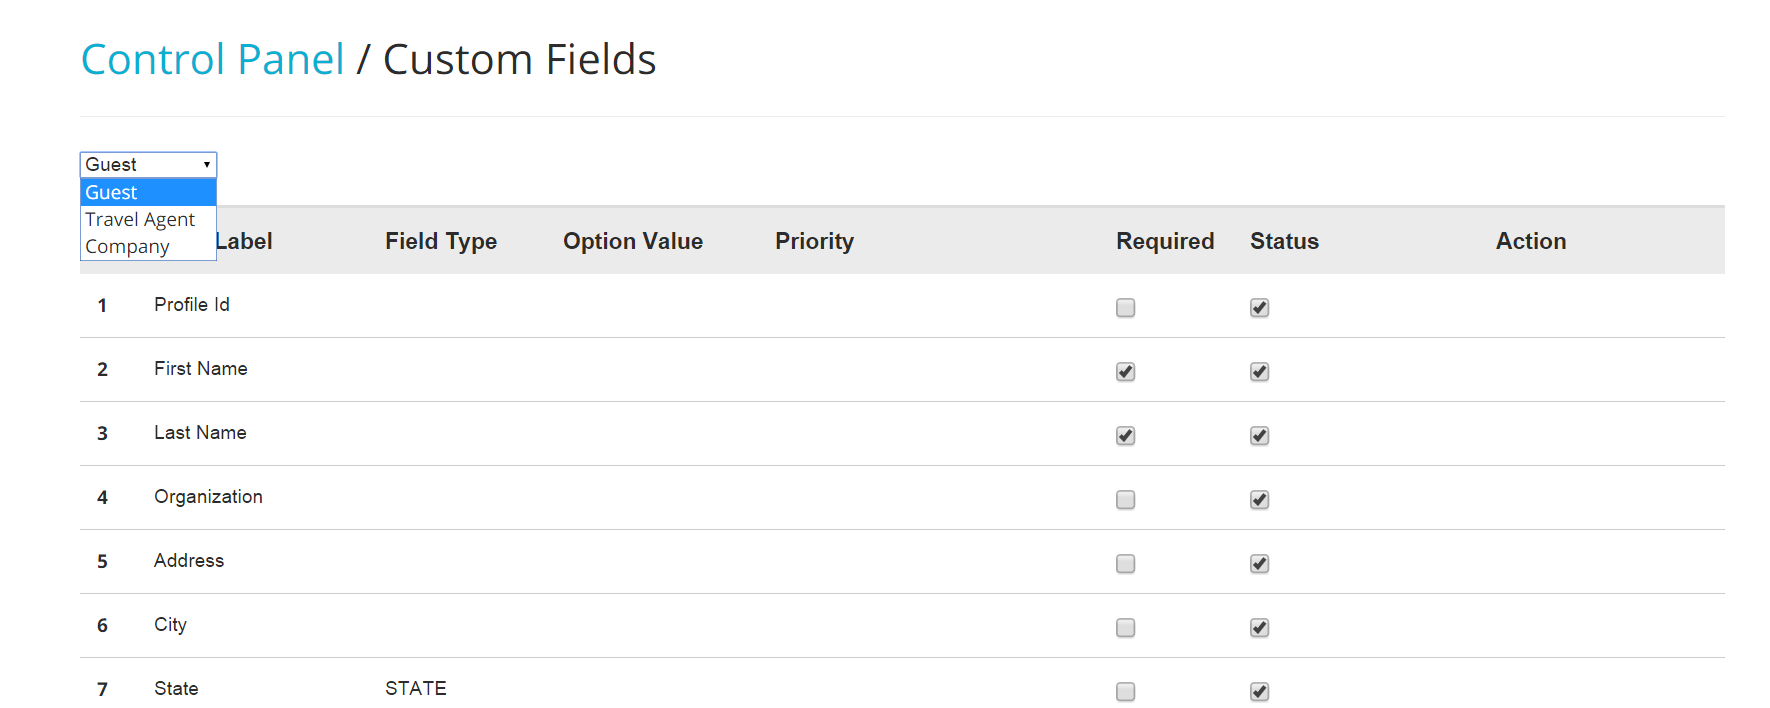
- As mentioned above, you can create information for Guests, but also for Travel Agents and Company profiles. To create fields for the latter, select your option form the scroll down menu that appears on top of the Guest Profile Custom Fields list:
- The Reservation Information: Custom Fields link works the same as the Guest Information: Custom Fields one.
##Display Colors
Your account comes with a set of colors that you can easily personalize. Colors are used to define the status of a reservation and of rooms, they are employed to give you a good first-glance understanding of what is happening at your property at any time by just looking at your Tape Chart.
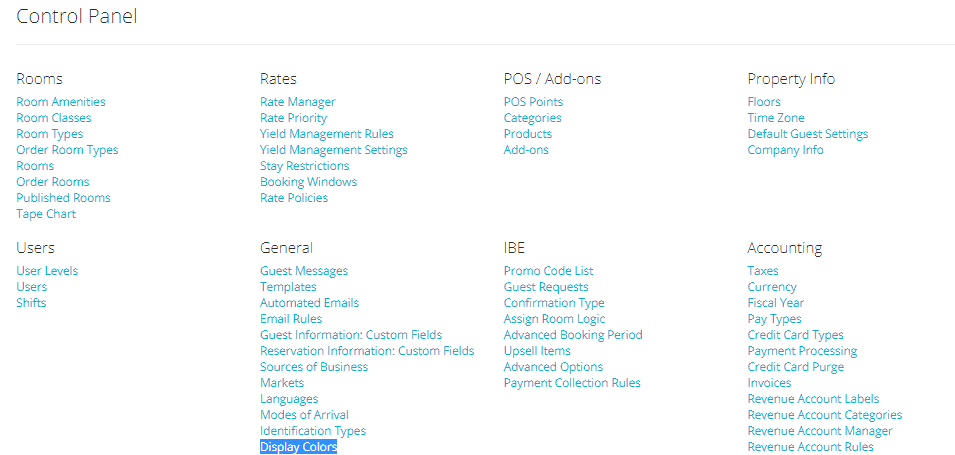
- In the Admin Settings, click on the blue link Display Colors under section General:
- You will have a list of all the reservation and room status with the respective default colors:
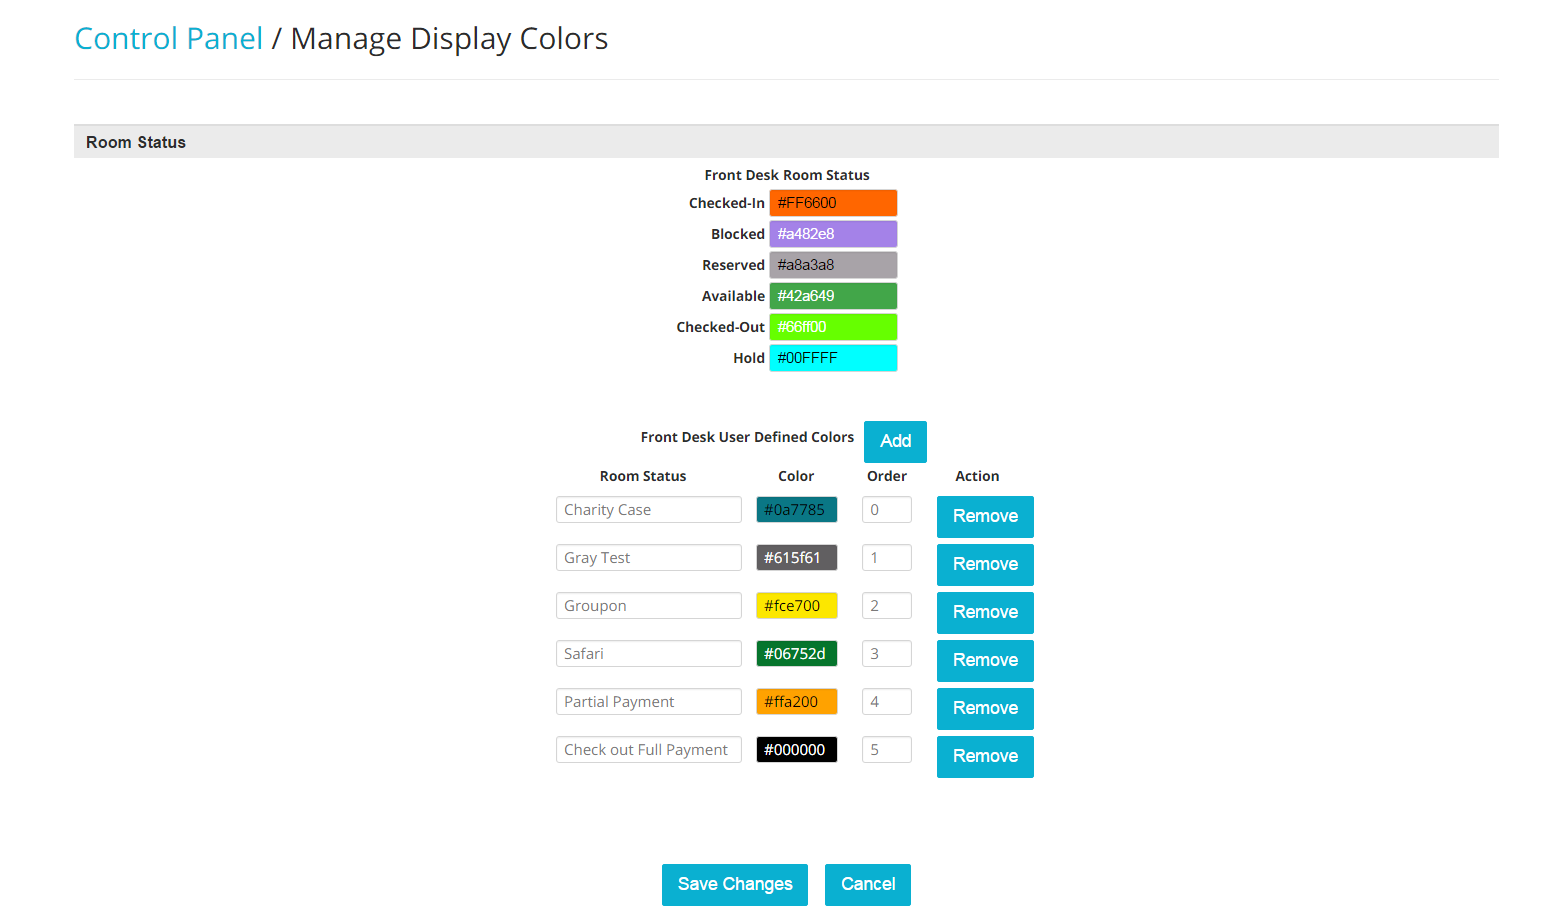
- To change the color for any of these statuses, click on the colored field with the color code:
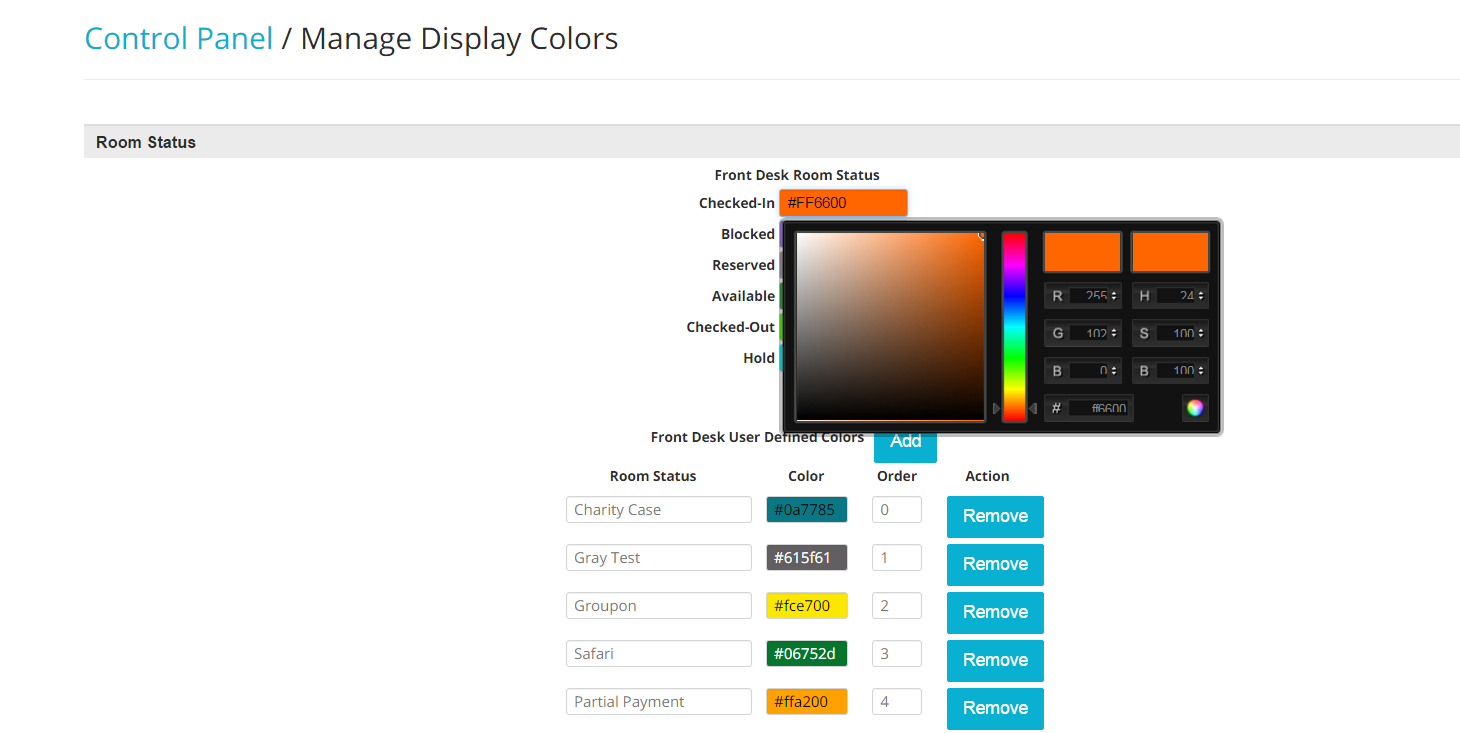
- Choose the colo you want by moving the arrows up or down on the color scale:
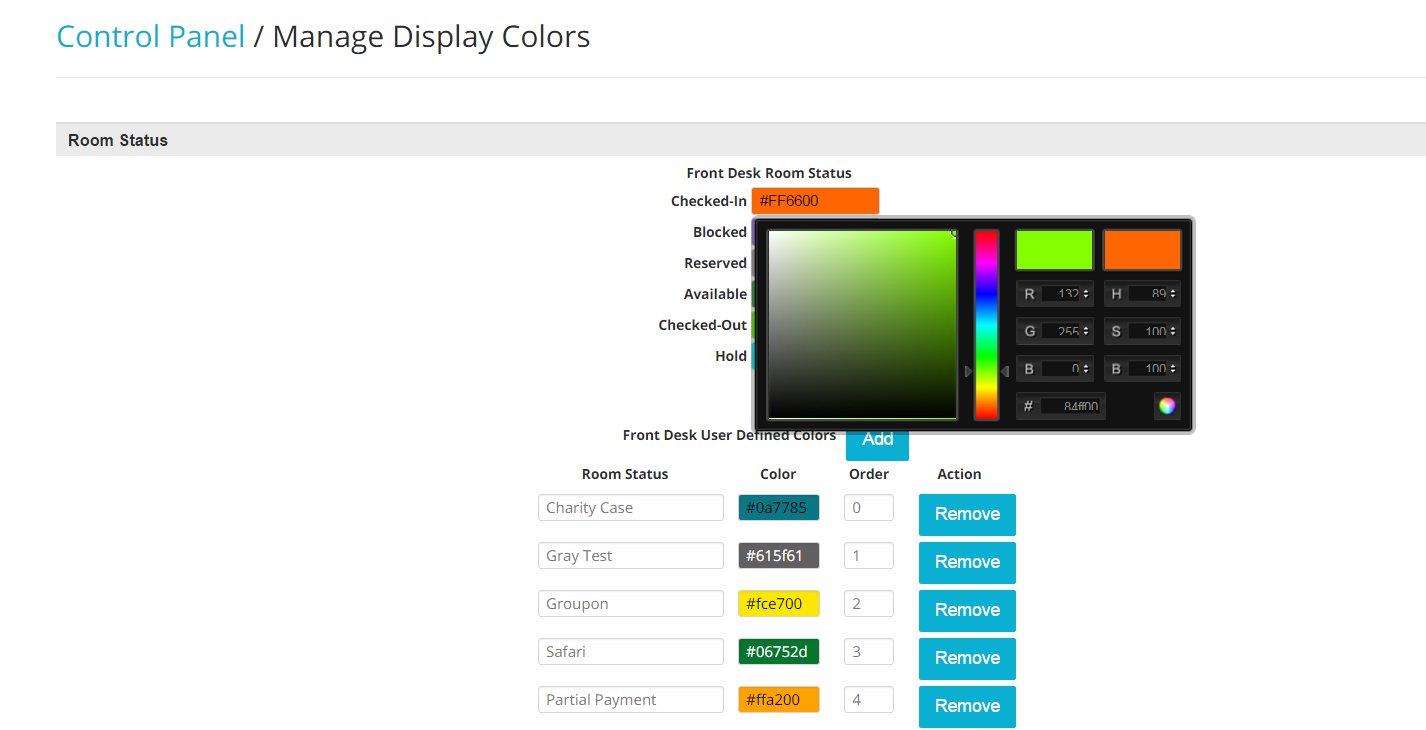
- Select your choice by clicking on the colored disc on the bottom right side of the small color panel:
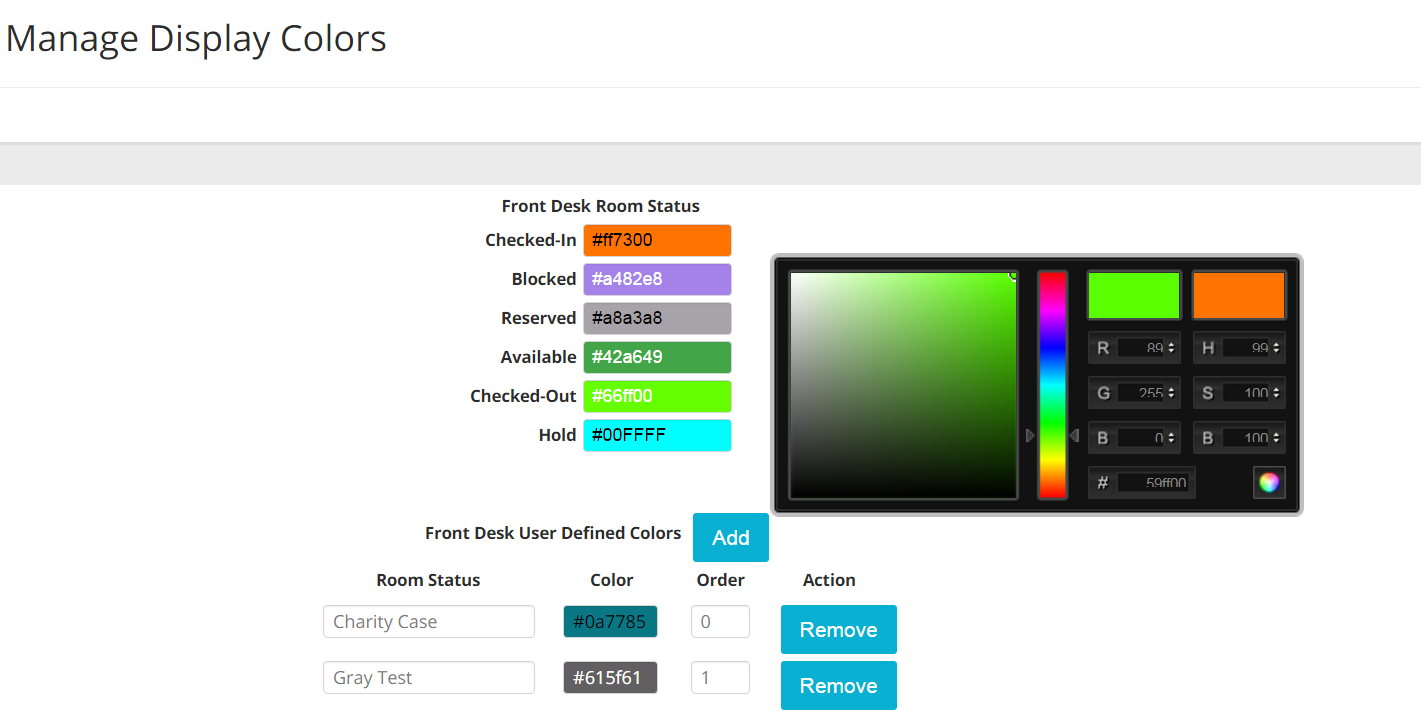
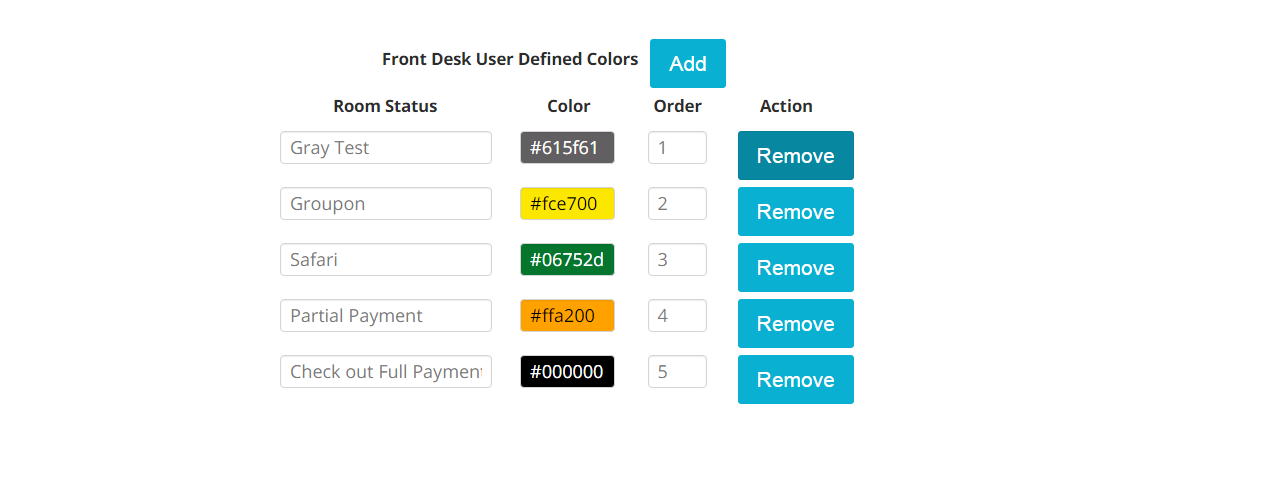
- You can add more colors by clicking on the blue button Add next to the tag Front Desk User Defined Colors:
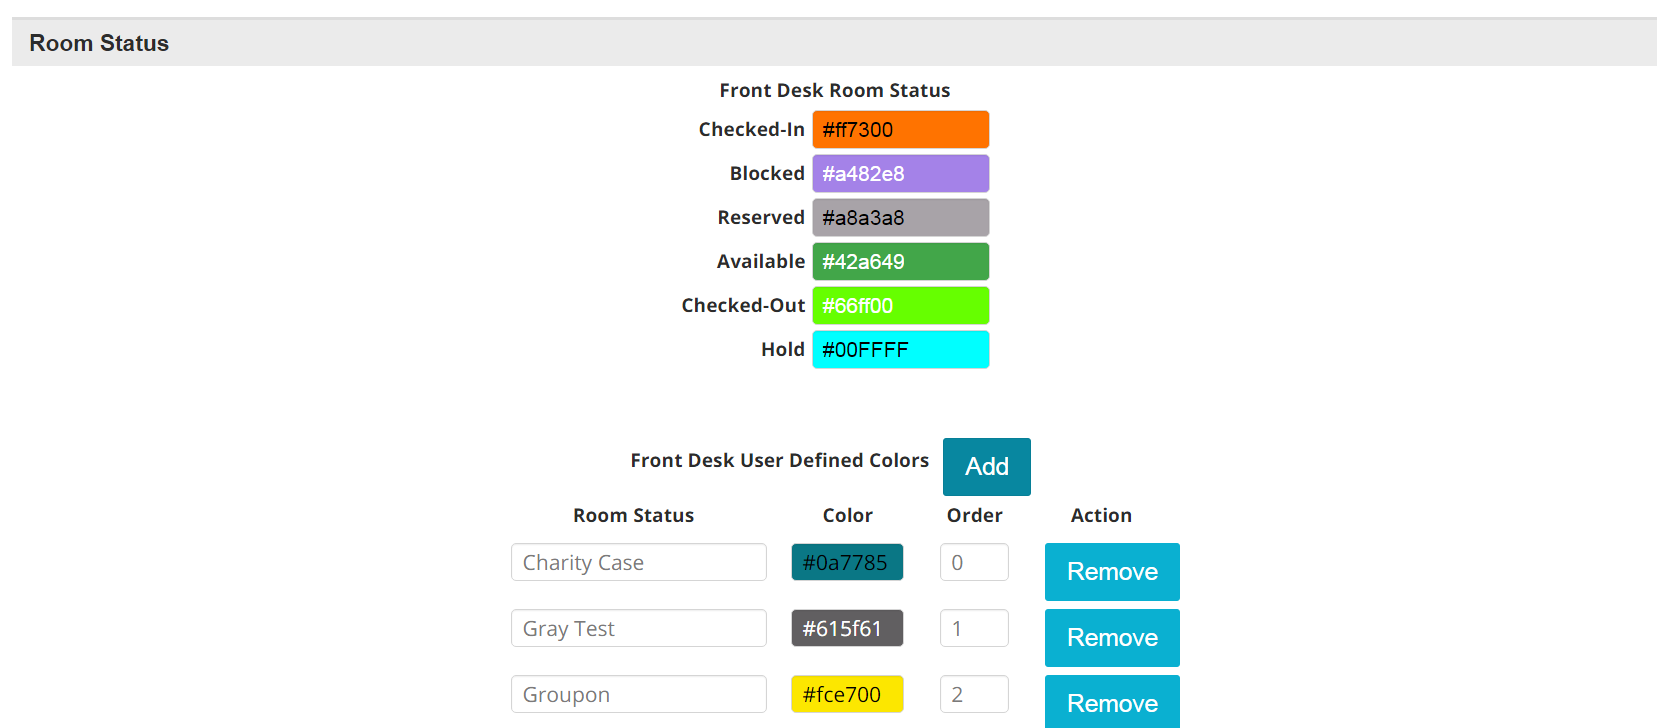
- To remove one color, just click on the blue button Remove on the right hand side of any custom status:
Alerts
Frontdesk Anywhere can help you reducing the margin of human error that is involved in the daily management of your hotel. You can set up the system to warn users when a possible damaging action is about to be taken: for example, if a guest is about to be checked-in into a dirty room, or if a guest is about to be checked-out with an outstanding balance, security deposit.
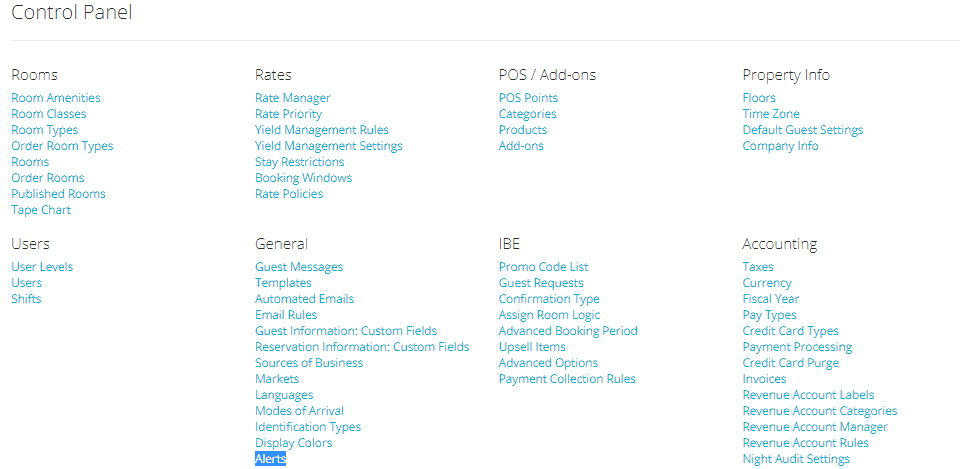
- In the Admin Settings, click on the link Alerts under section General:
- You will see a list of possible warnings that can be enabled in the system:

Here is the legend of what each actions does:
Early Check-Out Alert: will alert the user in case a guest is being checked out prior to their scheduled departure date.
Check-Out with Balance: will alert the user in case they are trying to check-out a folio with a balance due.
Check-Out with Security Deposit Alert: will alert the user if they a folio is being checked-out with a security deposit.
Check-in Prior Guest Alert: will alert the user if a new folio is being checked-in in a room where the previous guest has not yet been checked-out.
Reservation Status: Check-in alert if housekeeping status not: choose the right housekeeping status from the drop down menu; if a user is trying to check-in a guest in a room that has not the housekeeping status defined here an alert will pop-up.
- For any action, you have two options: if you want to have the system only trigger a message alert, then check the box under the column Status; in this case the user will visualize the alert but won’t be prevented from completing the action. If you want to have the system prevent the agent from pursuing the correspondent action, check the box under column Force Correction of Alerts.