The Accounting section is about all of those settings that have to do payments and accounting.
Accounting
The Accounting section is the place here you configure all those settings that have to do with payments, currencies, credit cards, fiscal year, etc. Most importantly it is home to Revenue Management: you can build Revenue Labels and Categories around which your reports are organized.
Currency
During the intial system set-up it is important for you to configure the right currency, as this will be displayed in all guest communications and if applicable, on IBE.
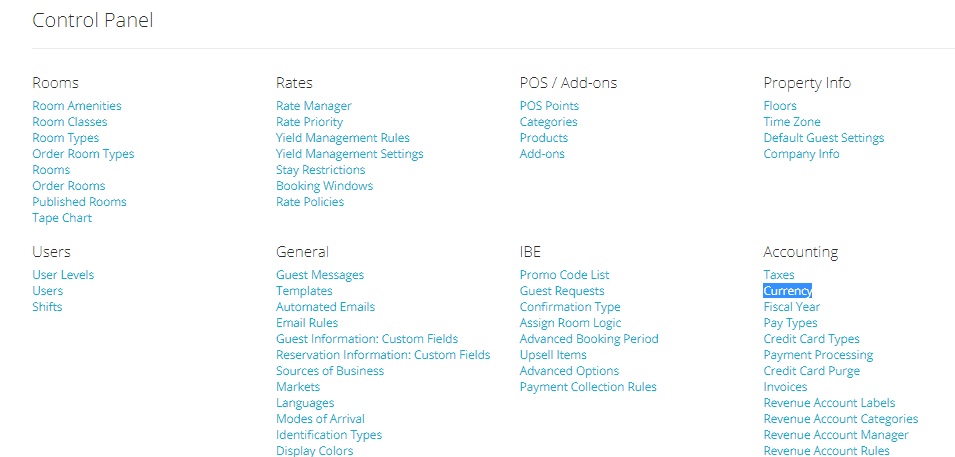
- Click on the blue link Currency under section Accounting:
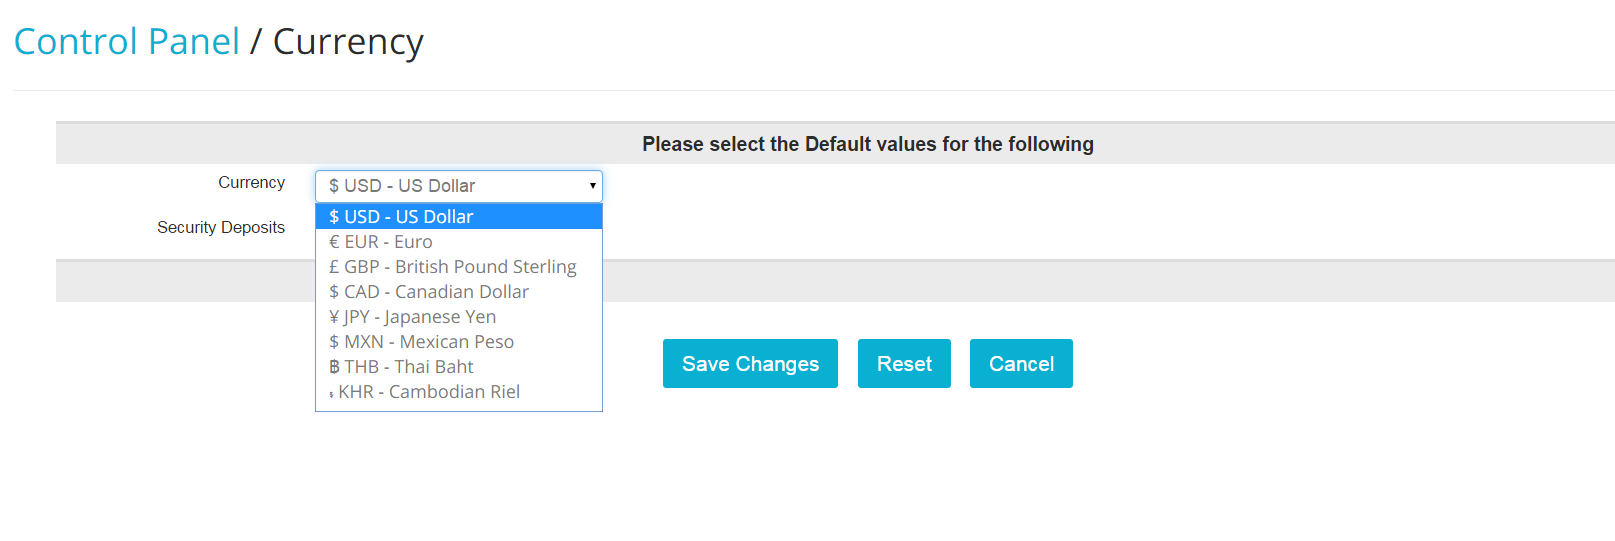
- Select the right currency among the ones available in the scroll down menu:
Note: If your currency is not listed in the drop down menu, please contact our Support Team at help@frontdeskanywhere.com and ask them to have the currency added to your account!
- Choose whether to enable security deposits on your reservation folios by clicking on the relevant circle box.

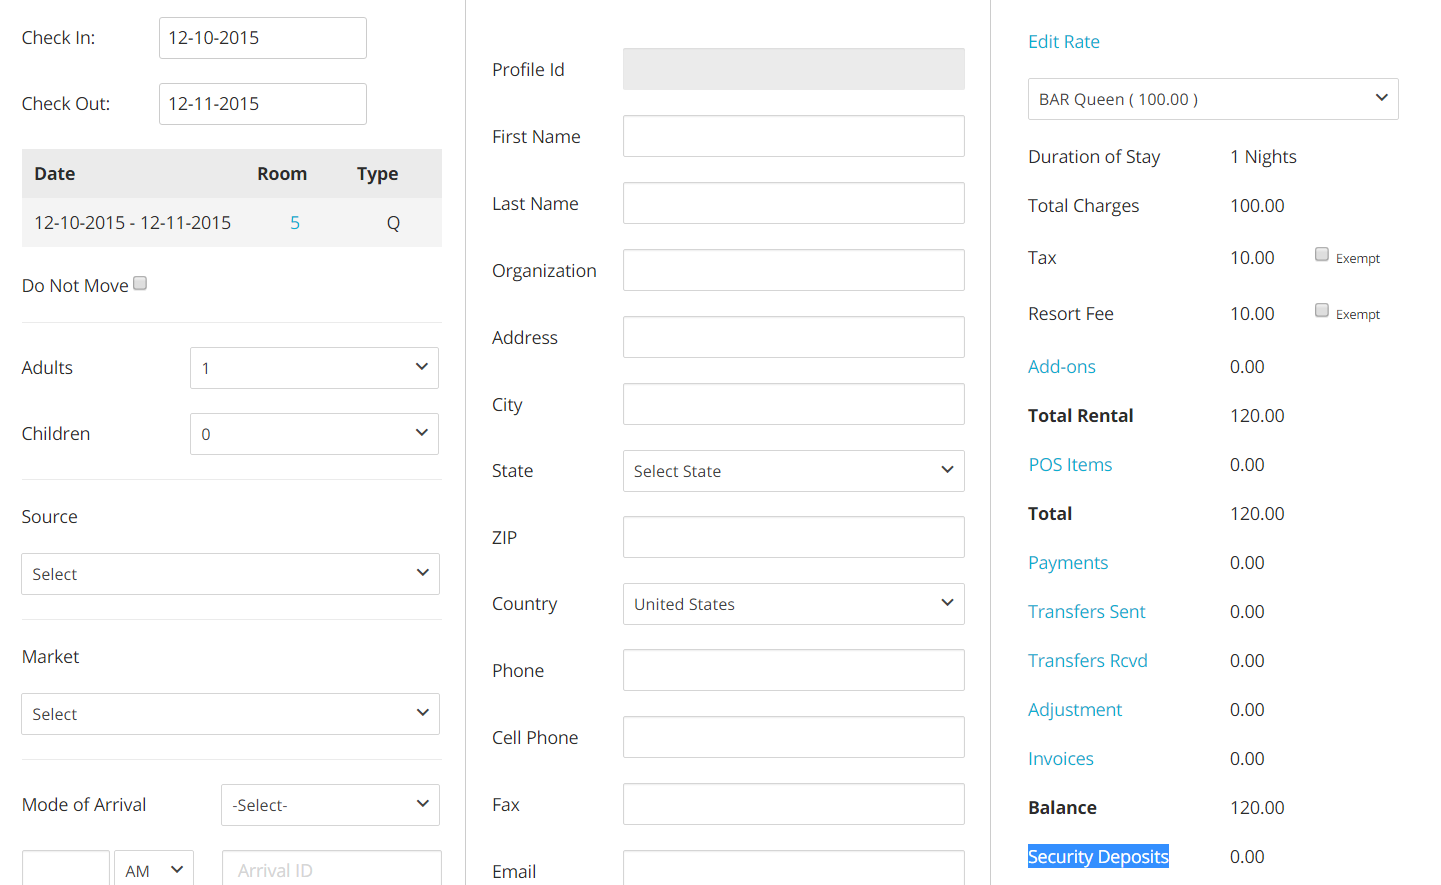
Activating the security deposit will enable you to record payments as deposits rather than payments proper. When deposits are enabled, there will be track of them in each reservation folio:
##Fiscal Year
Each property has a different starting date for their Fiscal Year, depending on applicable governmental laws: for this reason we advise you to set this up during the intial configuration of your account.
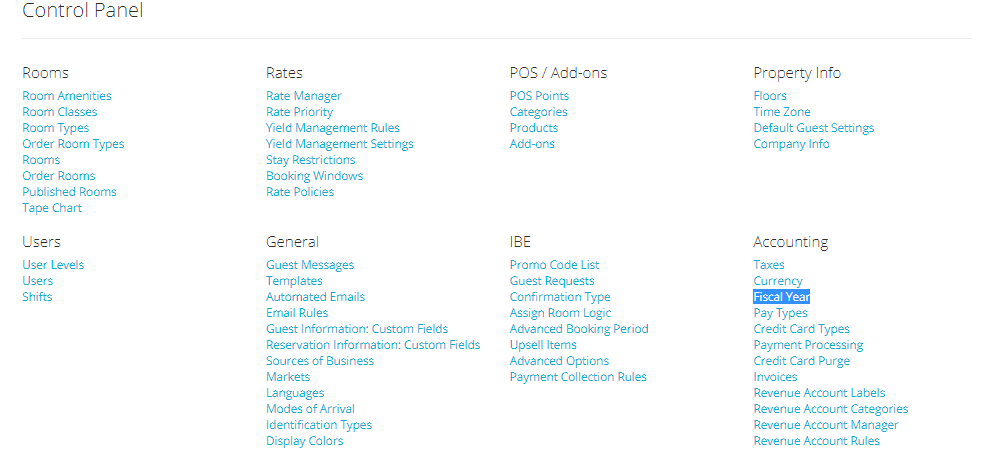
- Click on the blue link Fiscal Year under section Accounting:
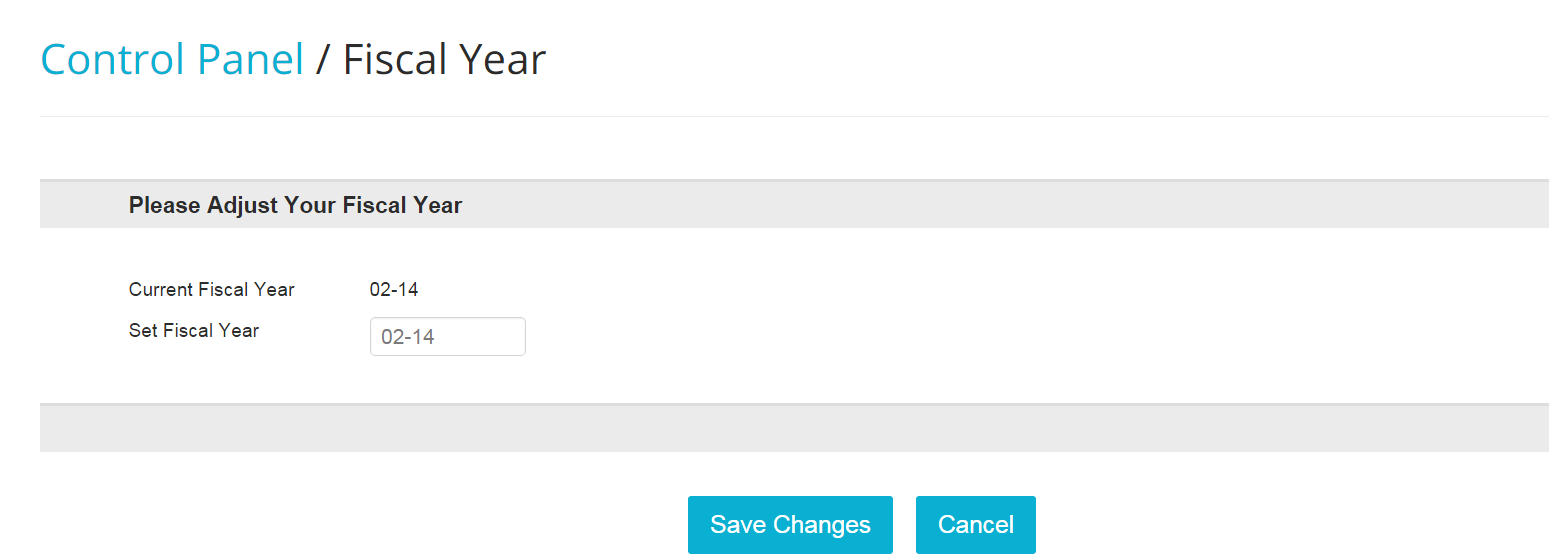
- Select the month and the year of your fiscal year by following the format below: your current fiscal year is also displayed, in case you forgot!
##Pay Types
Selecting the pay types that are accepted at your property is important to avoid the margin of human error of your front desk staff when they collect payments, it is also good when auditing and run reports!
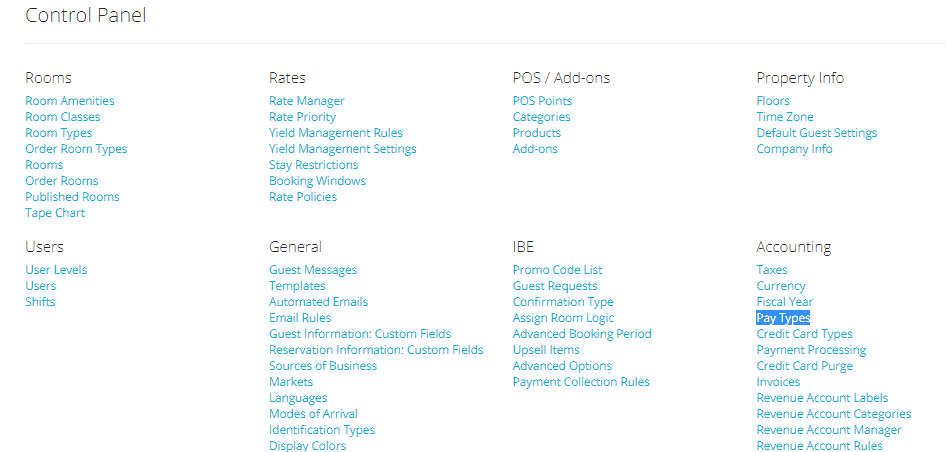
- In the Admin Settings, click on the blue link Pay Types under section Accounting:
- You will see a list of some defaulted pay types already enabled for your account:
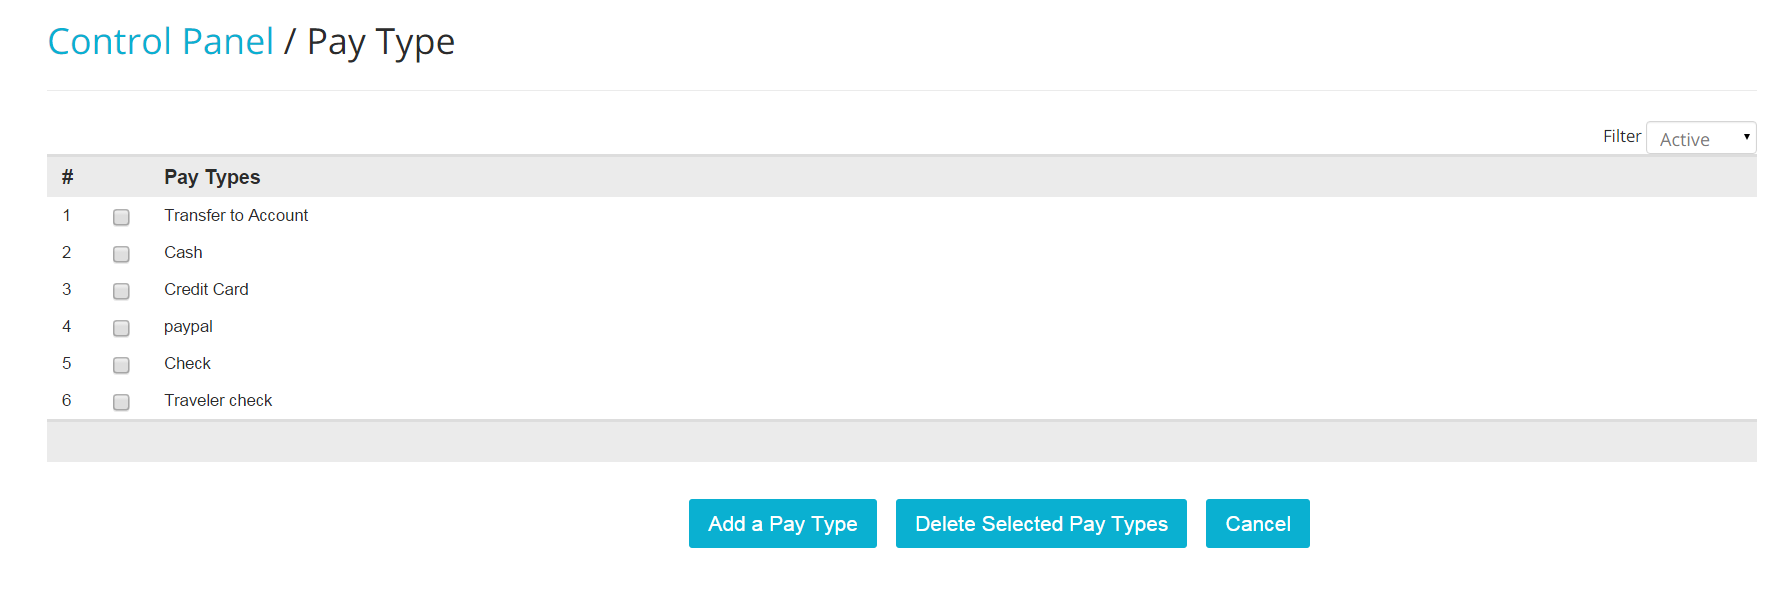
- To Add a Pay Type, click on the blue button Add a Pay Type:

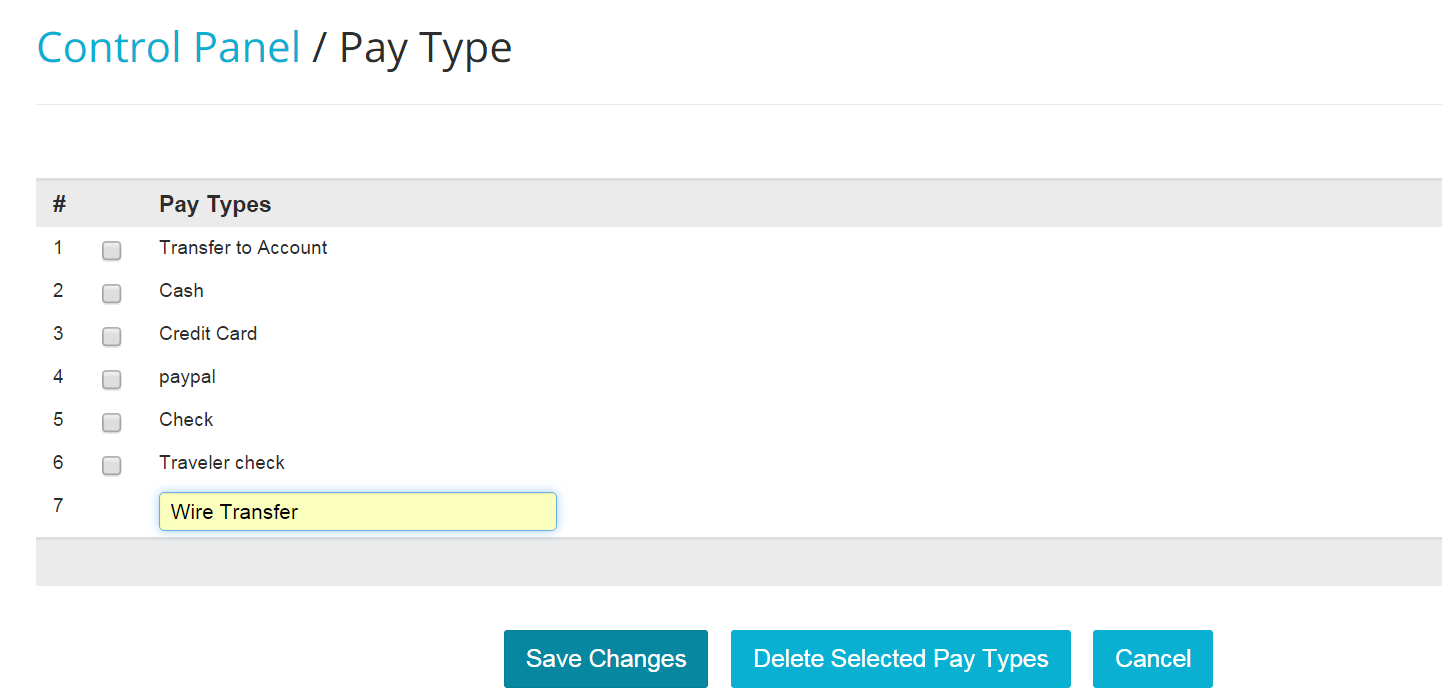
- A new row will appear along with an editable text box where you will need to insert the name of the new type of payment you want to add. Click on the button Save when finished:
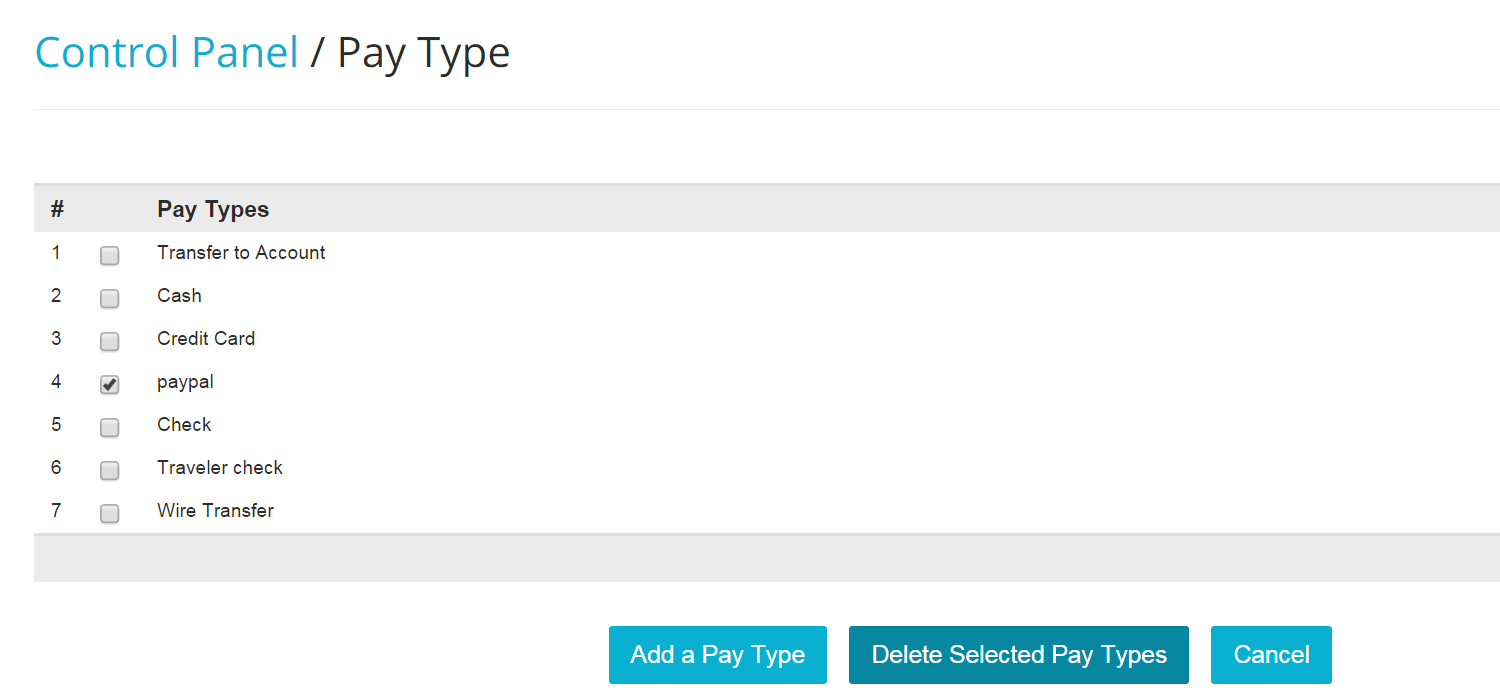
- To Delete a Pay Type, select it by checking the box on its left side and click on the blue button Delete Selected Pay Types:
##Credit Card Types
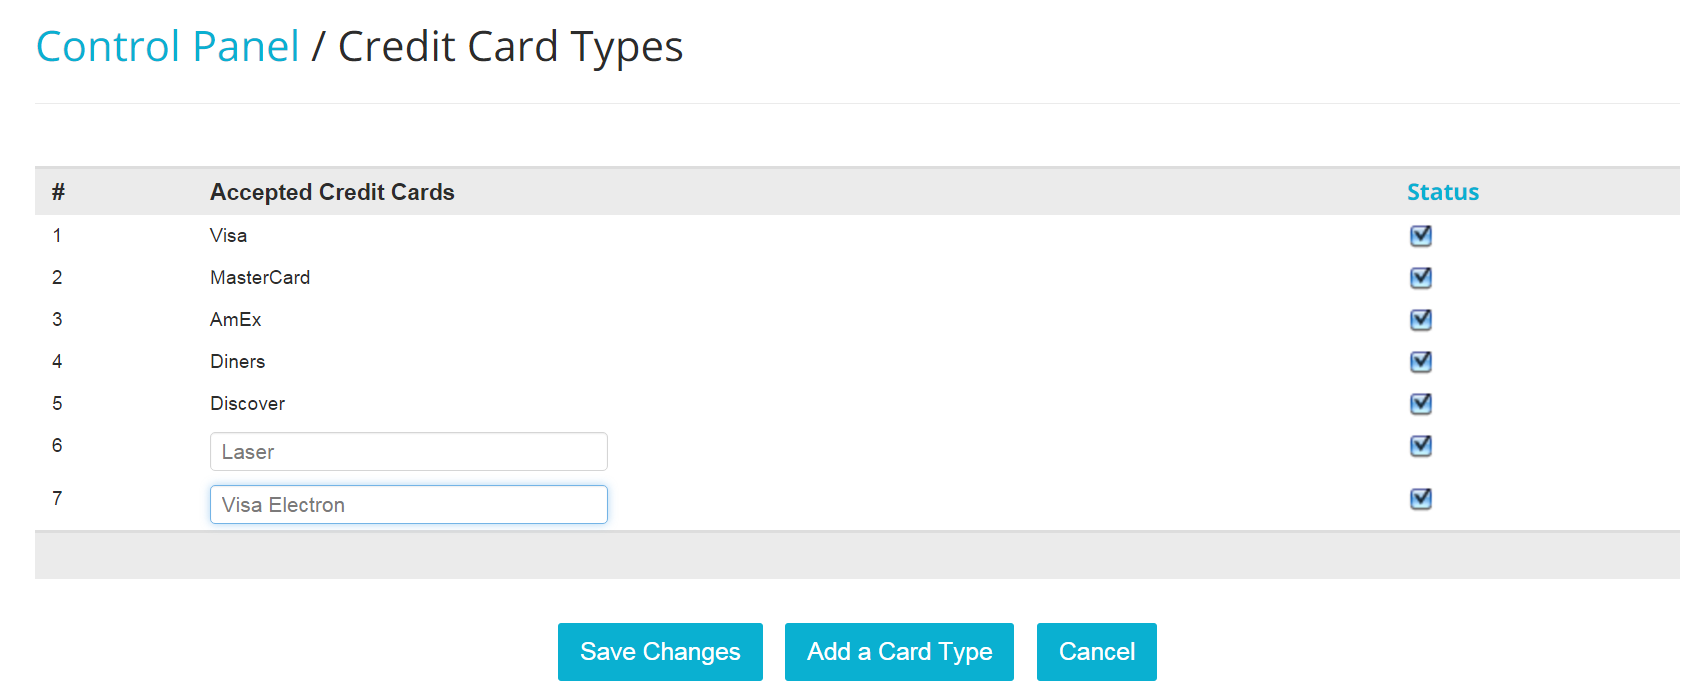
Along with Pay Types you can also configure all credit cards accepted at your property. Note that all accepted cards will show on your booking engine as available payment methods for your guests, and it is for this reason important to have them up to date.
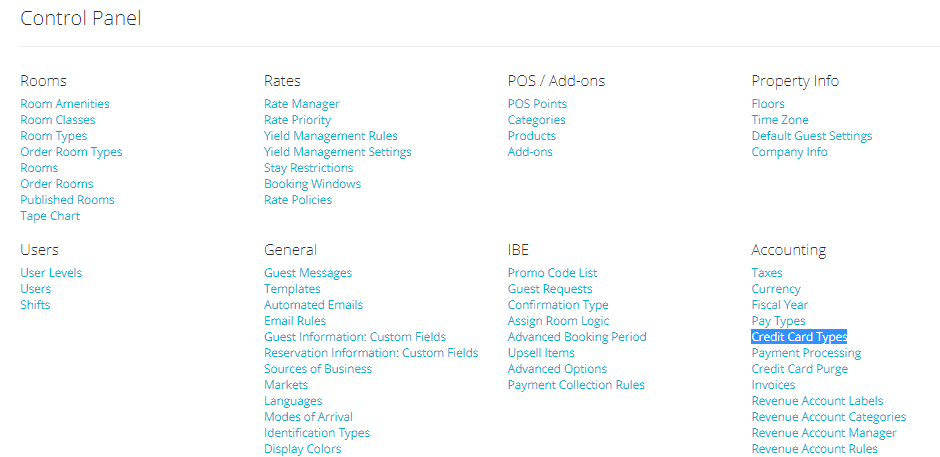
- Click on the blue link Credit Card Types under section Accounting:
- You will see a list of some credit card types that by default are already active on your account:
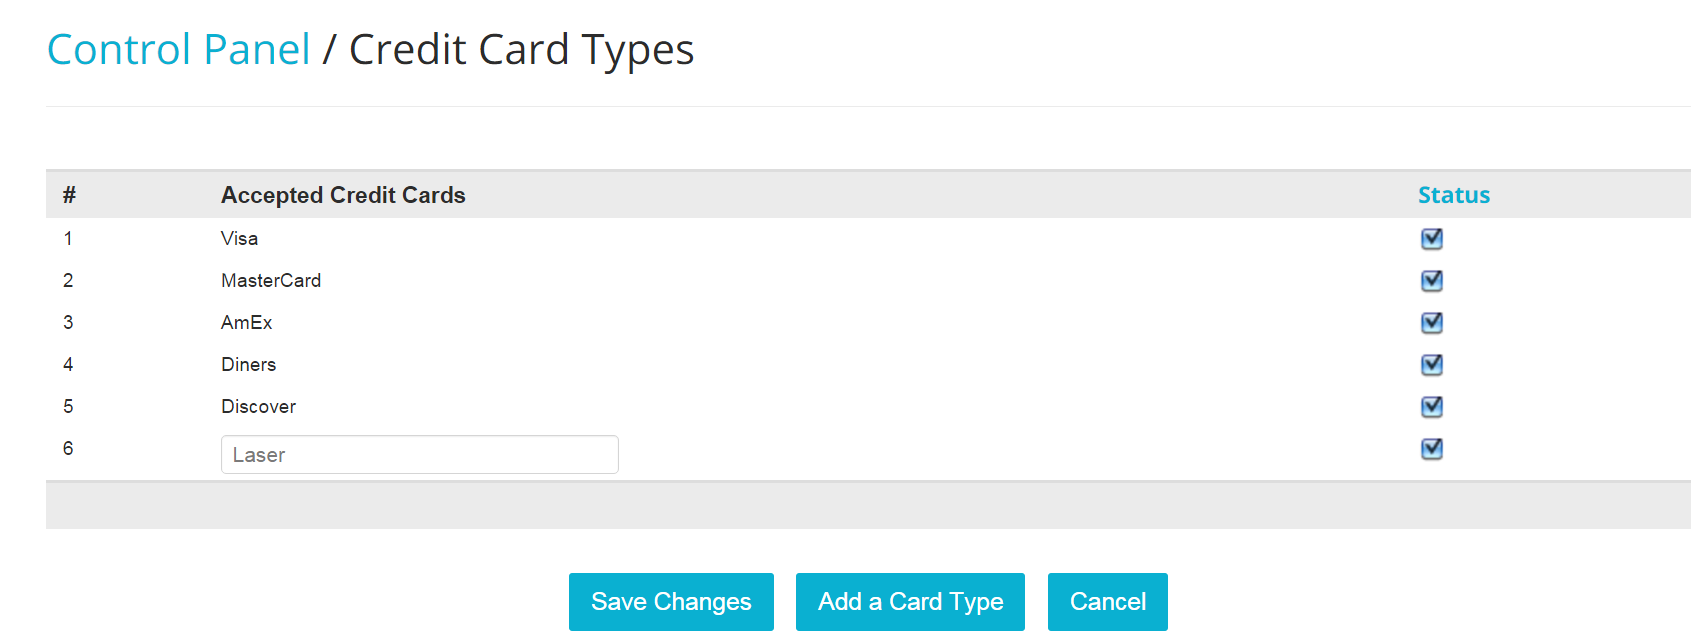
- To Add a credit card type, click on the blue button Add a Card Type: a new row will appear with an editable text box; insert the name for your card type and click on the blue button Save Changes:
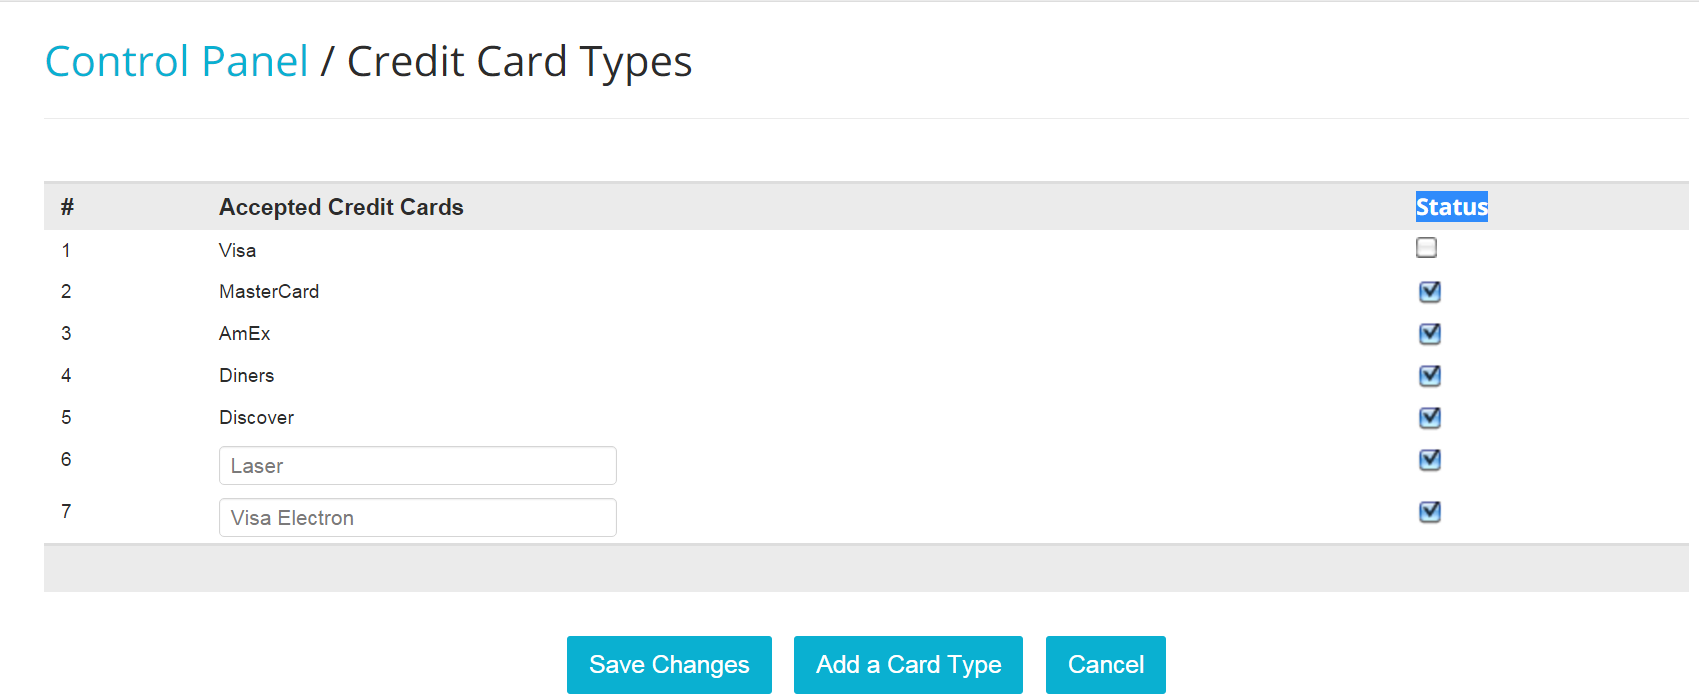
- To Deactivate a credit card type, uncheck the box under column status on the right hand side of the type you want to make inactive:
##Payment Processing
Your PMS can integrate with many secure payment gateways that will make charging a guest’s card much faster and your check-in process much easier!
- In the Admin Settings, click on the link Payment Processing under section Accounting:
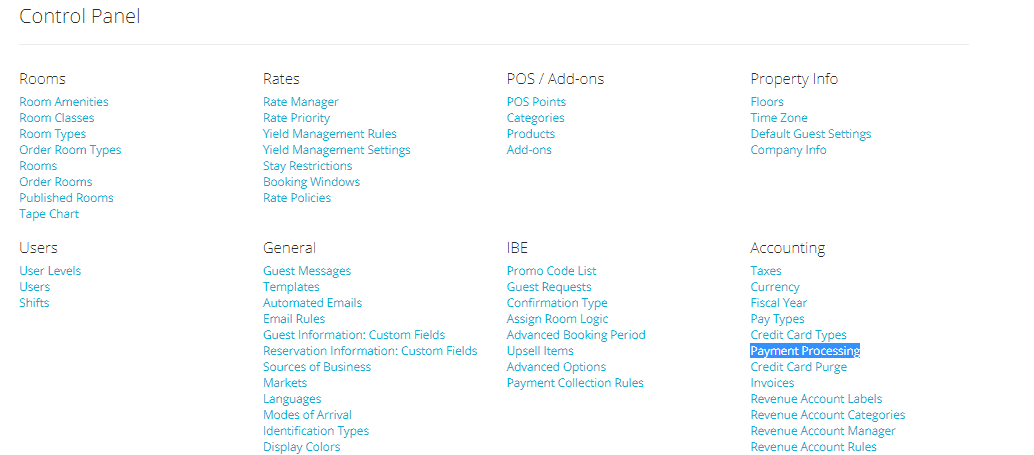
- To add your Payment Gateway, click on the blue button Add Payment Gateway:

- Find your gateway among the ones in the list.
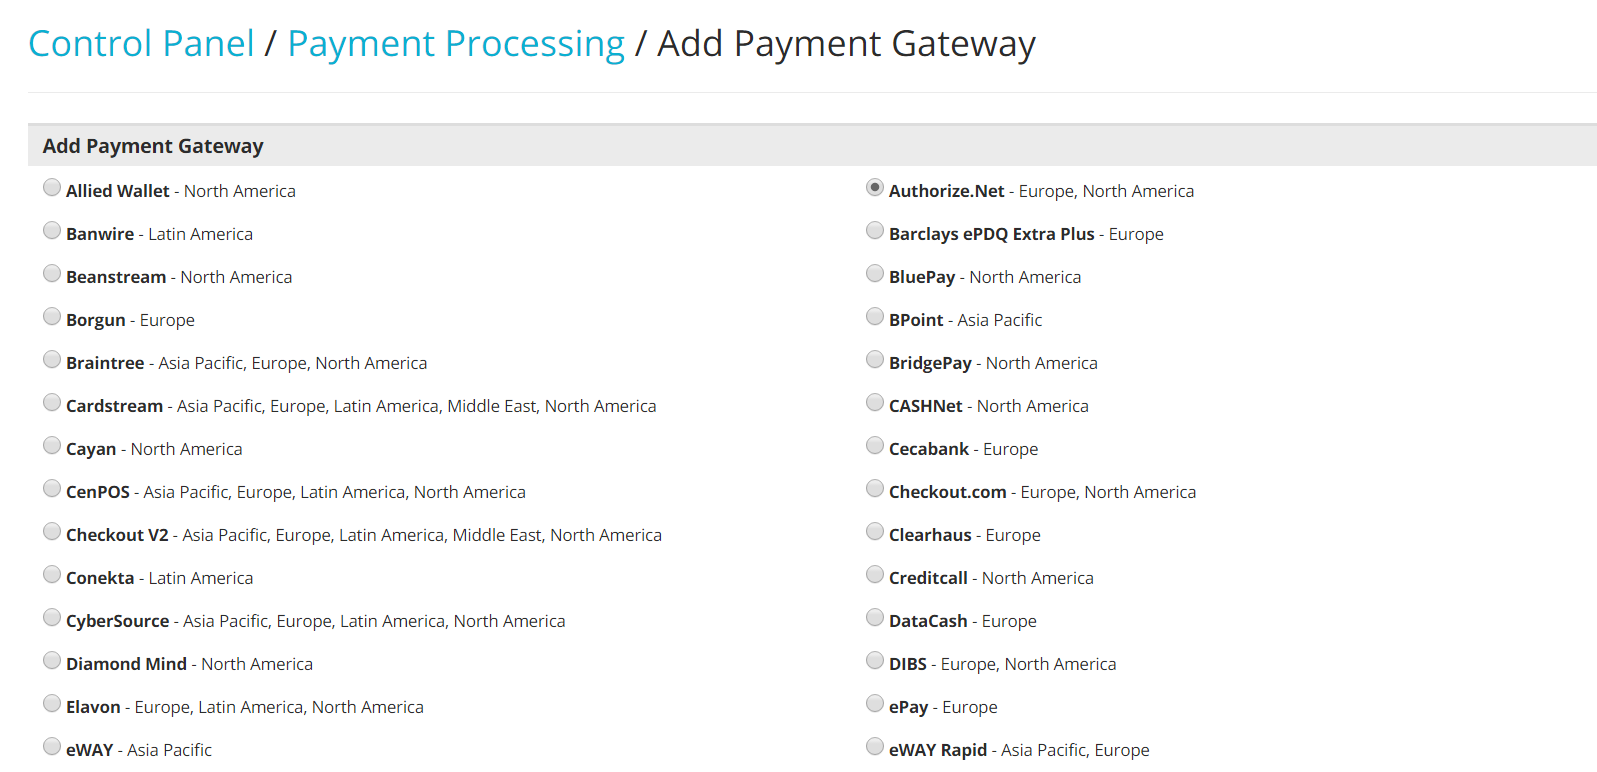
- Scroll all the way down and go to the bottom of the page: type in the gateway name in the Payment Gateway Label textbox. Enter the username and password for the gateway and click on the blue button Add Gateway:
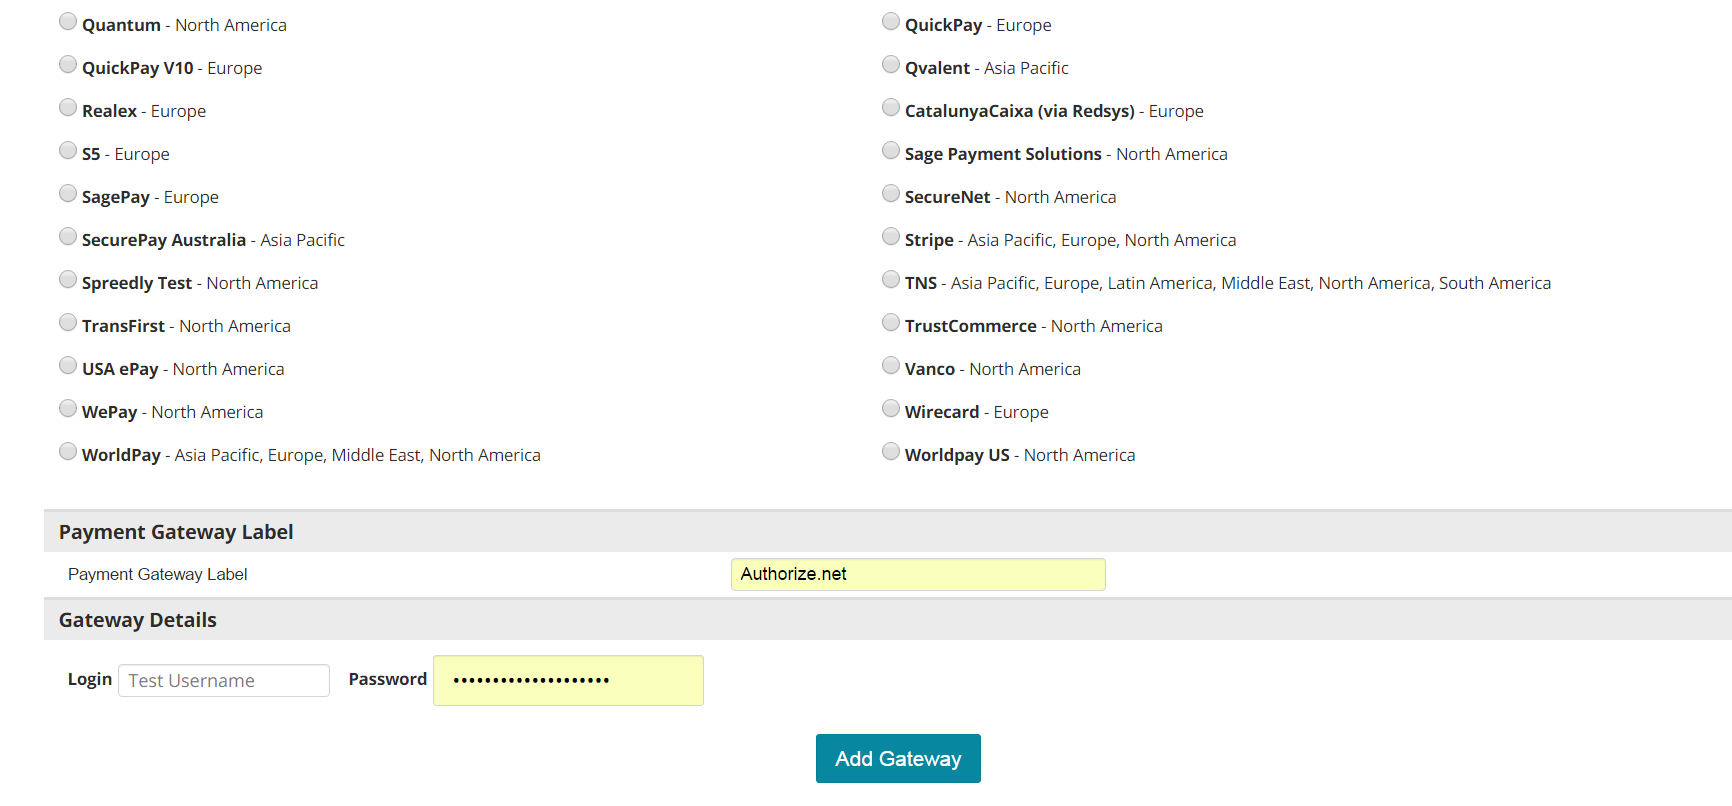
Note: the username and password might not be called 'username' and 'password'. Each gateway has its own name for API credentials. We advise you to speak to your gateway;s representative if you are unable to find this information. If you have any questions or issues during the set up of Payment Processing, send an email to help@frontdeskanywhere.com
- You will now be able to see the payment gateway:

- All is left to do is enable the gateway on both/either the Frontdesk area and/or your Booking Engine. Enabling the gateway on work area Frontdesk means guests’ cards can be charged directly from the folio. Enabling the gateway on IBE means credit cards can be authenticated and processed when guests book online on your website:
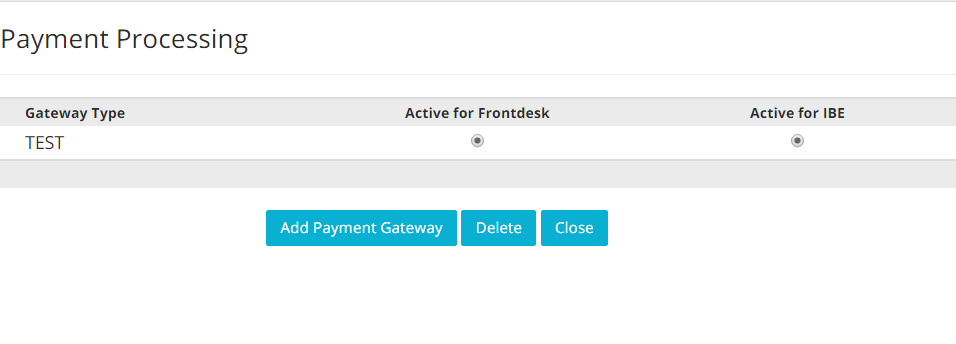
Learn how to configure the way the system is to charge your guests’ cards on IBE by reading chapter IBE, section Payment Collection Rules.
##Credit Card Purge
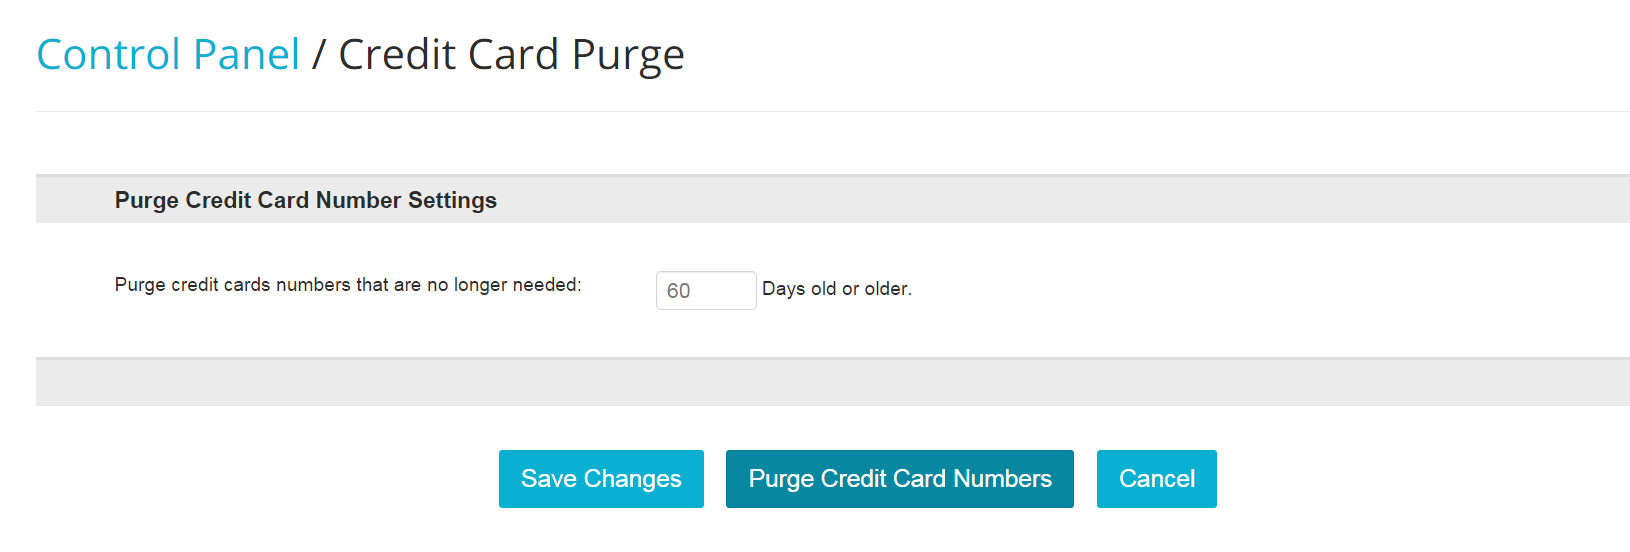
As a security measure Frontdesk Anywhere enables automatic erasing on a regular basis, the details of your guests’ credit card stored in your account.
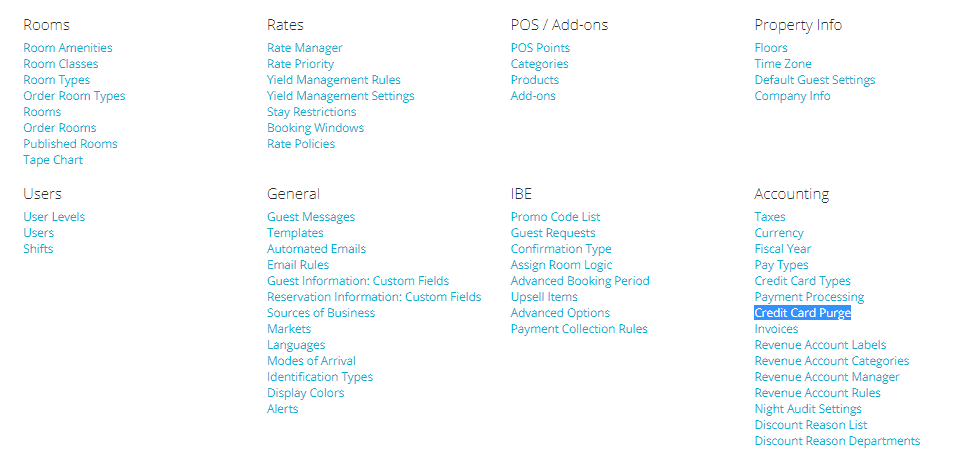
- In the Admin Settings, click on the blue link Credit Card Purge under section Accounting:
- Type in the textbox with a number by keeping in mind that all credit card stored for more than the time frame you set, will be automatically erased. Click Save when finished:
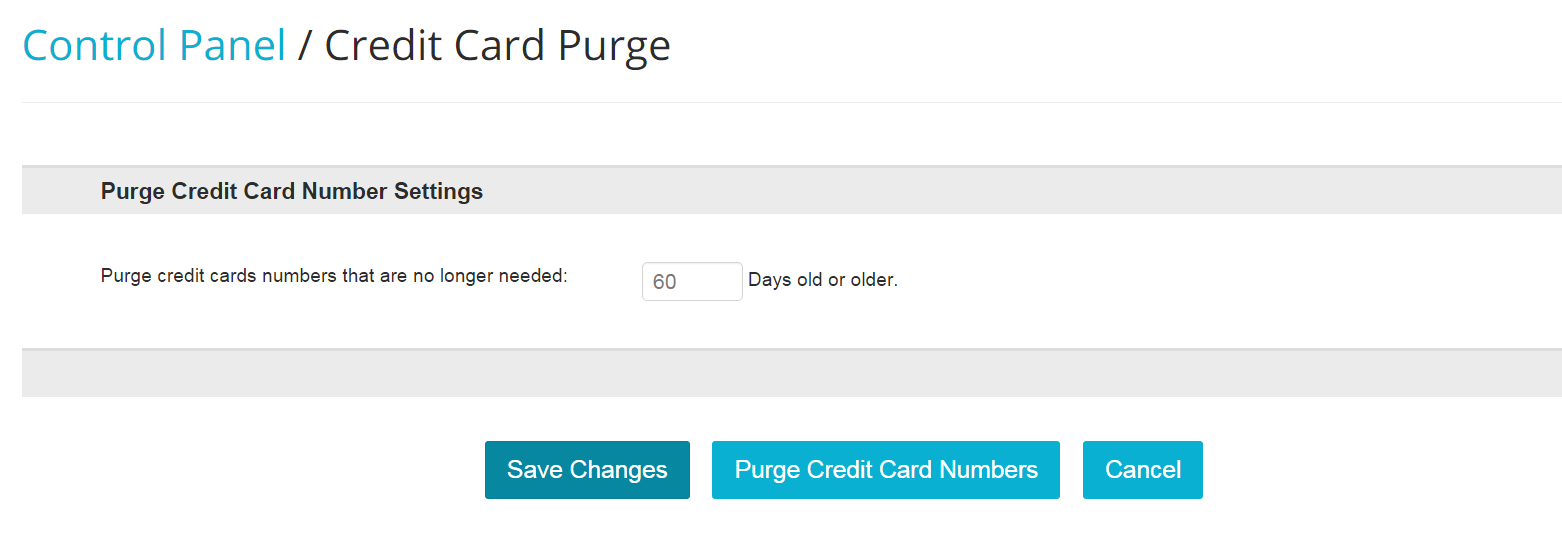
- The system will run once a day and erase all credit card information stored in the system, for the time frame you set up: if you wish to manually do this process, click on the blue button Purge Credit Card Numbers:
##Invoices
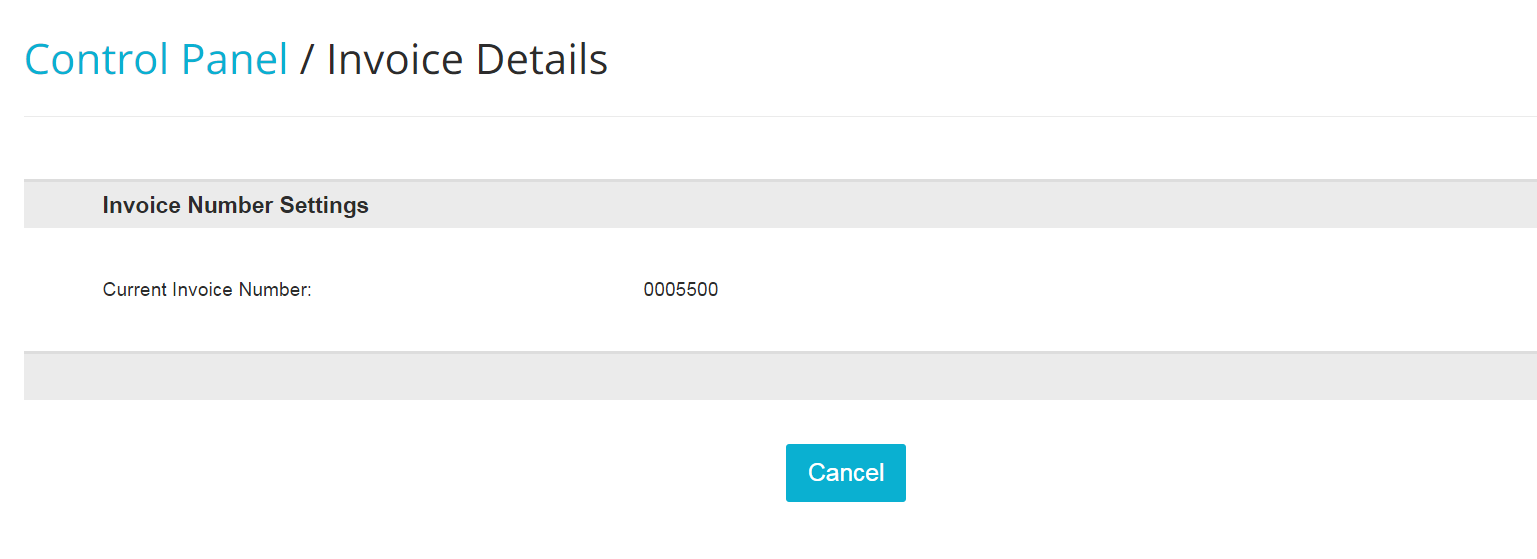
You can check the number of your invoices with a simple click!
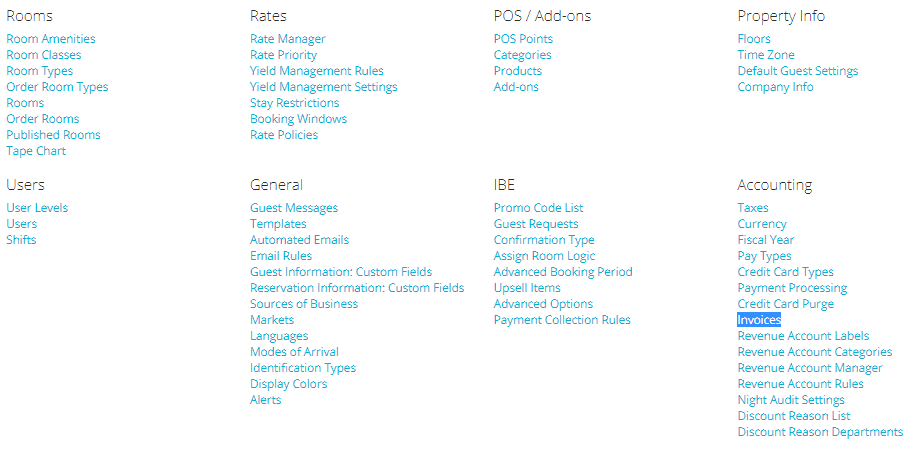
- Click on the link Invoices under section Accounting:
- The number of your Invoices will show at the center of the panel:
##**Adjustment Reasons List **
You may want to set up a list of reasons for those discounts/adjustments that your hotel happens to give out regularly. Setting them up allows you to keep track of the reasons why discounts are given.
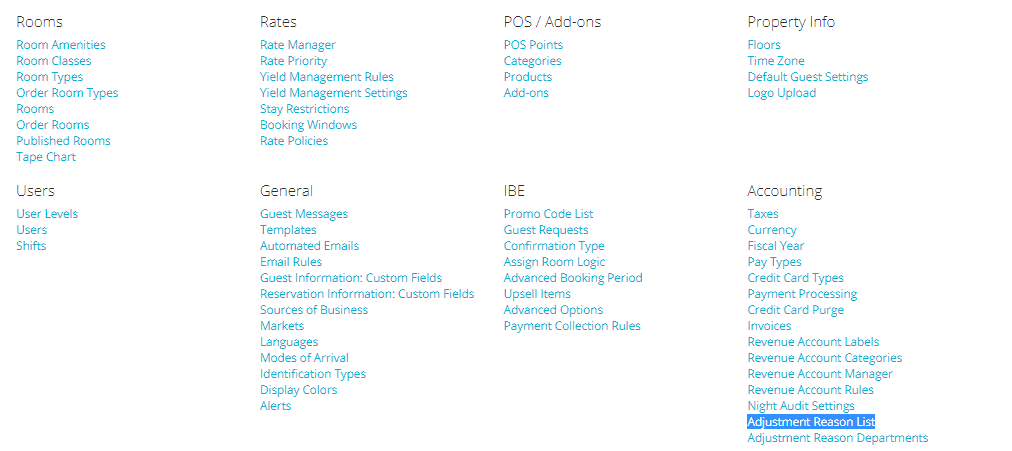
- In the Admin Settings, click on the link Adjustment Reasons List, under section Accounting:
- Click on the blue button Add an Adjustment Reason:
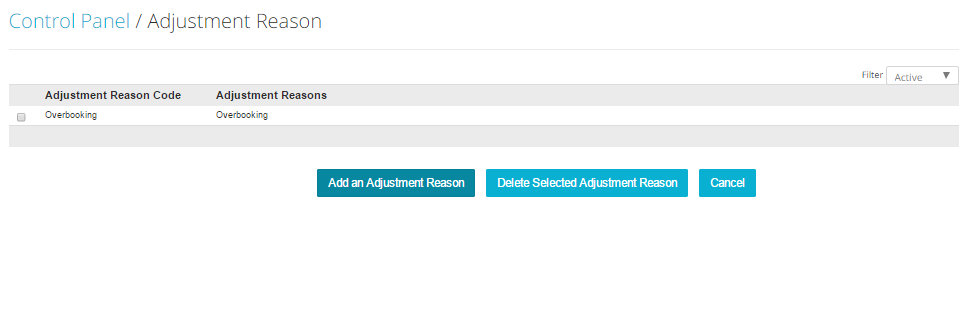
- Type in the name of the Discount Reason and a short code for it, if applicable otherwise simply re-type in the Discount name. Once ready, click on the blue button Save Changes when finished:

- To DELETE a Discount Reason, select it by checking the box on the left hand side and click on the blue button Delete Selected Adjustment Reason:

Note: Make sure that you have at least one Adjustment Reason built in your account, as the system won't allow you to erase all of them.
- You can UN-DELETE a previously deleted Adjustment Reason: on the top right hand side, select Deleted from the scroll down menu with the written Active.

- Select the Adjustment Reason you want to re-activate by checking the box on the left side of the panel; then click on the blue button Undelete Selected Adjustment Reason:

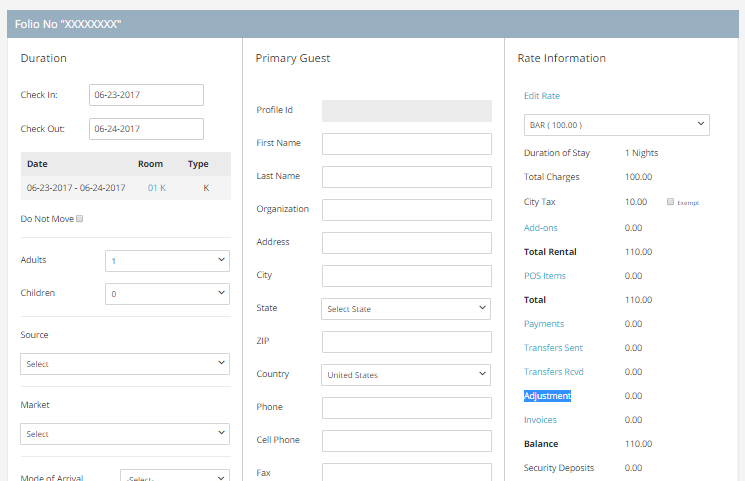
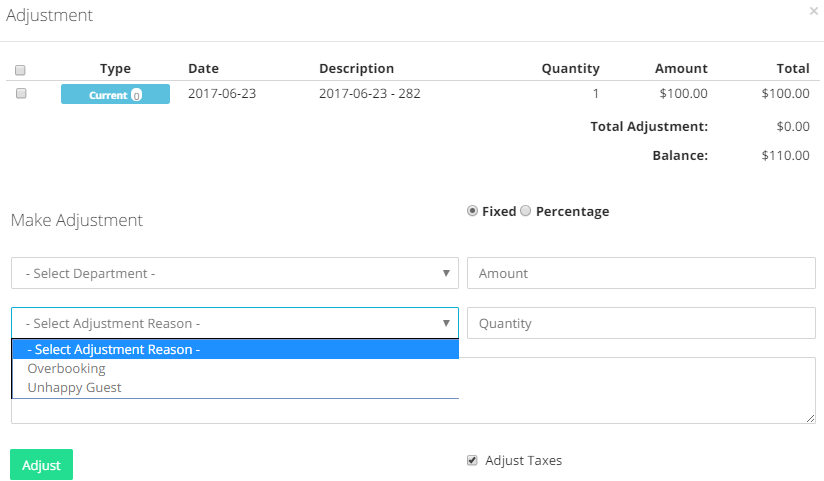
Your active Adjustment Reasons will appear on each reserved folio, under section Adjustments:
Scroll down the menu with the tag Select Adjustment Reason:
##Adjustment Reasons: Department Options
You can create Department options for the Adjustment reasons you created, to make sure that all your discounts are approved and listed under the right department.
- In the Admin Settings click on the blue link Adjustment Reasons: Department Options under section Accounting:
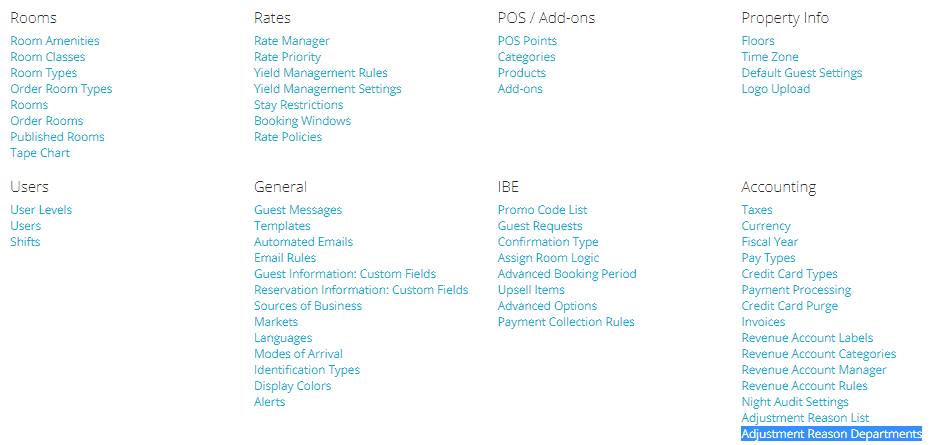
- To add a Department, click on the blue link Add Department:

- Insert the Department Code and the name of the Department: the first will appear in each reservation folio as an option to select. Click on the blue button Save when finished:
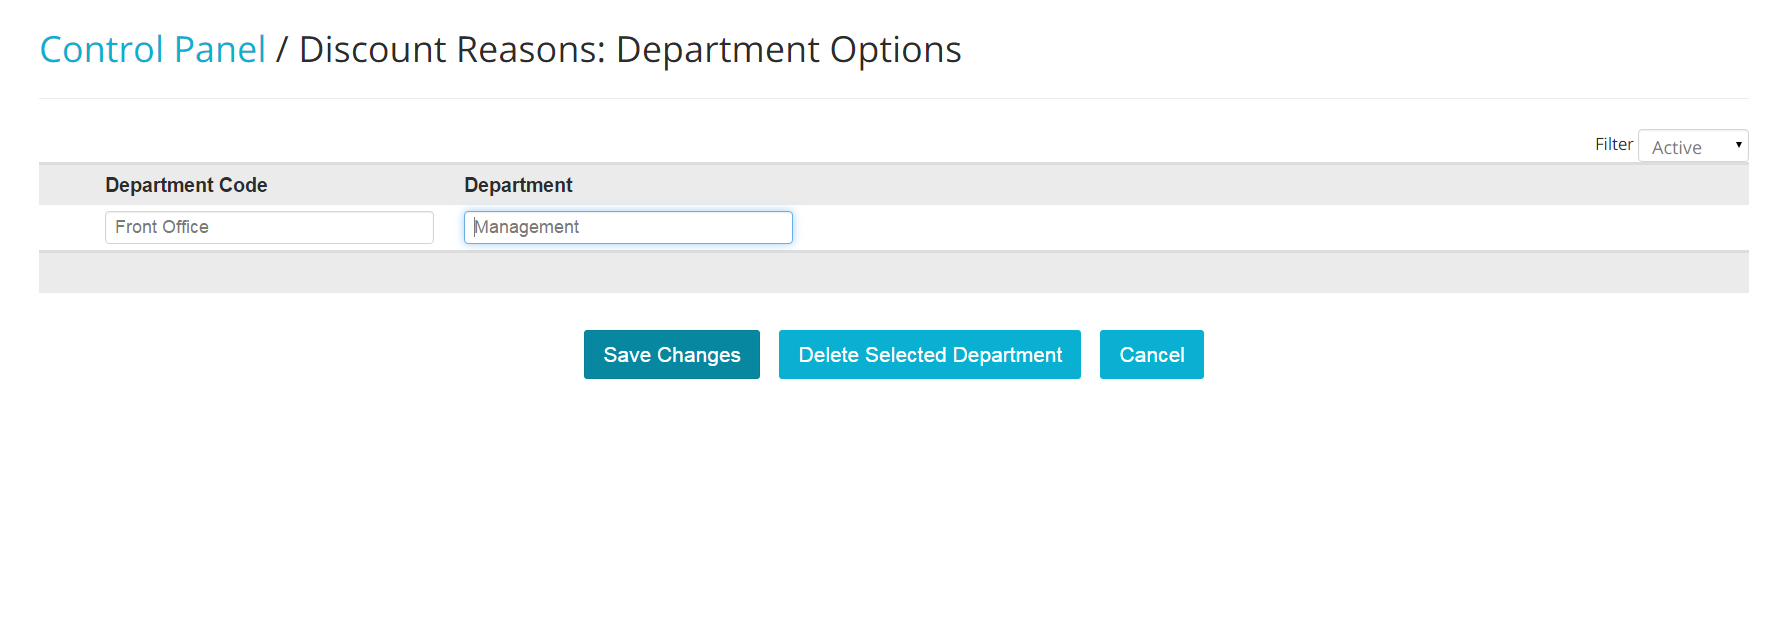
- To Delete a Discount Department, select it by checking the box on the left hand side and click on the blue button Delete Selected Department:
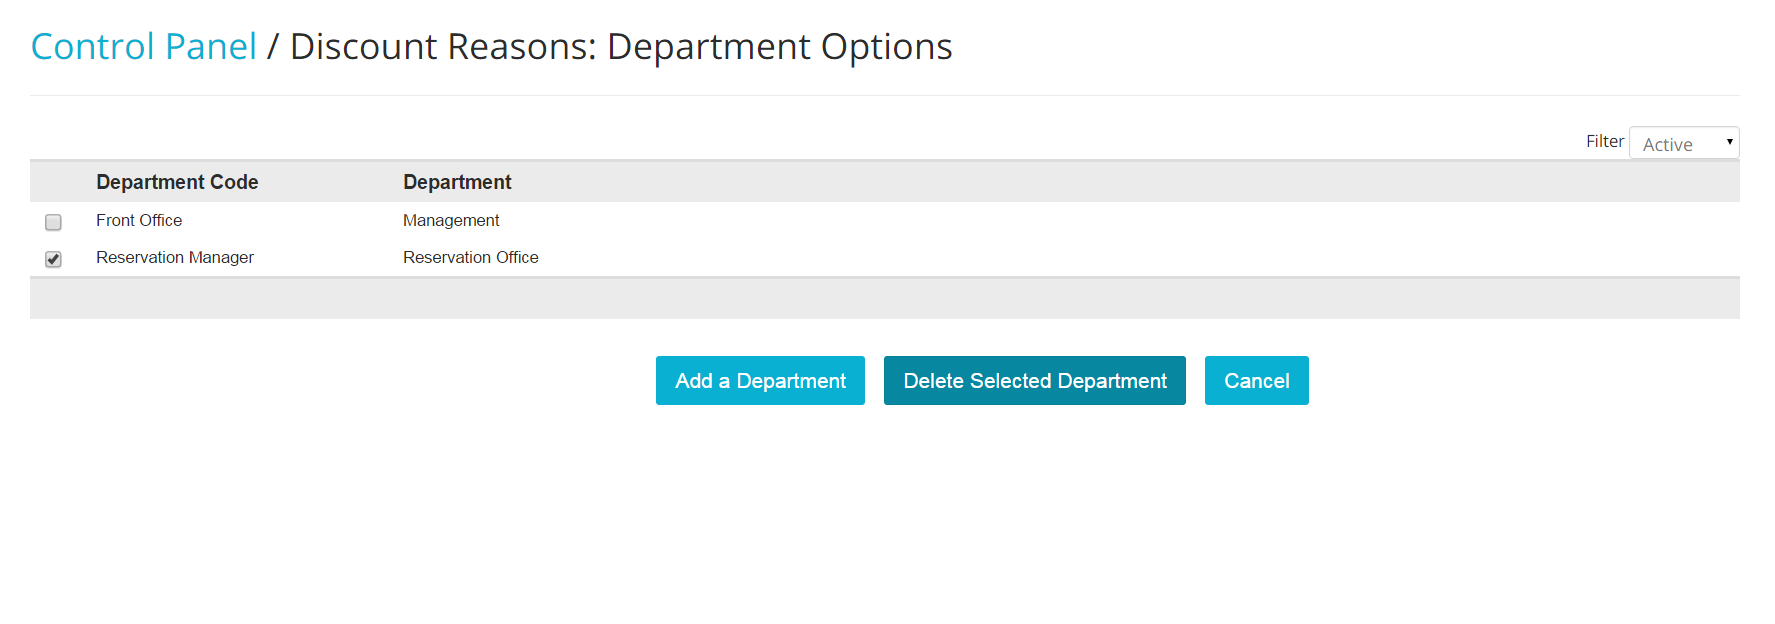
Note: Make sure that you have at least one Department Option built in your account, as the system won't allow you to erase all of them.
- You can make active those Department Options that have been previously deleted. Select the option Delete from the scroll down menu on the right hand side of the Department Option panel:

- Select it by checking the box on the left hand side of the item and click on the blue button UnDelete Selected Department:

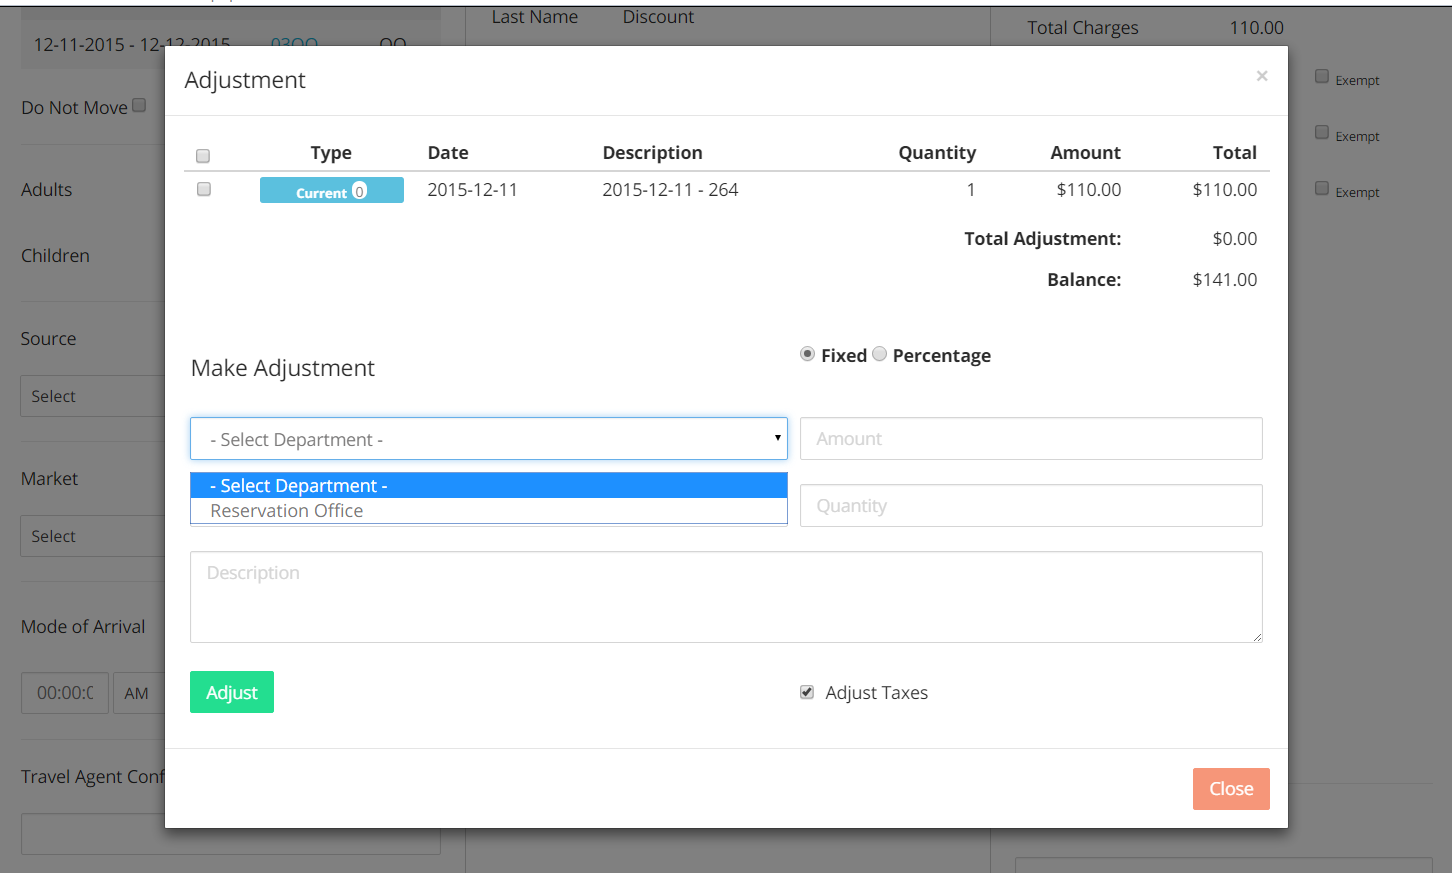
You will be able to find and select your active Discount Department Options in any reservation folio, under section Adjustment:
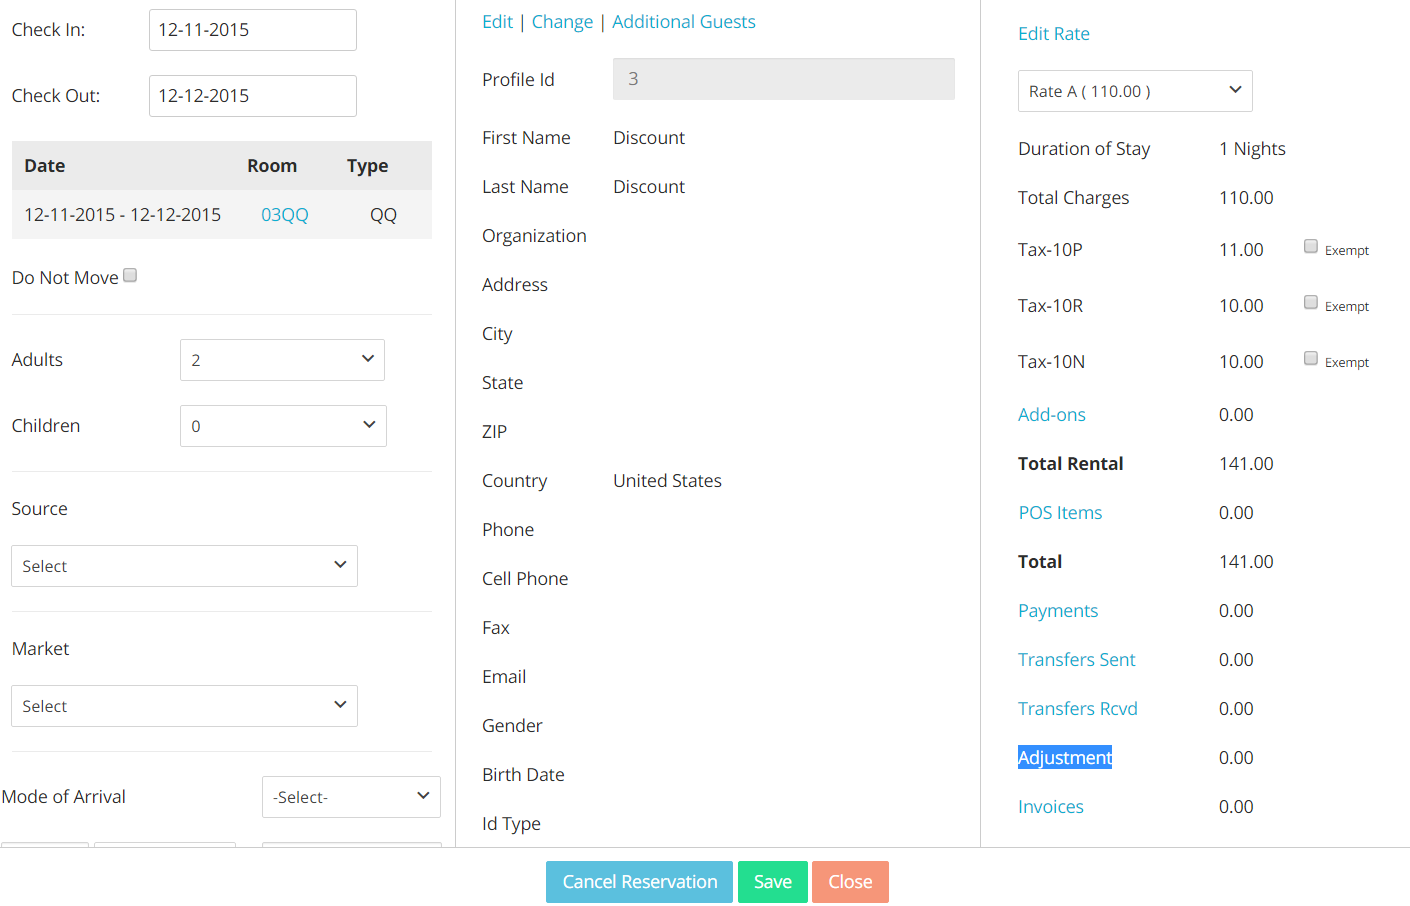
Click on the scroll down menu Select Department to choose the right option:
##Revenue Account Labels
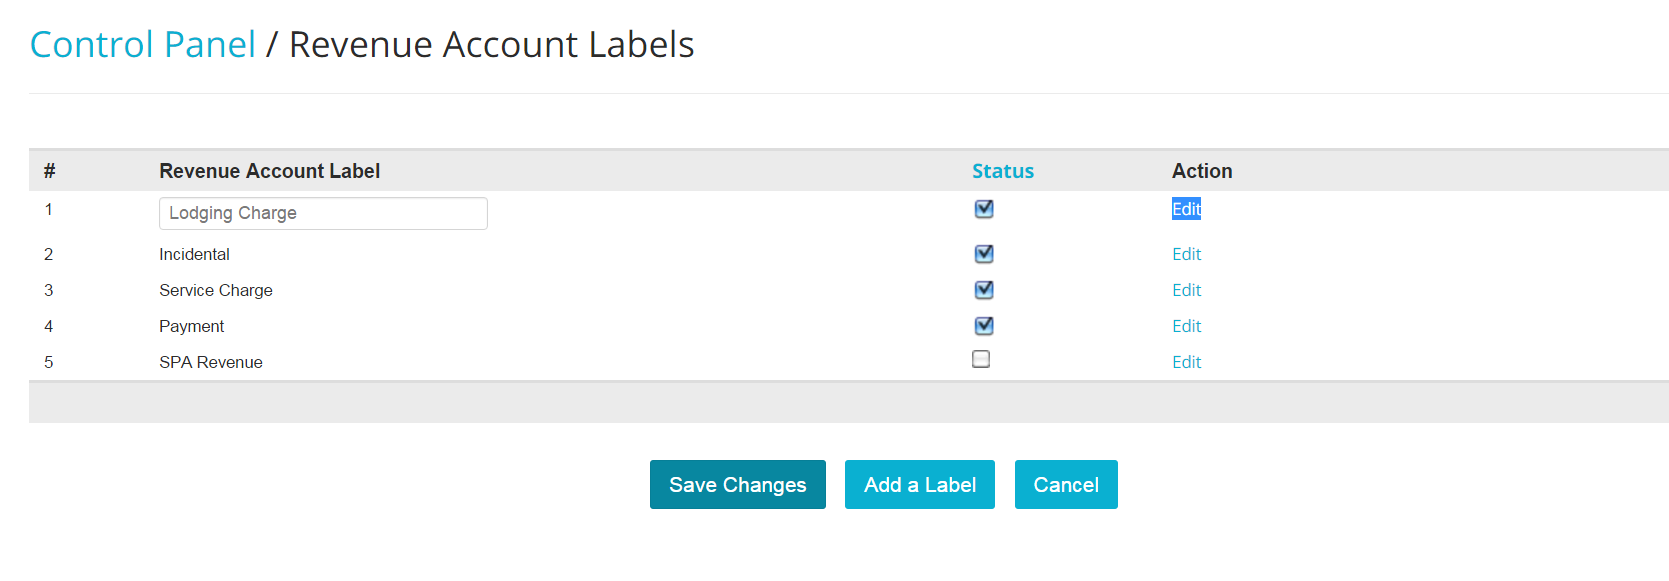
Revenue Account Labels are customizable tags that will help you organizing your reports. Thanks to these Labels you can group together similar items you are selling at your property (where item is understood here as anything that produces revenue), and have a much better overview of where your earnings come from.
- In the Admin Settings, click on the blue link Revenue Account Labels:
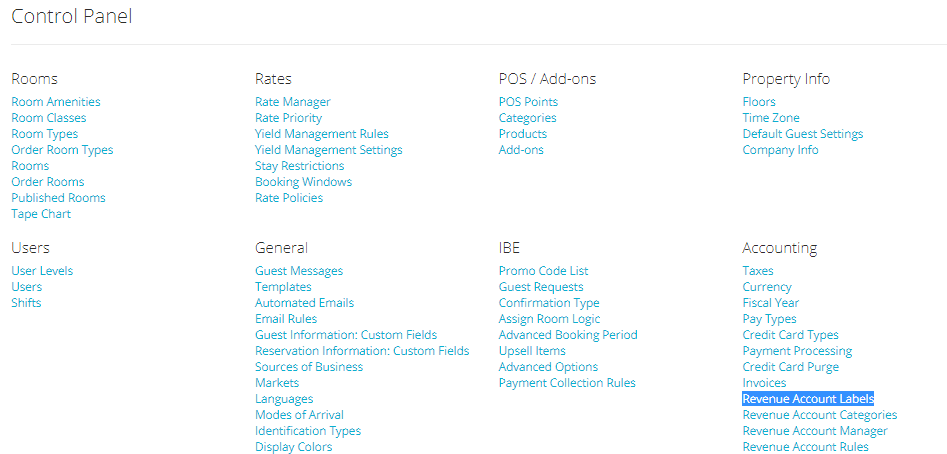
- To add a new Label, click on the blue link Add Label:
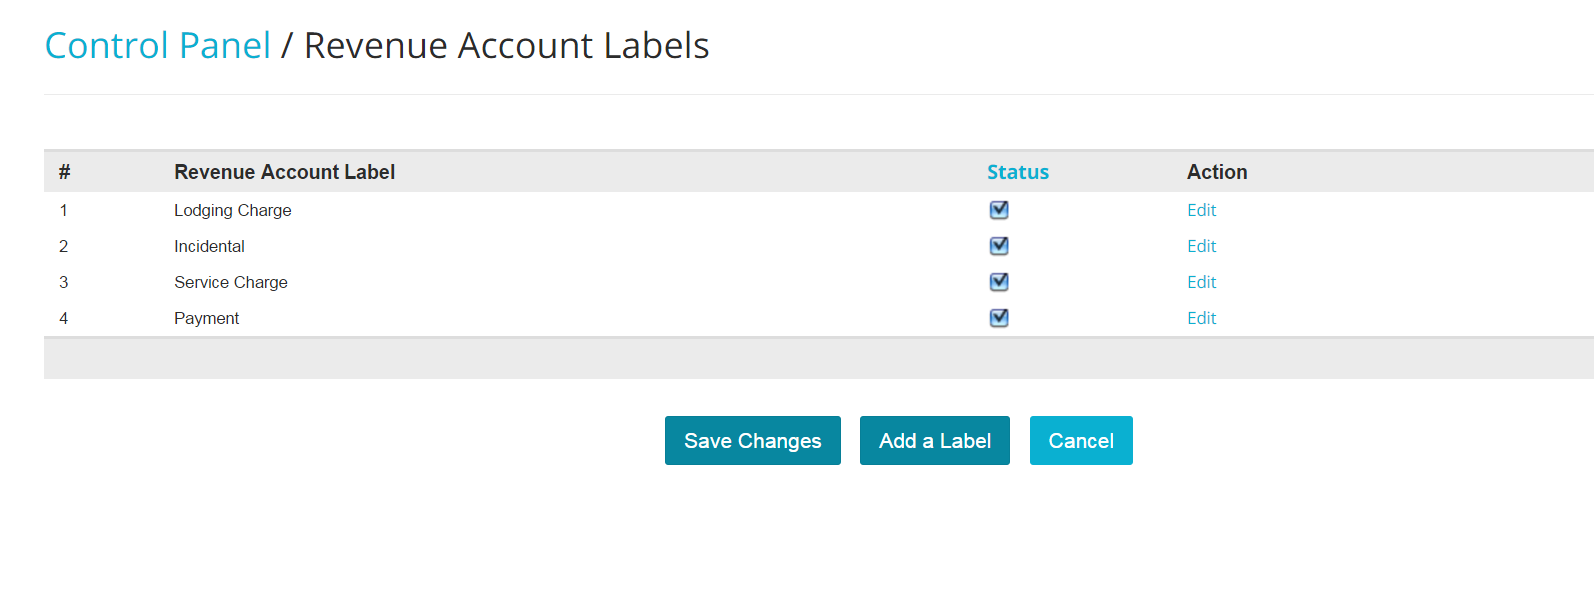
- Another editable row will appear; insert the name for the new label, and click on the blue button Save Changes:
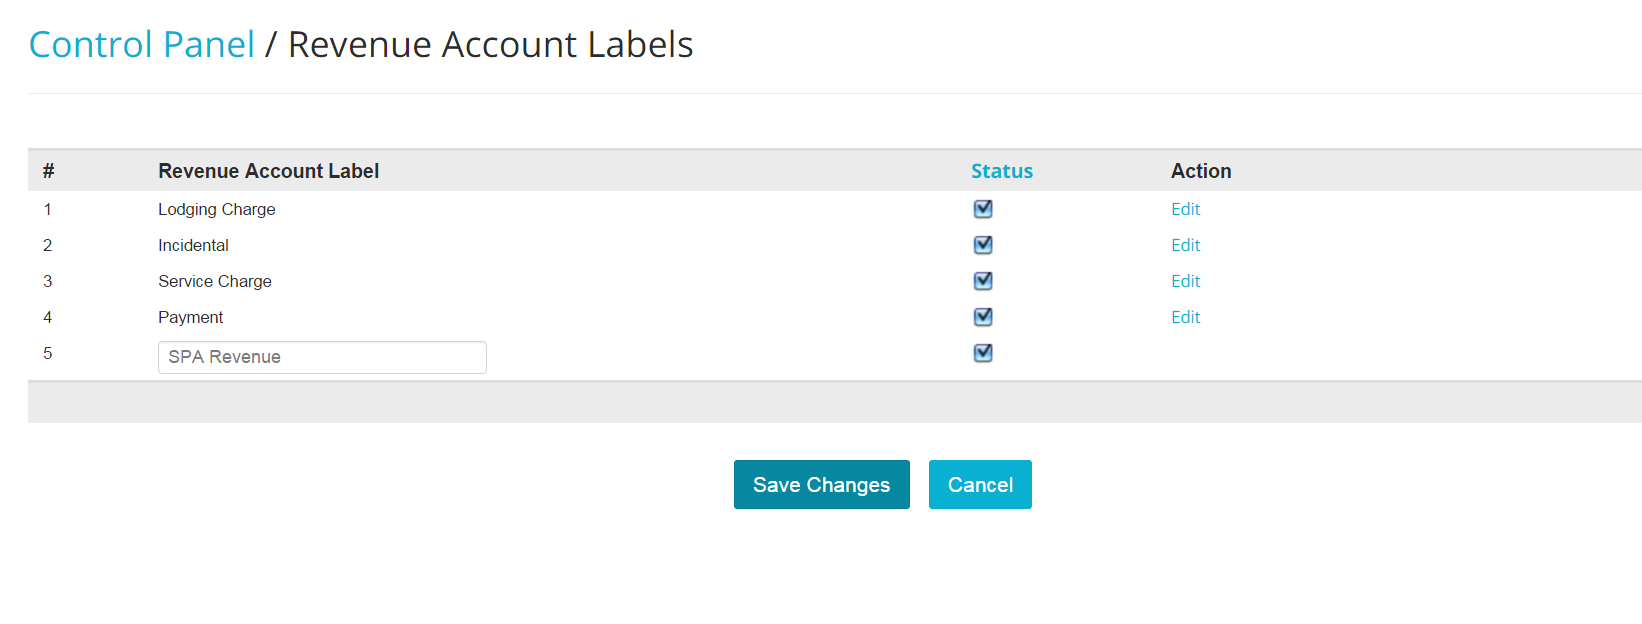
- To Deactivate a Revenue Label, simply uncheck the relevant box under section Status:
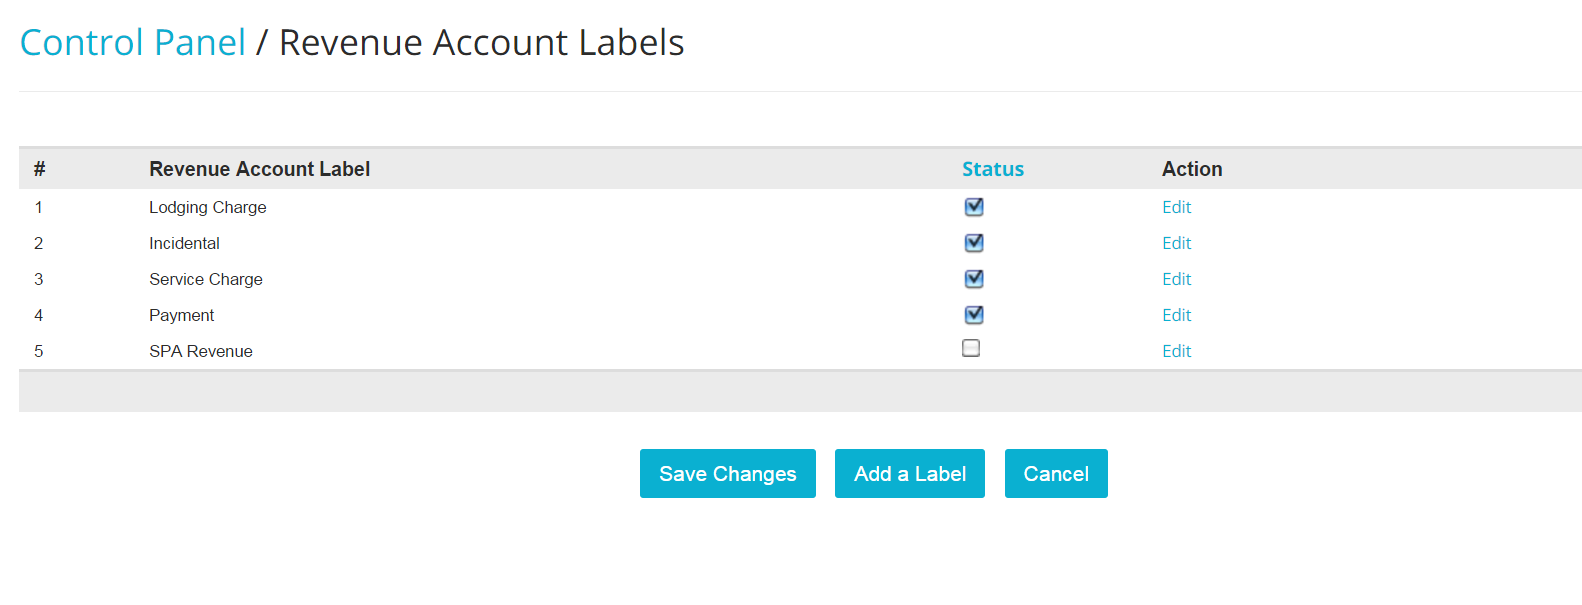
- To Edit a Label, click on the blue link Edit on the right hand side of any label: the text in the panel will become editable, so you can amend the label name. When done, click on the blue button Save Changes:
You Revenue Labels will appear as filters in some of your Reports. Below is an example of a report you can organize by Revenue Label:

##Revenue Account Categories
Revenue Account Categories are used to group together Revenue Account Lables.
- In the Admin Settings, click on the blue link Revenue Account Categories, under section Accounting:
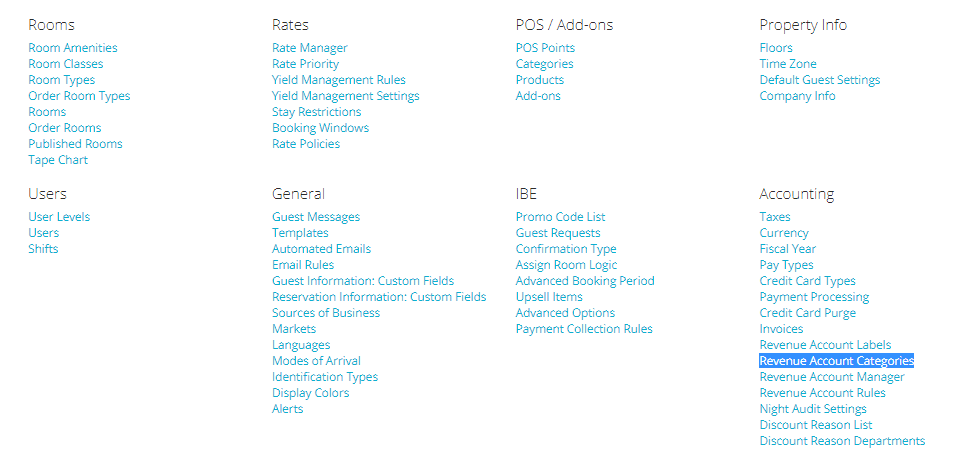
- To add a new Category, click on the blue link Add Category:

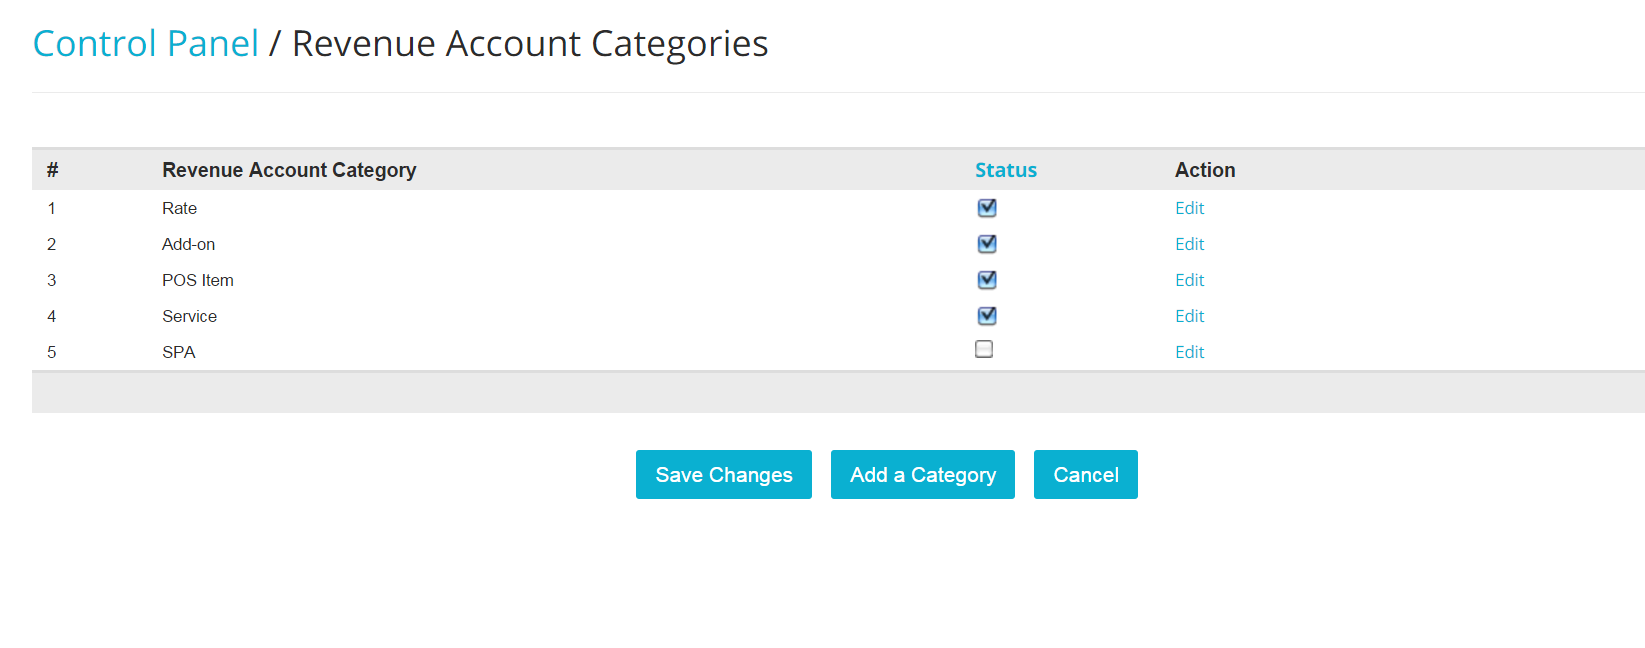
- You will see appearing a new editable row; insert the name for the new category, and click on the blue button Save Changes:

- To Deactivate a Revenue Category, simply uncheck the relevant box under section Status:
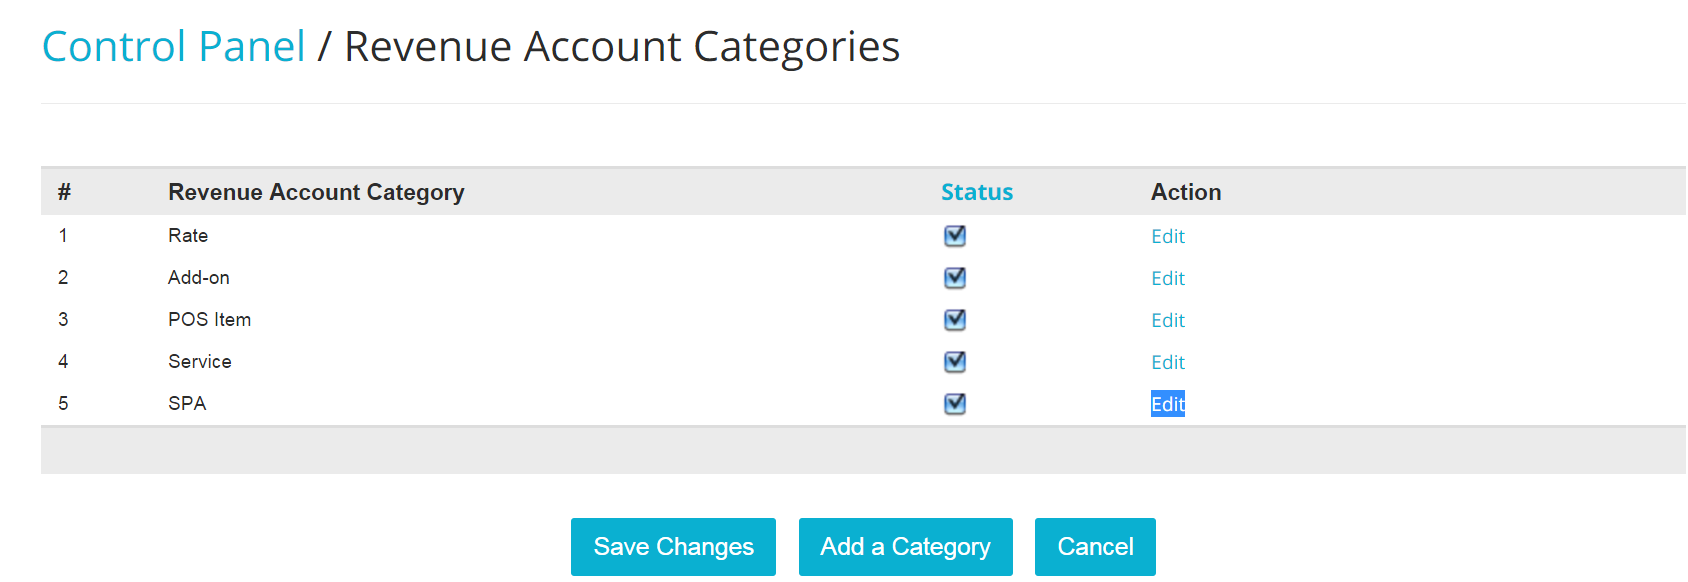
- To Edit a Category, click on the blue link Edit on the right hand side of any row: the text in the panel will become editable, so you can amend the category name. When done, click on the blue button Save Changes:
You Revenue Categories will appear as filters in some of your Reports. Below is an example of a report you can organize by Revenue Category:

##Revenue Account Manager
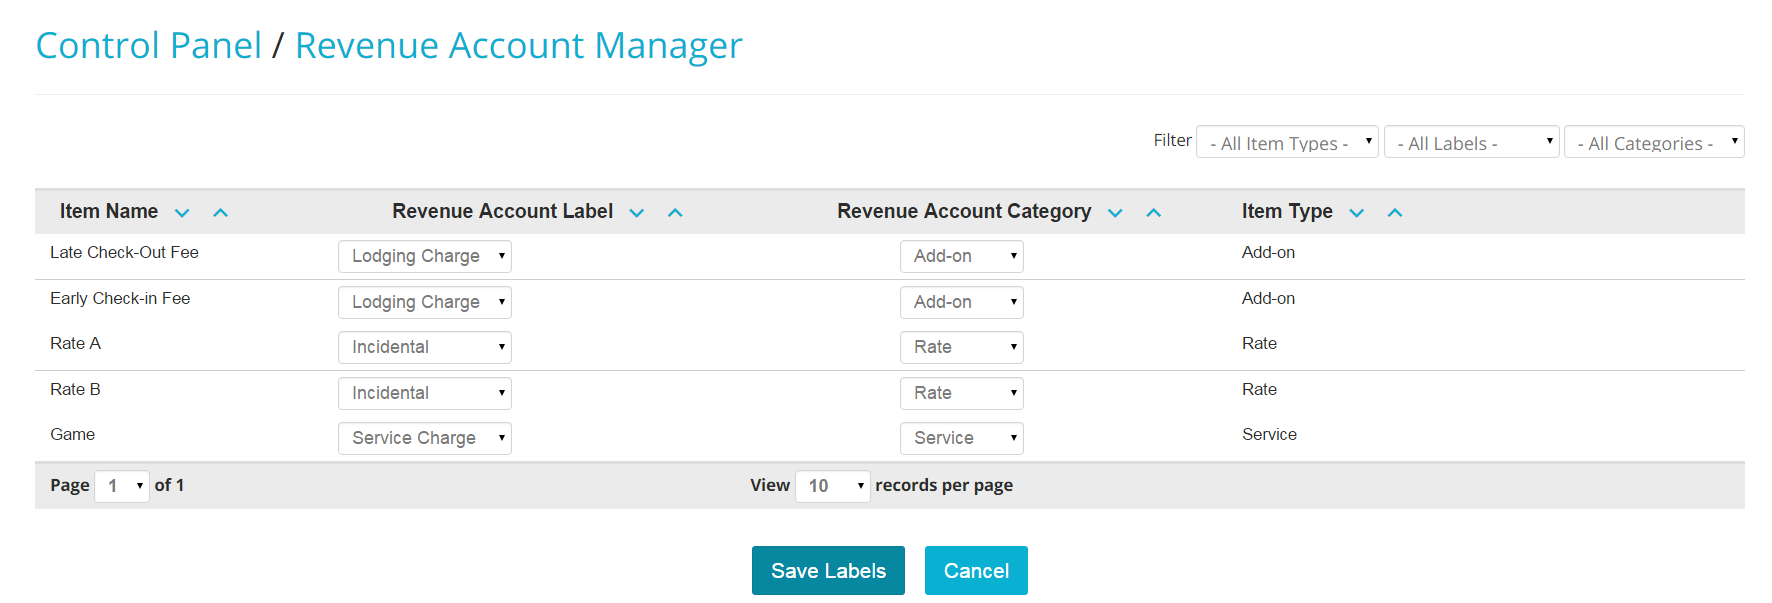
The Revenue Account Manager helps you associating the irght Revenue Label and Category to whatever item you are selling at your property. If you have taken care to set up your account by associating the right Category and Label to each item, you will see all ifnormation displayed correctly in this page. If you have not, this page will help you make the right association in a quick and easy way!
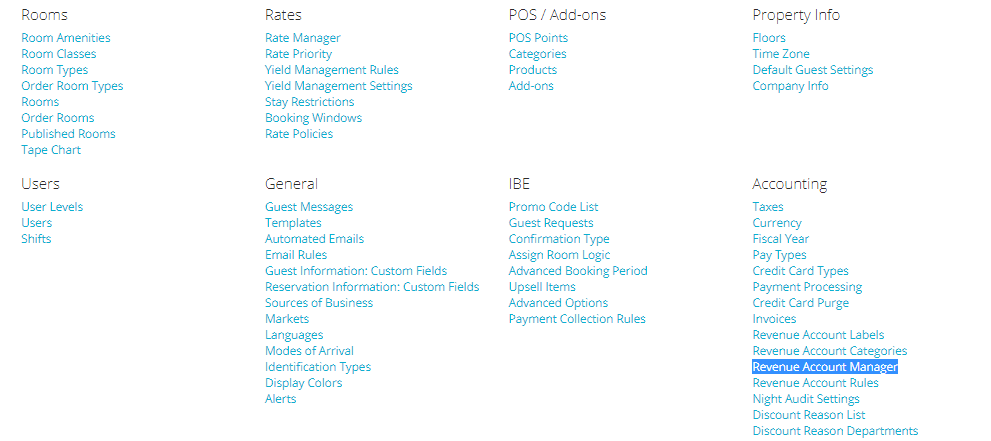
- In the Admin Settings, click on the blue link Revenue Account Manager, under section Accounting:
- On the left hand side, you will see a column with all the items that you have created in the system, and that you are currently selling. For each of those, choose the right Label and Category by looking up the right option in the scroll down menus:
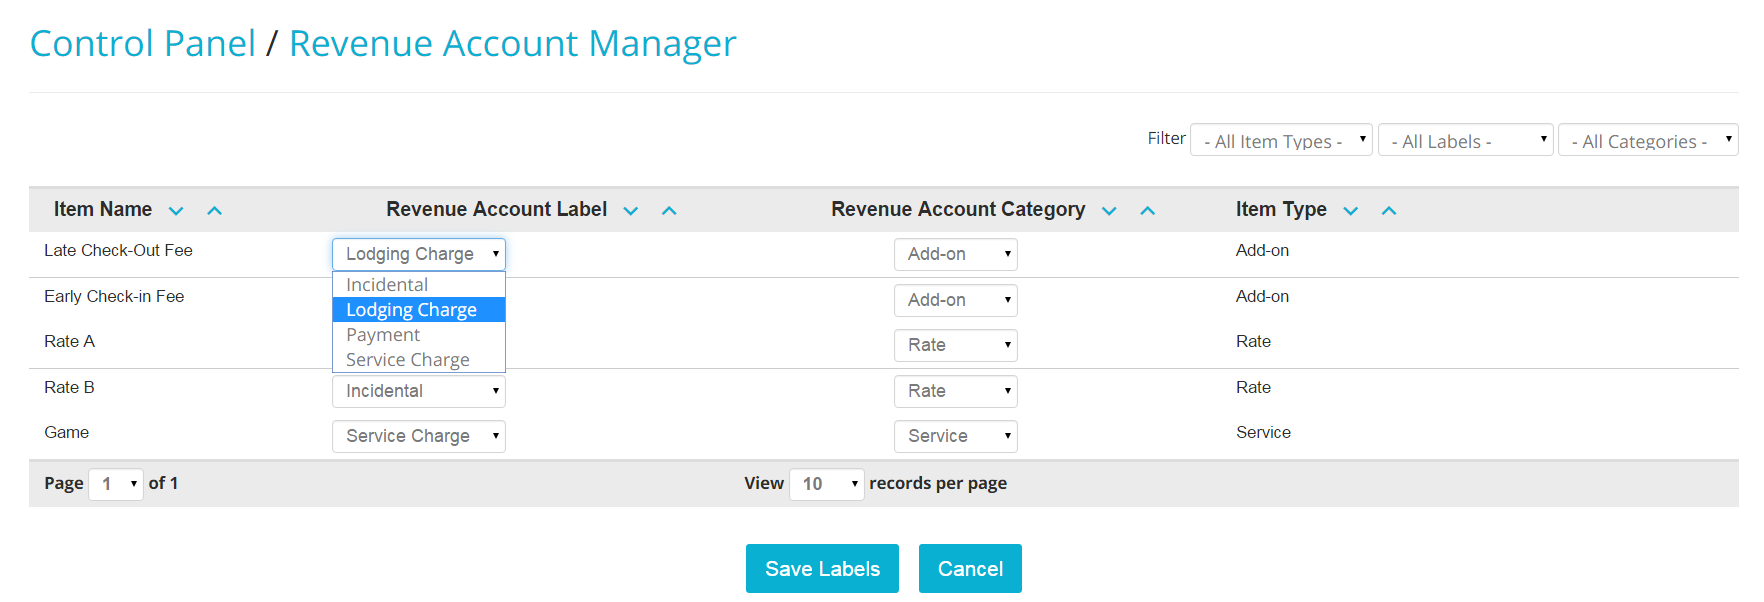
- Note that the column that describes what kind of item it is, is not editable: it just serves as a reminder of what type of item it is!

- When finished, click on the button Save Labels:
