The Profile Tab contains information about your guests, travel agents, companies, and any business source your hotels uses or has a partnership with. You can think of profiles as sort of special containers that gather a wide range of information, from demographics to payment history to guest preferences. Profiles are also very useful when creating new reservations, as information is stored and prompted as suggestions in the folios.
Getting Set Up/Profile Templates
Before you learn how to create and use the different profiles available for your account, it is important to have all templates set-up for this section. This is important to have everything ready, before you actually start using any of the profiles!
- To add the Templates and Messages you need, follow the instructions on section Templates in this manual.
Important: Remember to choose the option Profiles when you enable the template:
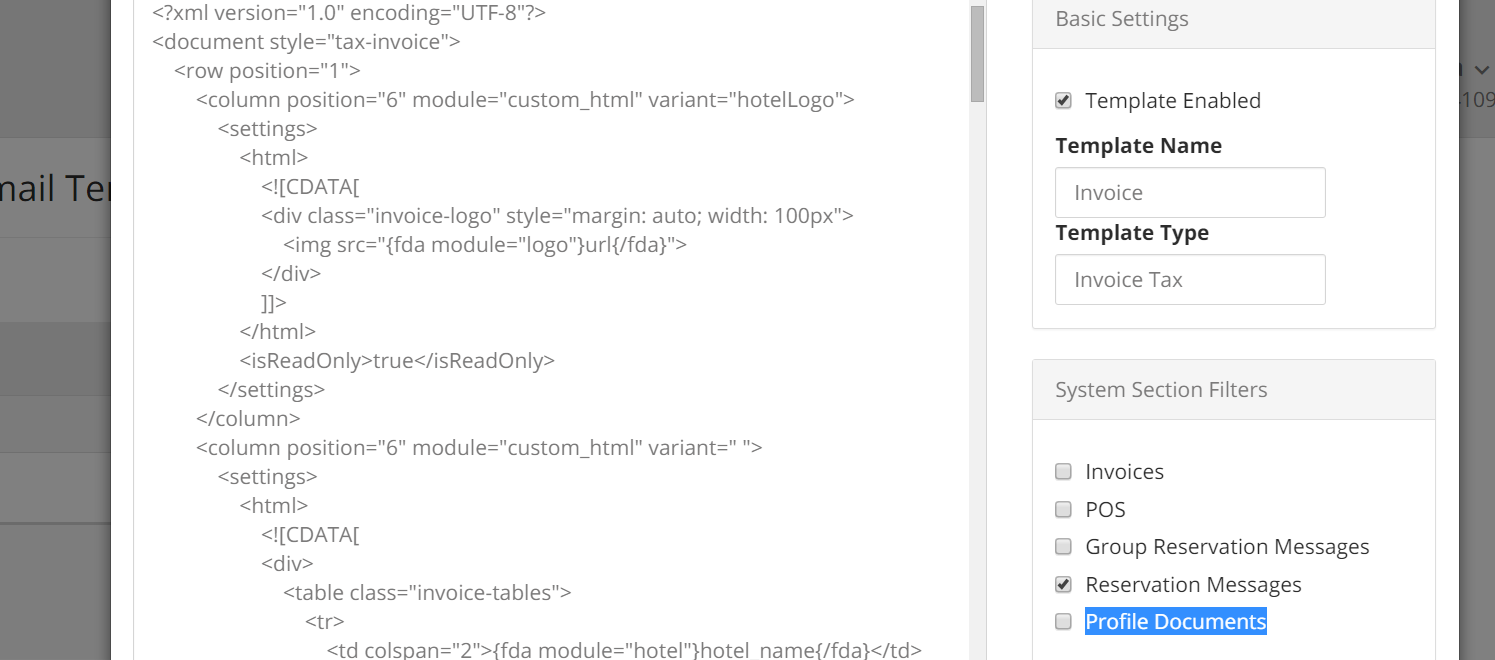
- The templates you added will show in the Profile tab, under tab Documents:

Warning: If you need to transfer charges to a profile, you will need to first create a relevant invoice in the Transactions section of the profile that is bound to receive the charges. You can check out the Payment section of this manual to learn how to create a New Invoice.
Single Profile
A Single Profile is the most common type of profile, as it collects all guest information. Single profiles are created any time a new reservation is created, regardless of the channel via which it interfaces with your PMS. For returning guests all information can easily get pulled down into the reservation folio, thus helping avoid human errors and making the reservation process much more rapid!
Creating a Single Profile from a Folio
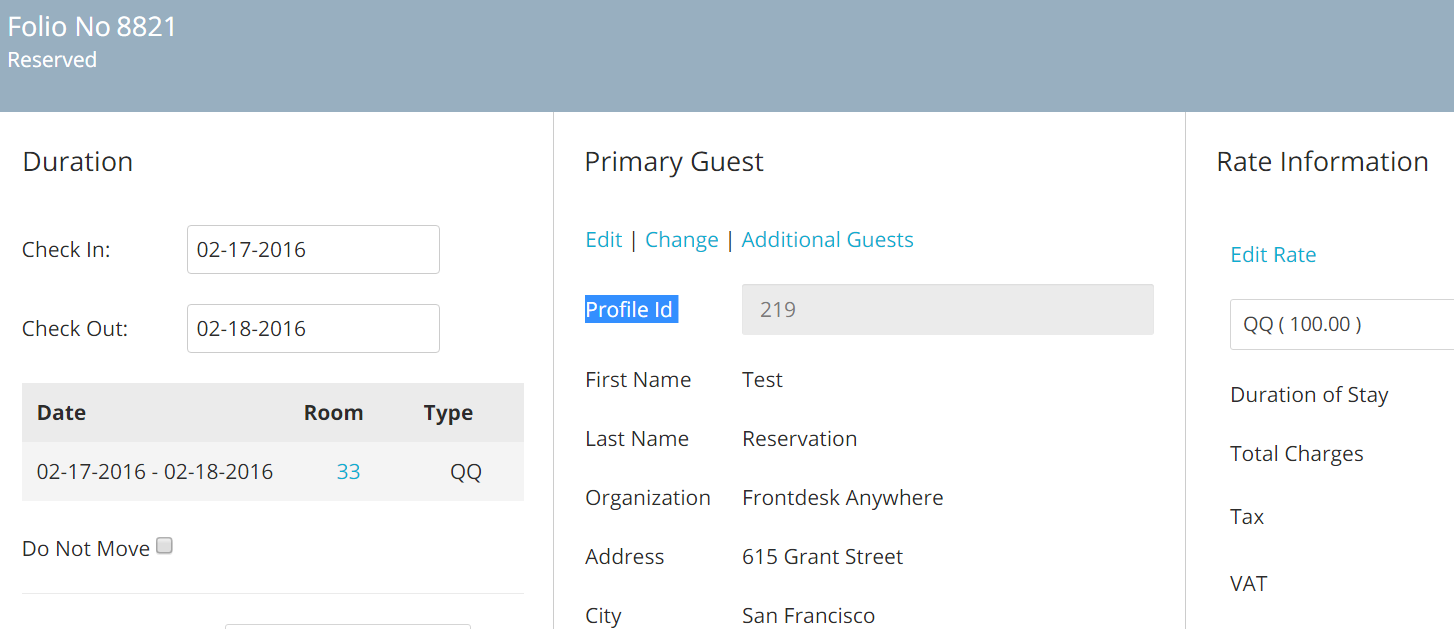
Every reservation folio is tied to a Profile ID, which you can look up in the Profile tab. When a reservation is made, the system will automatically generate a new profile:
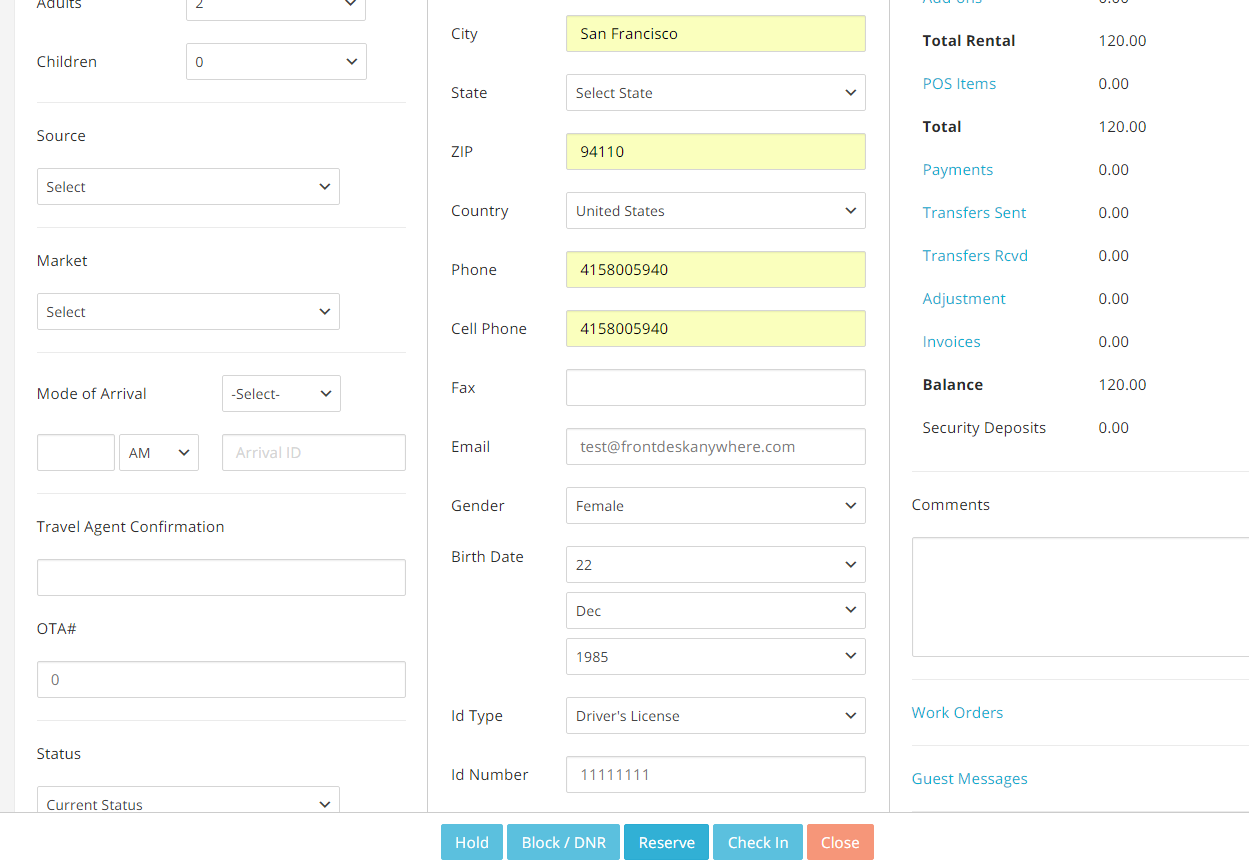
- The central column of a folio is dedicated to the Guest Information: information entered in this column will be the one stored in the Profile.
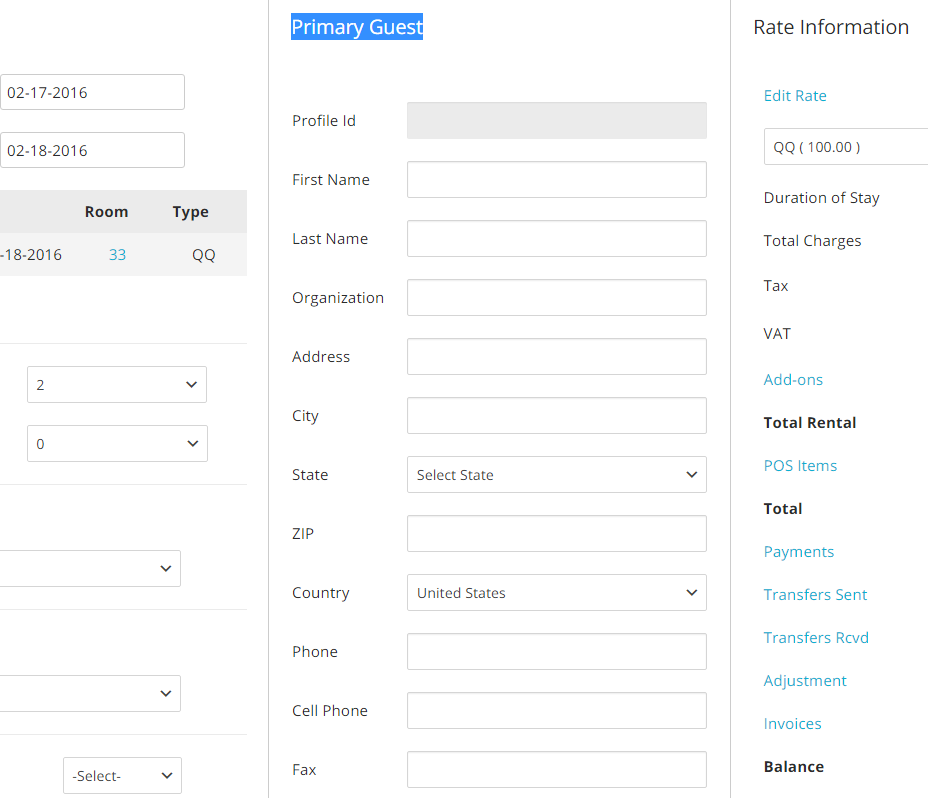
- Fill in all reservation information, and click on the blue button Reserve:
- When the folio acquires a status (Hold, Reserved, etc), it will be linked to a Profile ID:
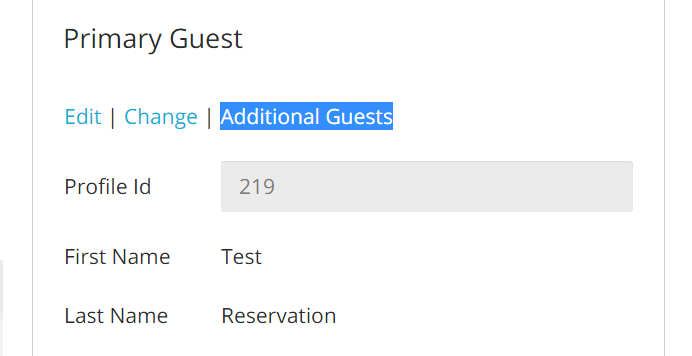
- If you add additional guests in the folio, the system will also generate new Profile IDs for them. Click on the button Additional Guests on the top of the panel:
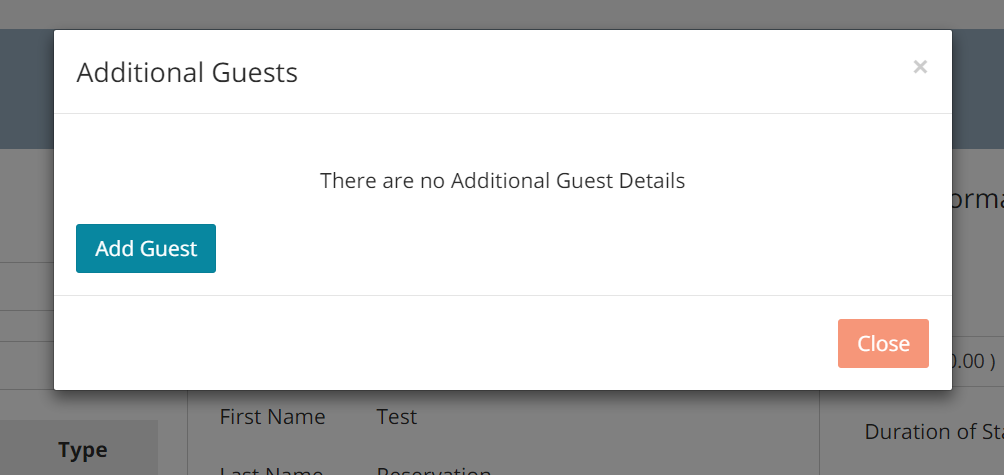
- A new panel will pop up: click on the blue button Add Guest:
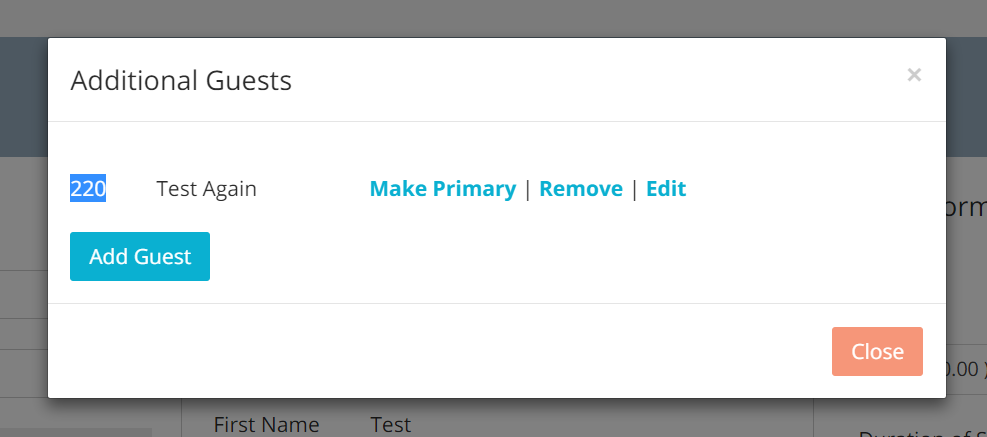
- Fill in all information, and when ready click on the button Save at the bottom. Once done, you will see the additional guest Profile ID on the left hand side of the guest’s name:
Important!: if you wish to make amendments to the information of the guest in the folio, make sure to click on the link EDIT:
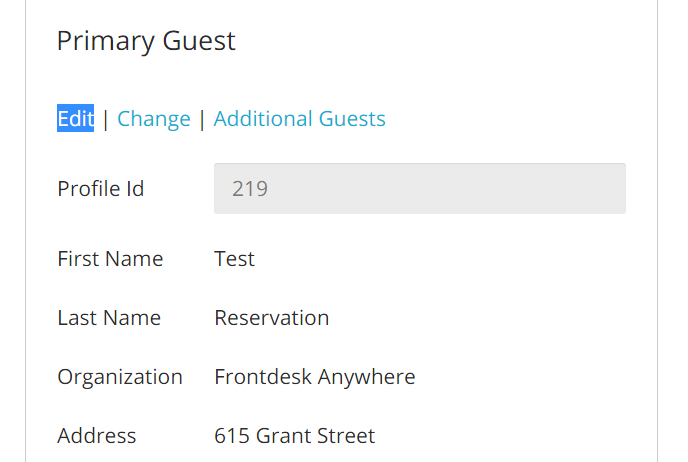
If you click on the button Change, the system will replace the existing guest, and hence the existing Profile ID linked to them, with a new one!
- You can look up guests by Profile IDs in a simple way: click on the tab Profiles on the top of your Tape Chart:

- Insert the Profile ID number in the text box: the right profile will automatically be pulled up:
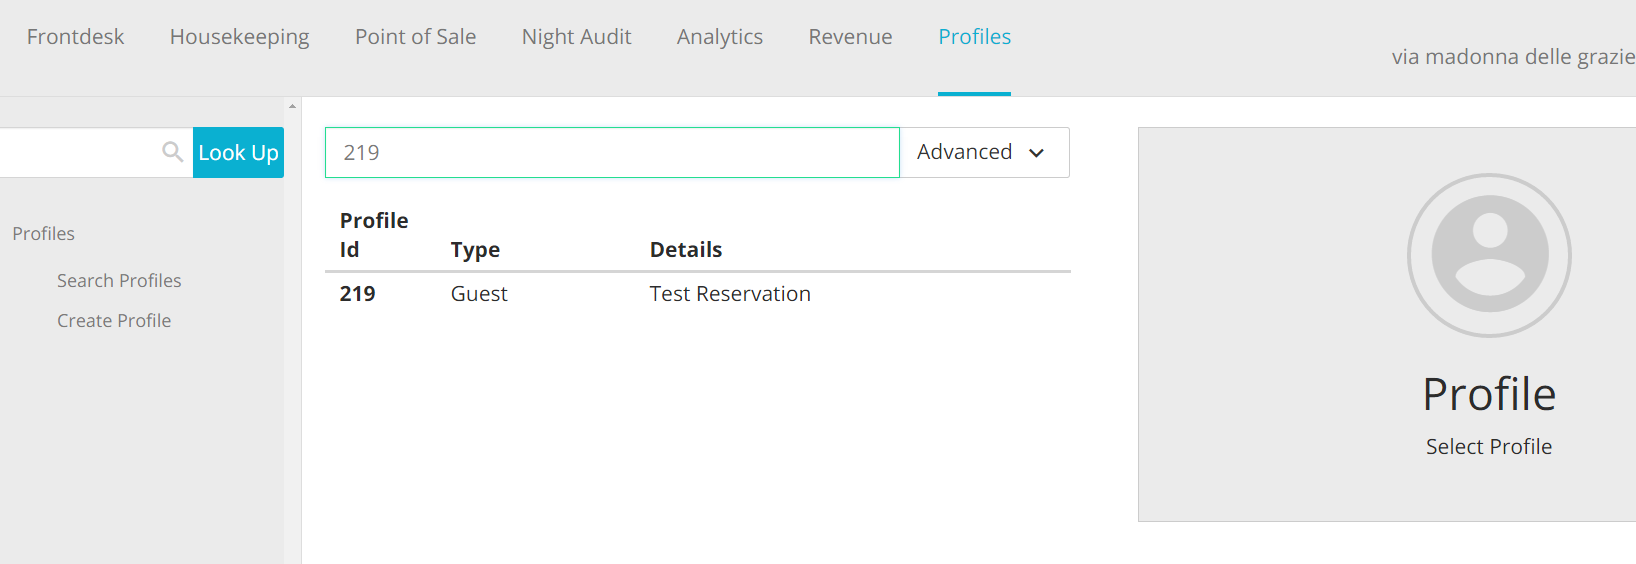
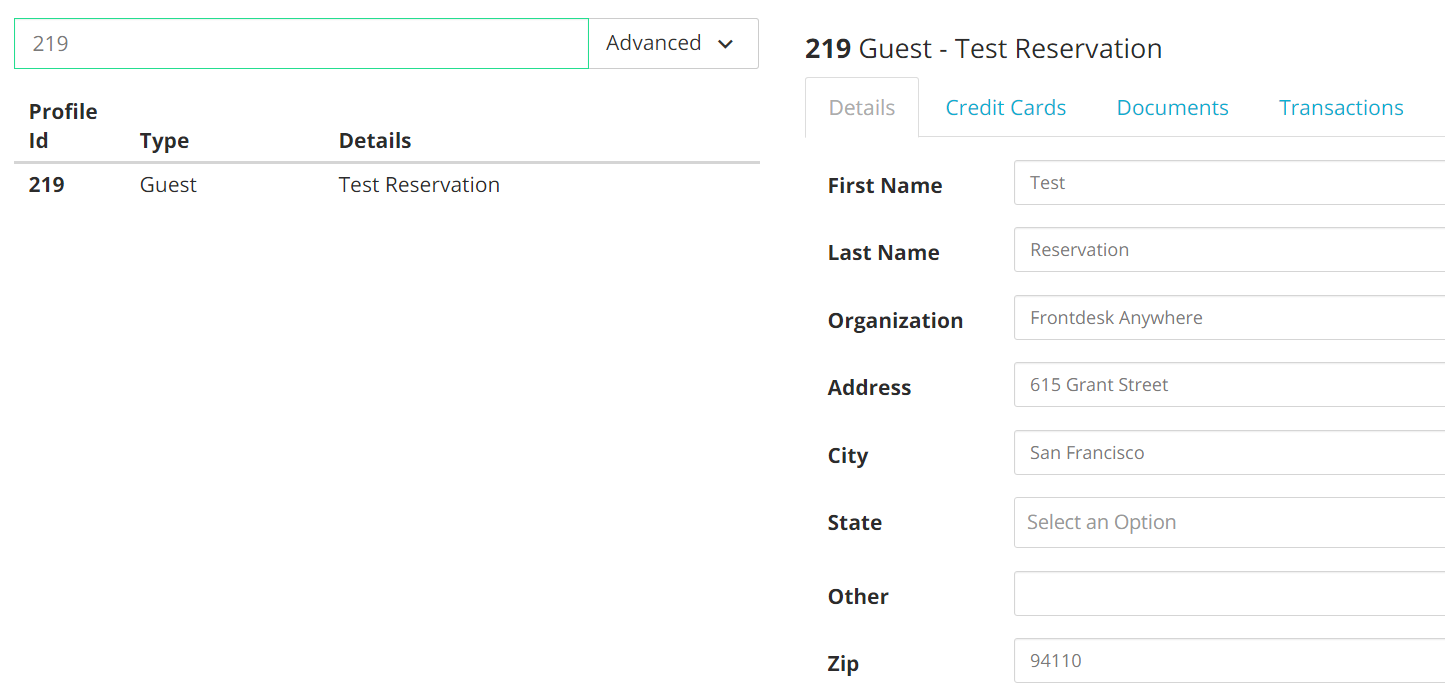
- Clicking on the Profile will enable you to have access to all information tied to the profile:
When making a reservation on your Tape Chart, if the information you are entering matches any existent Profile ID then a suggestion will be prompted to you:
- Click on any available room on your Tape Chart, to make a new reservation:
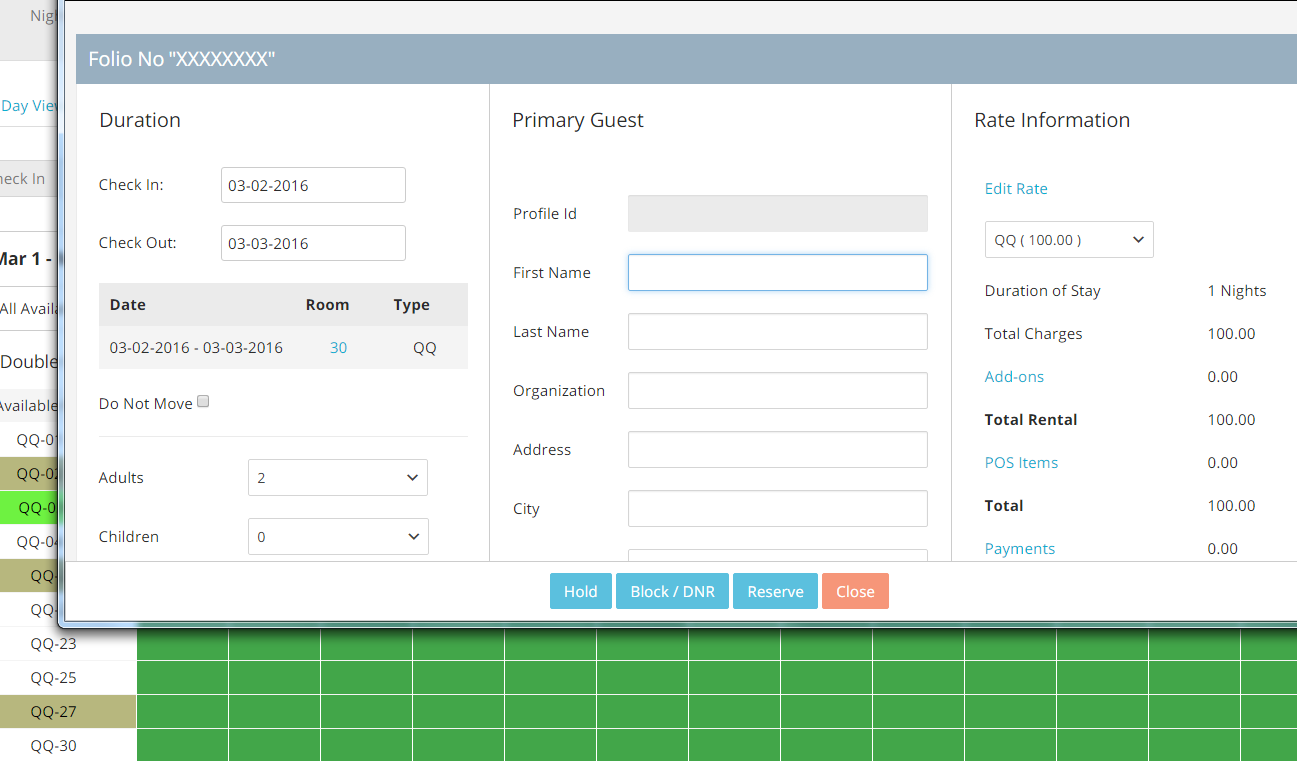
- Start by filling in the Guest Information: if what you are typing matches existent guest information stored in your account, then a suggestion will be prompted to you:
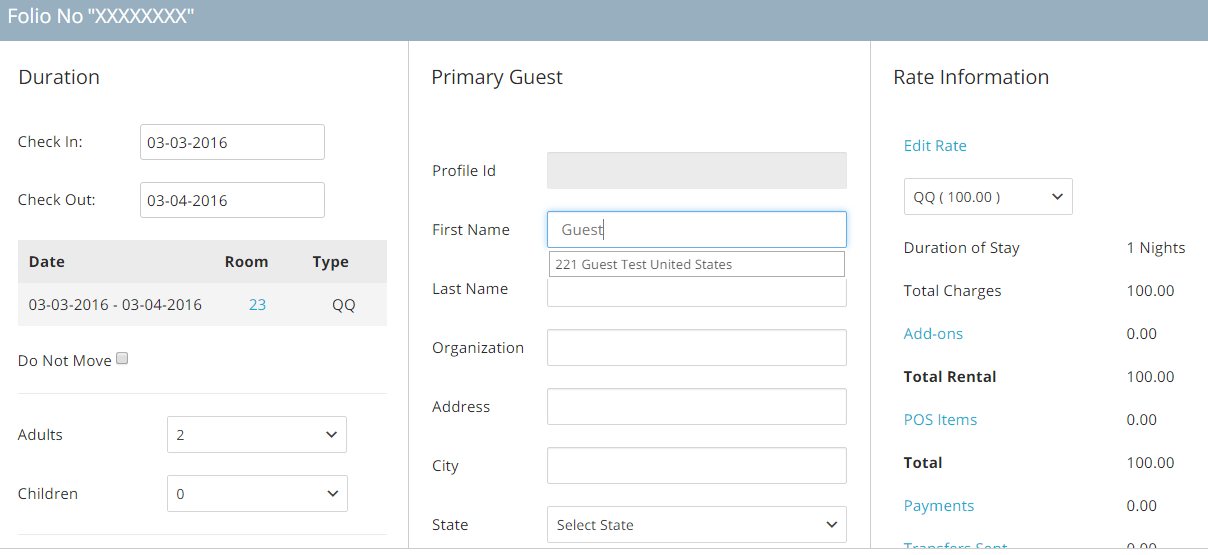
- The profile ID will appear on the left hand side of any prompted suggestion:
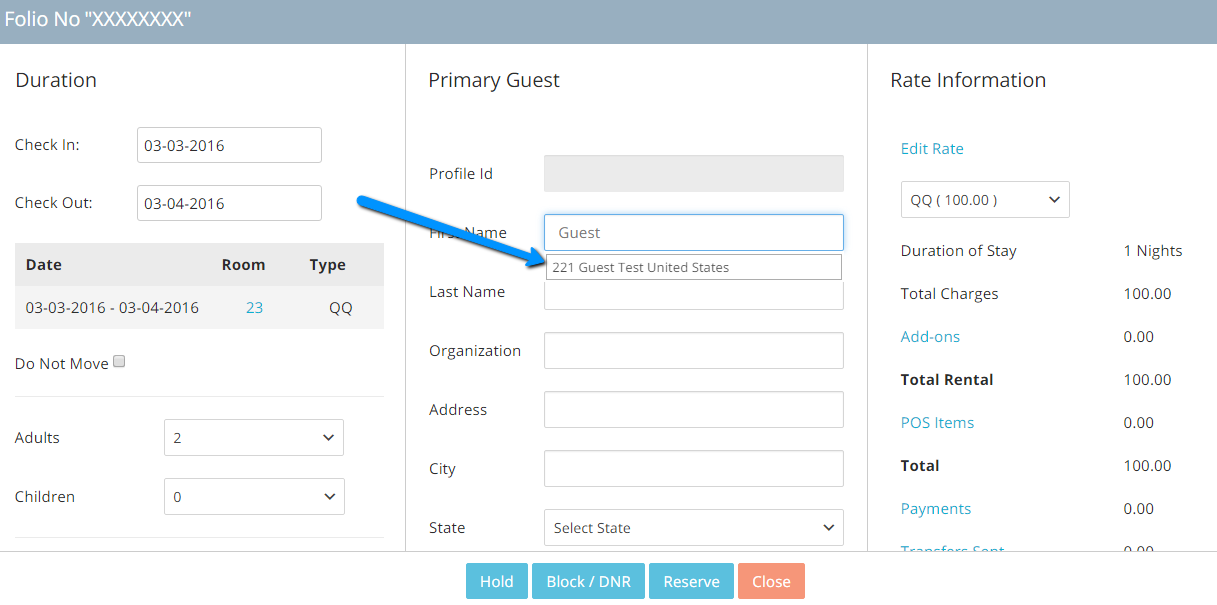
- If the suggestion is chosen, all information tied to the Profile ID will automatically populate in the folio:
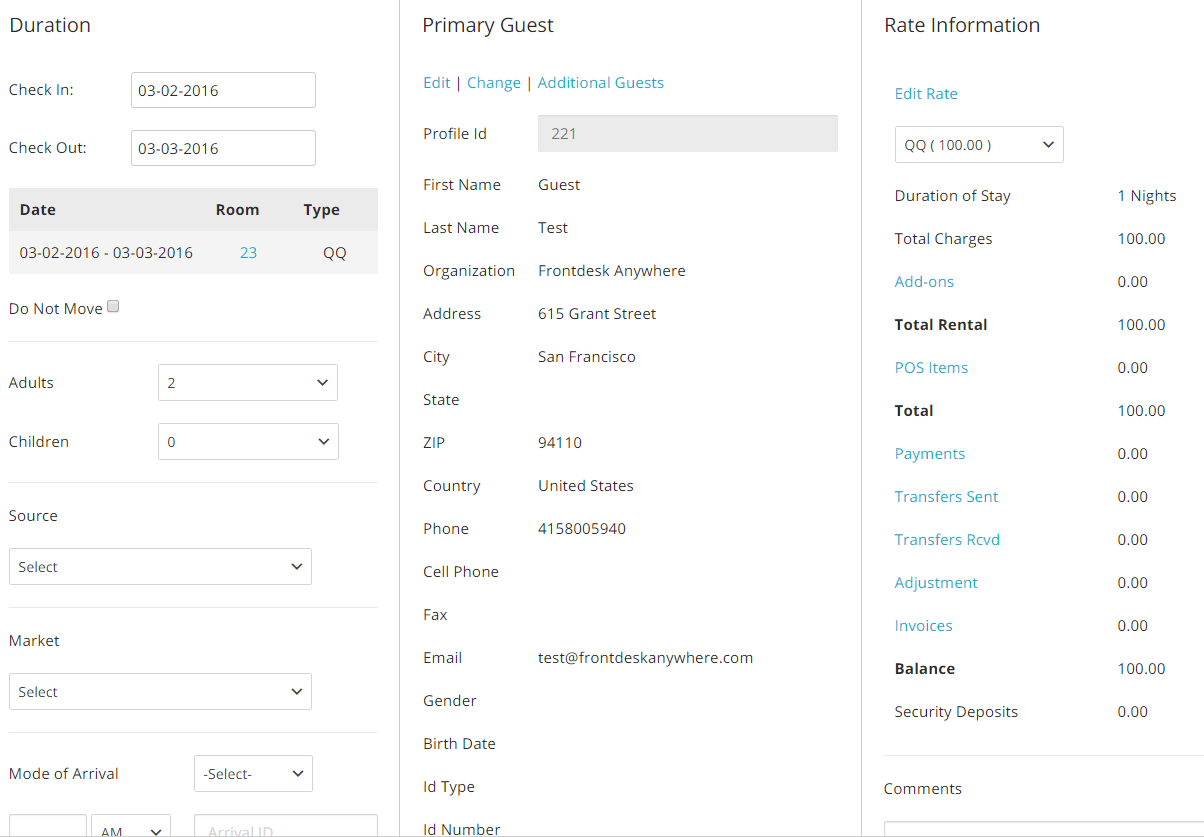
Note: it is important to make sure to choose the right profile, if you dealing with a returning guest. At the moment it is not possible to merge profiles, so in order to avoid having multiple profiles belonging to same guest, you should be careful to choose the right prompted suggestion. The option to merge profiles will be available in the near future!
Important: if you create a Profile directly from the folio, credit card information is not going to be pulled down next time you make a reservation for the guest. If you want to save credit card information for a Profile so that anytime you pull down information in a folio the credit card number also appear, you will need to save that information directly in the Profile tab.
Creating a Single Profile from the Profile Tab
If you need to load guest information that is not in the system, you can create profiles directly in the Profile tab.
- The Profile tab is accessible form the top of your Tape Chart:

- Click on the Profile tab:

The tab is divided into three parts: the left column enables you to create and search profiles. The Look Up function is a short route to look up folios associated with the right profile, if needed.
The central part will give you a list of the most recent created Profiles, and a field where to look up Profile IDs.
The right hand side contains details information about the Profiles.
- To create a new Single Profile, click on the link Create Profile, on the left hand side of the screen:

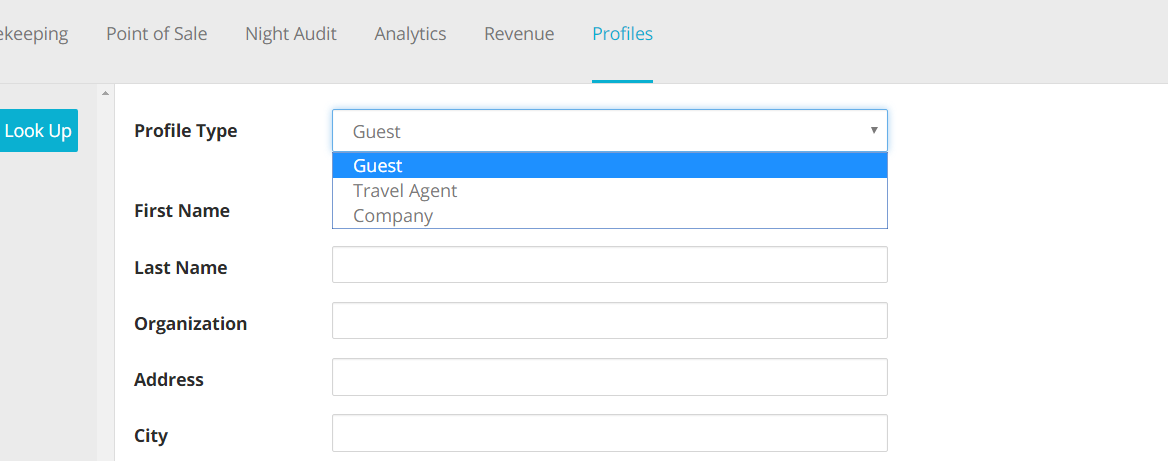
- Insert all guest information: the fields are not different from the ones appearing in the folios: as we are creating a Single Profile, choose the option Guest from the Profile Type drop down menu:
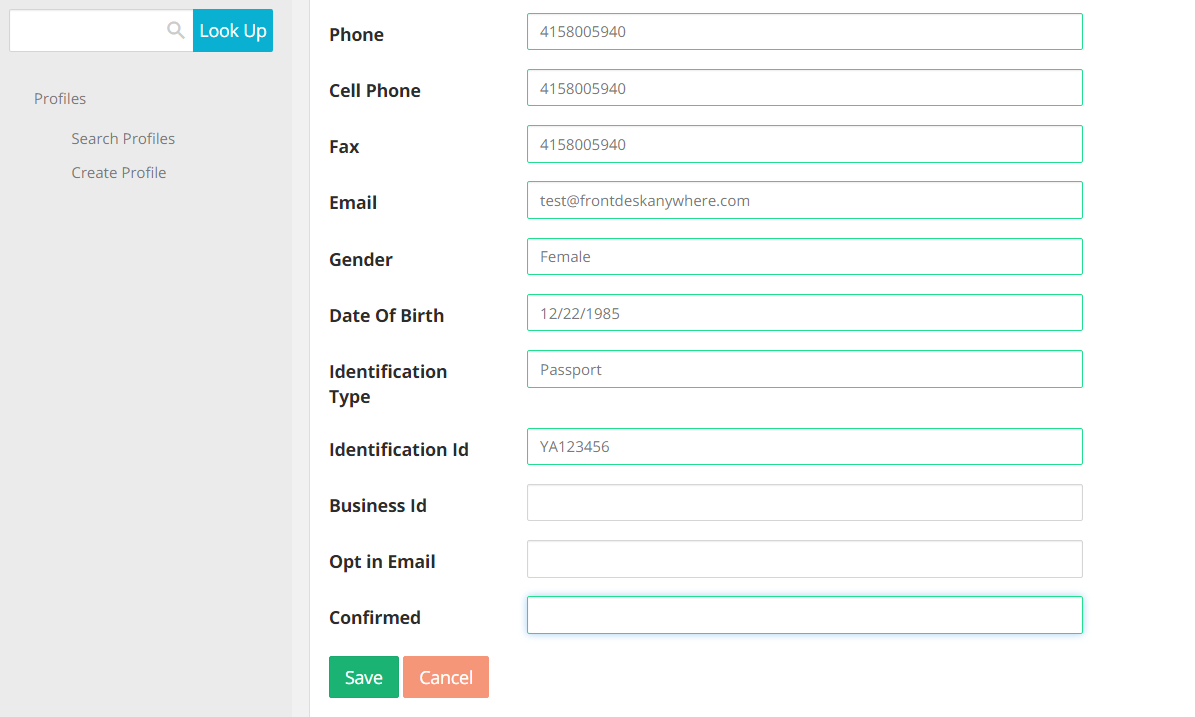
- Proceed to fill in all Guest Details and when done, click on the button Save at the bottom of the page:
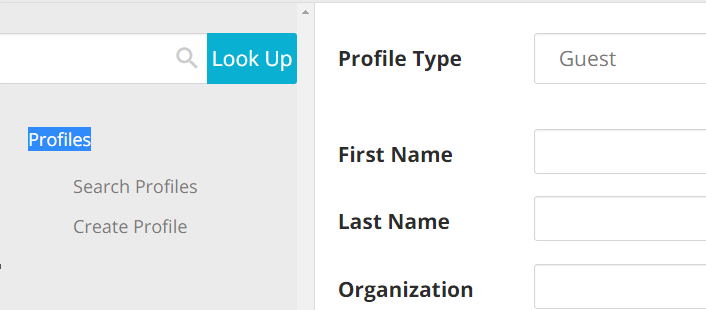
- Click on the link Profiles, on the top left hand side of the panel:
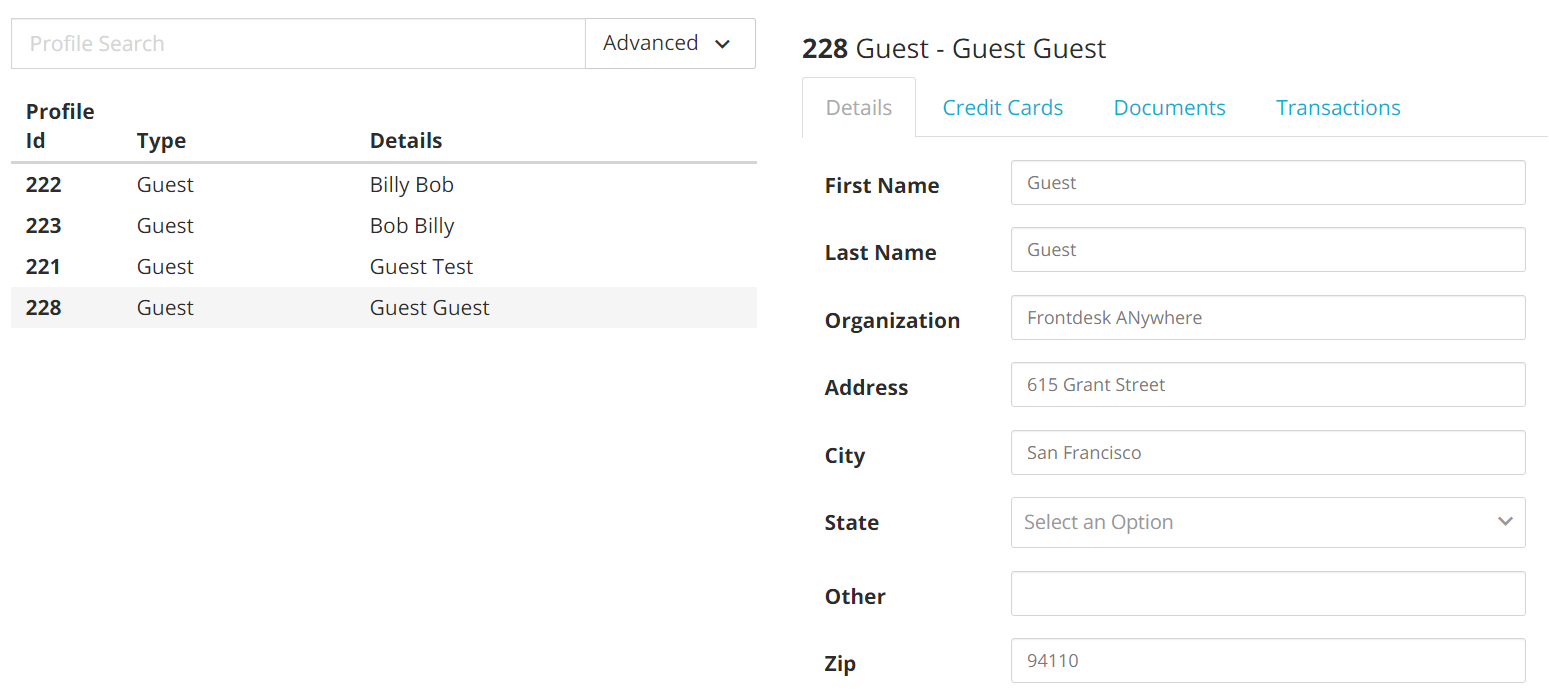
- The profile you have just created will appear in the list at the center of the page. Click on the profile to load information for that Profile:
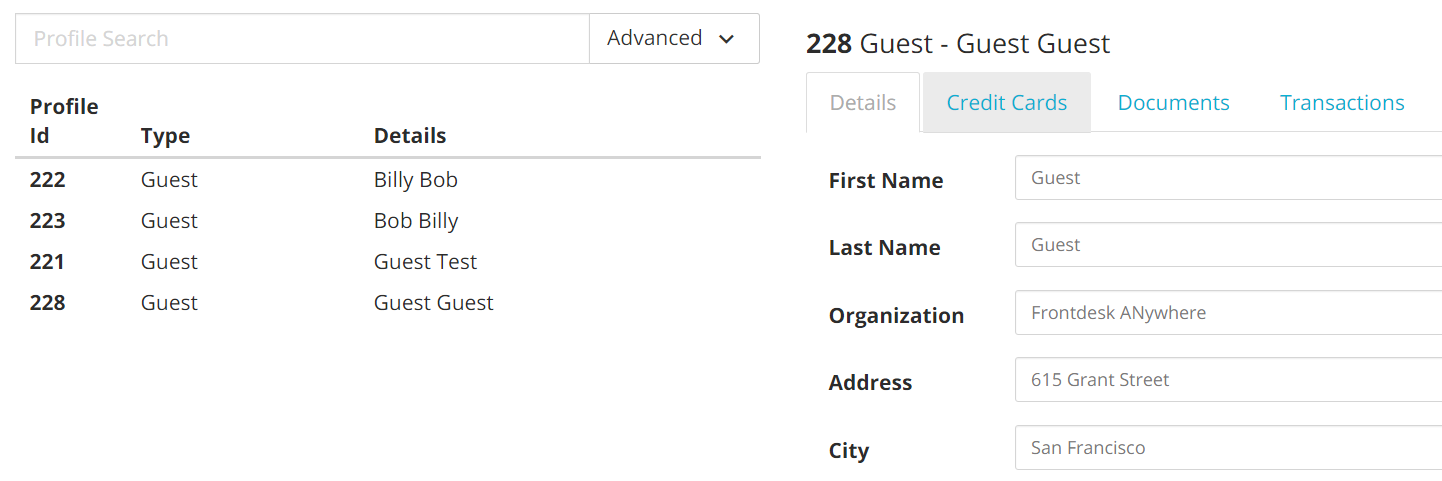
- To add Credit Card Informaton to the Profile, click on the tab Credit Card:
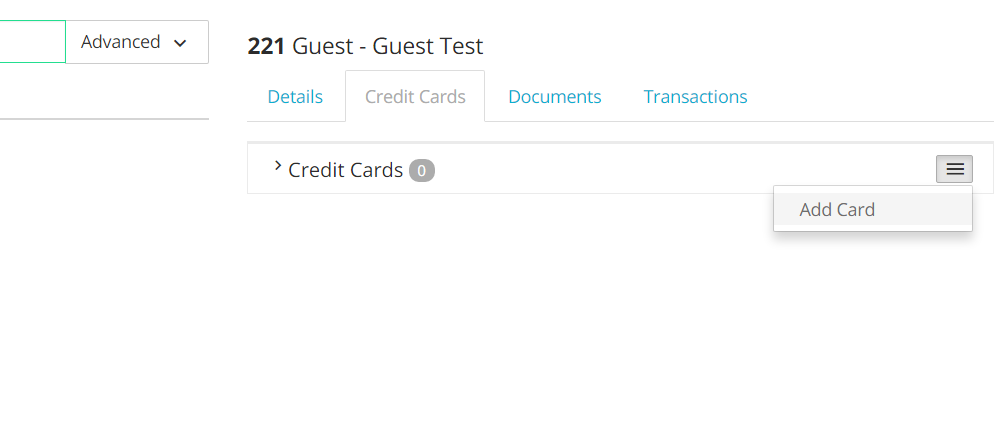
- Click on the icon with the three horizontal lines and choose to Add Card:
- Fill in all information and click on the green button Save:
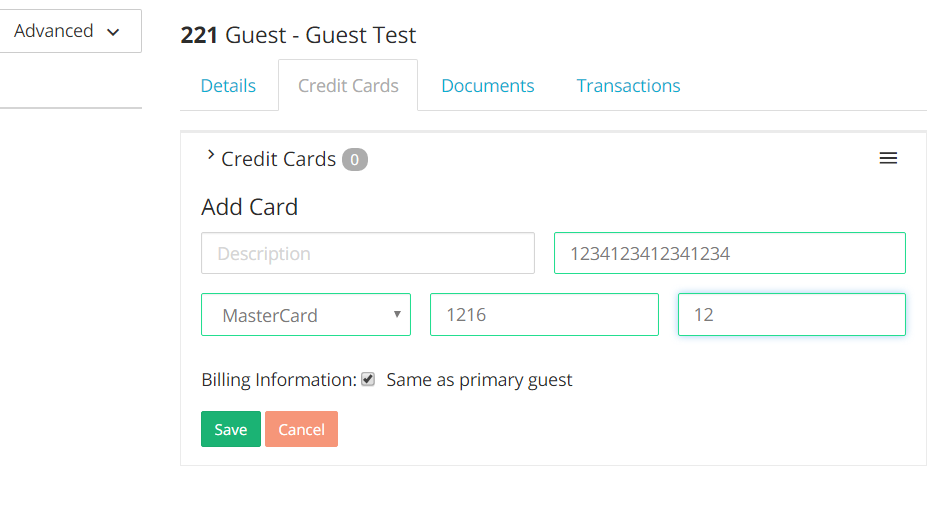
The credit card information will appear in the folio whenever you pull down the guest profile.
Creating a Travel Agent, Company Profile or A/R Profile
A Company Profile contains information about companies with which the hotel has special partnerships with: you will be able to transfer guest charges directly to the profile, create separate invoices, and keep track of payments.
A Travel Agent profile is useful to track charges to apply to the Travel Agents or calculate commissions.
A A/R Profile is a profile that is linked to the reporting engine. Information about credit limit, and aging invoices are available.
NOTE: If you are looking to create a corporate profile with payments plans and invoice agreements and if you are looking to have reporting abilities on those profiles, make sure to create your third party profiles as A/R Profiles.
Although they serve different purposes, creation and usage of the three types of profiles is the same, so the information below can be used interchangeably.
Adding Customizable Fields for Travel Agent/Company/AR Profiles
As a first thing, you will need to add all those fields you want to be applicable and required for creating this kind of profile: differently from a Guest Profile,
fields for Company/Travel Agent profiles may be drastically different from one hotel to another: for this reason there are no fields loaded in the system, and you will have to create them all.
For A/R types of profiles, fields are already created.
Check out section Guest Custom Fields for instructions on how to create custom fields.
Note: Remember to select the right option from the custom fields page when creating fields for Companies or Travel Agents:

###Create Travel Agent/Company/Account Receivable (AR) Profile
- Click on the tab Profile tab on top of the Tape Chart:

- Click on the link Create on the left hand side of the screen:

- Choose the kind of profile you want to create by selecting the relevant from the drop down menu, next to the tag Profile Type:
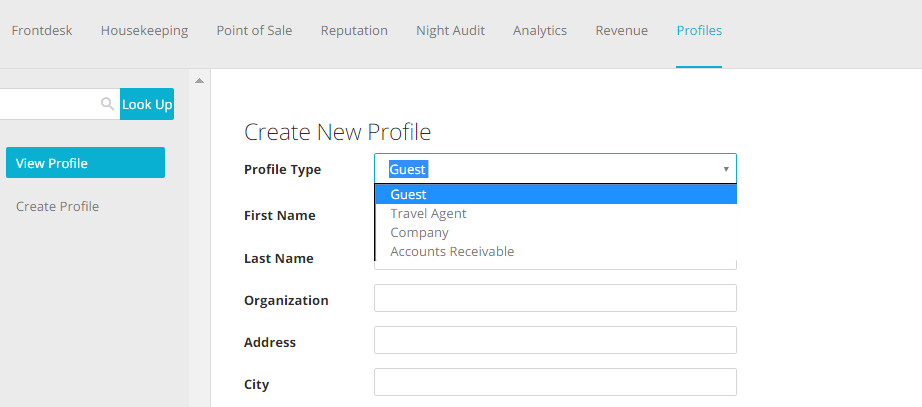
- Fill in all required information and when done, click on the green button Save:

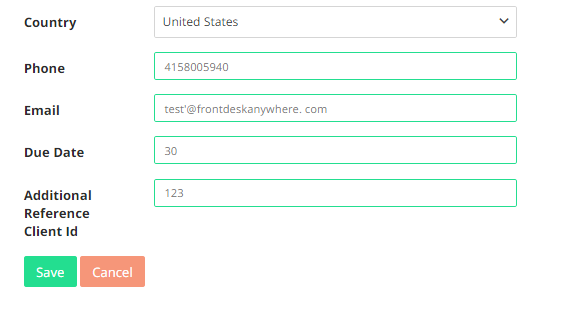
- If you are creating an A/R profile type, you will see pre-defined fields to fill in that are specific to companies for which payment plans and invoice agreements have already been set. Most of the fields straightforwardly point to company information, like contact details or company reference ID. However, there is one field called Due Date which governs the aging of the invoices that will be listed under this company.
Fill in this field with the number of days allowed for invoices to be paid off. In the example below, my test company has 30 days before invoices will start aging.
- To look up the Profile, you can type in the name and wait for matching results to come up:

- You will also have the chance to perform an advanced search that will enable you to look up specific Profile Types. To do this, click on the button Advanced and select the right option:

Transferring Folio Charges to Profiles
Transferring charges from individual or group folios to a Profile enables you to keep track of credits/debts of each hotel partner associated with the Profile. This operation is a two-step process.
- Access the Invoice panel in the folio you wish to transfer the charges from:
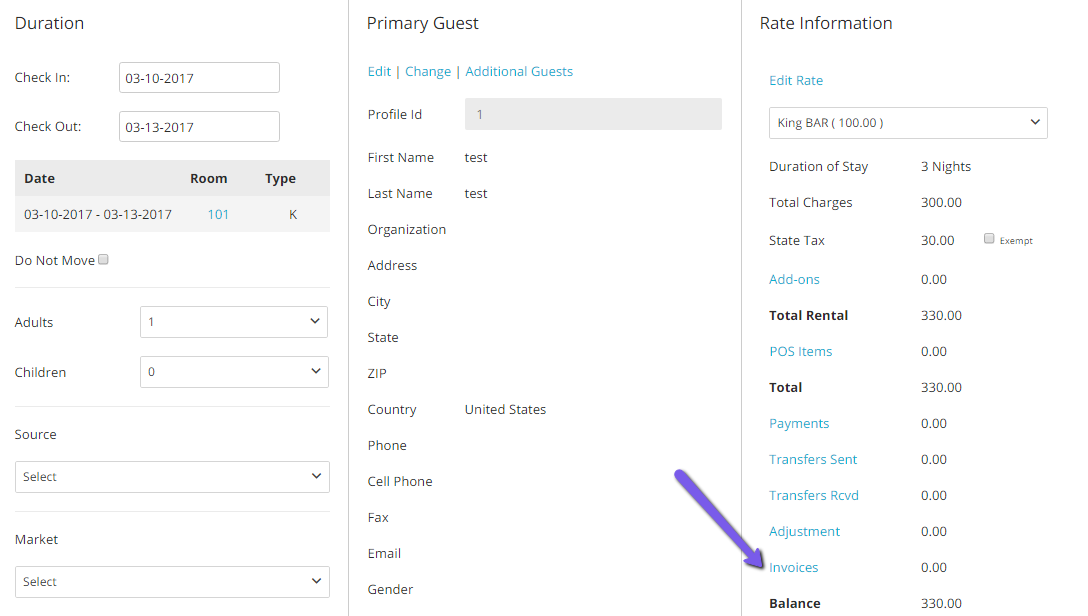
- Expand the Transactions drop down menu to visualize the charges in the folio, and then click on the button Transfer Transactions :
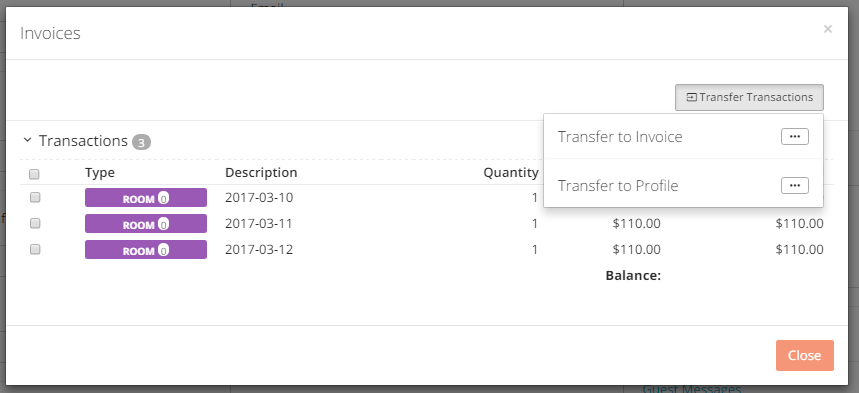
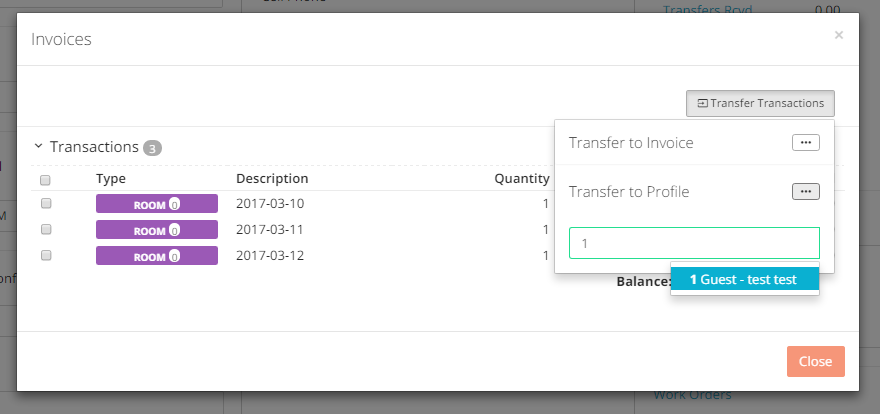
- Click on the three dots button next to the tag Transfer to Profile. A search field will come up, enter the profile id number or the name of the profile you want to send the charges to. Search results will immediately appear underneath the search box: click on the suggestion as shown below:
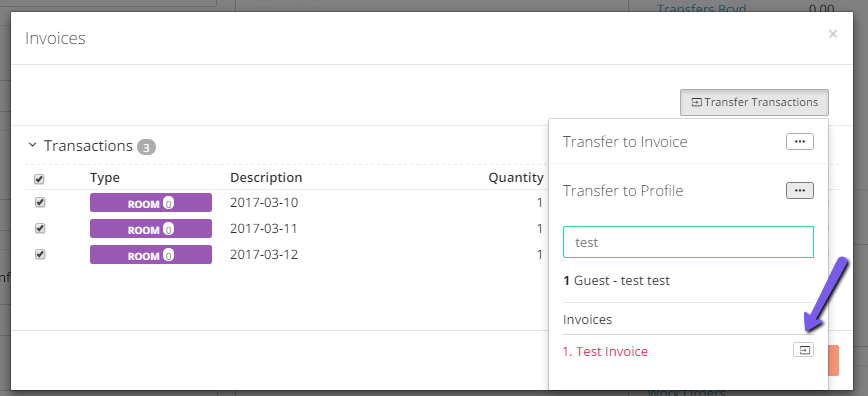
- Once the profile is selected, the system will automatically list all invoices that have been created for that profile. Select the right invoice, then select the charges you wish to transfer and click on the small arrow button to initiate the transfer:
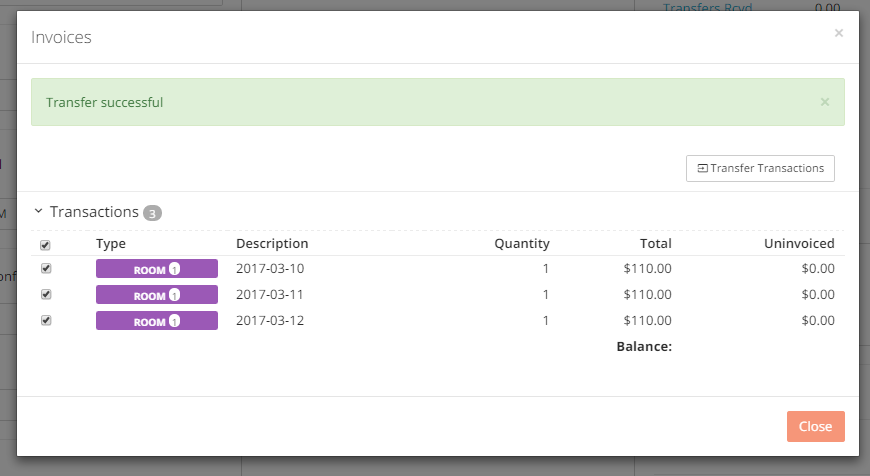
- A successful message will come up on the top of the screen in green and the transactions list will show a $0 under column Uninvoiced, for those transferred charges:
- If you now go back to the profile you will see transferred charges listed under the selected invoice:

Applying Payments to Charges
When you transfer charges to different invoices, you will need to reflect payments that are relative to those charges, so that the invoice will show a balance of $0.
We call this feature Apply Payments: it is the ability to associated payments to certain charges.
Note: payments can only be applied to those charges that are listed under an Issued invoice.
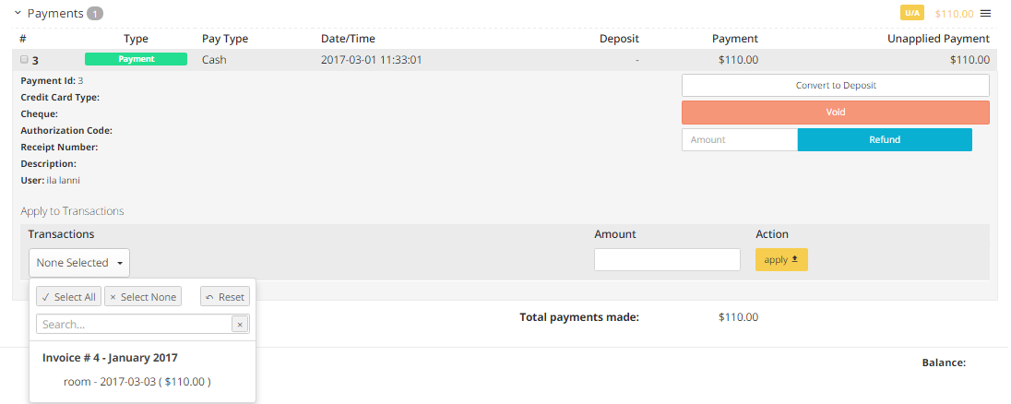
- Expand the payment you wish to apply and click on the drop down menu none selected under tag Transactions: the system will give you a list of the existent issued invoices created for that profile:
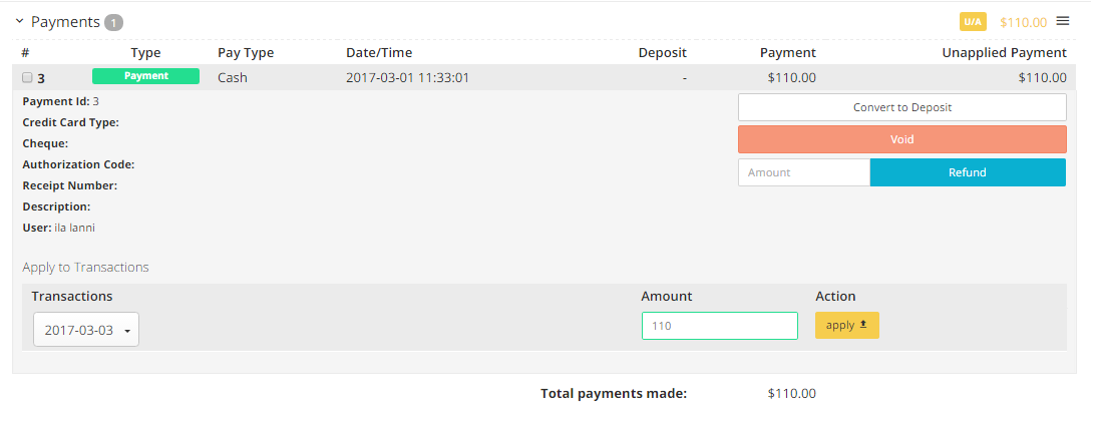
- Once the right invoice is selected, enter the amount you want to apply to those charges: note that you can either apply a partial amount or the total amount. Click on the yellow button Apply once done:
- Going back to the invoice tab, if the invoice shows $0 balance, it will appear with the tag paid in yellow. To print or send the invoice via email, click on the three bar on the right side of the module and click on the link Invoice :

Storing a Credit Card for a Profile
You can store one or multiple credit cards for each Profile: this feature comes quite handy when you have to perform recurrent payments for Travel Agents or Company, but you can also use this for your hotel’s returning guests!
- Click on the Profiles Tab on top of your Tape Chart:

- Look up the Profile you want to store the credit card for:
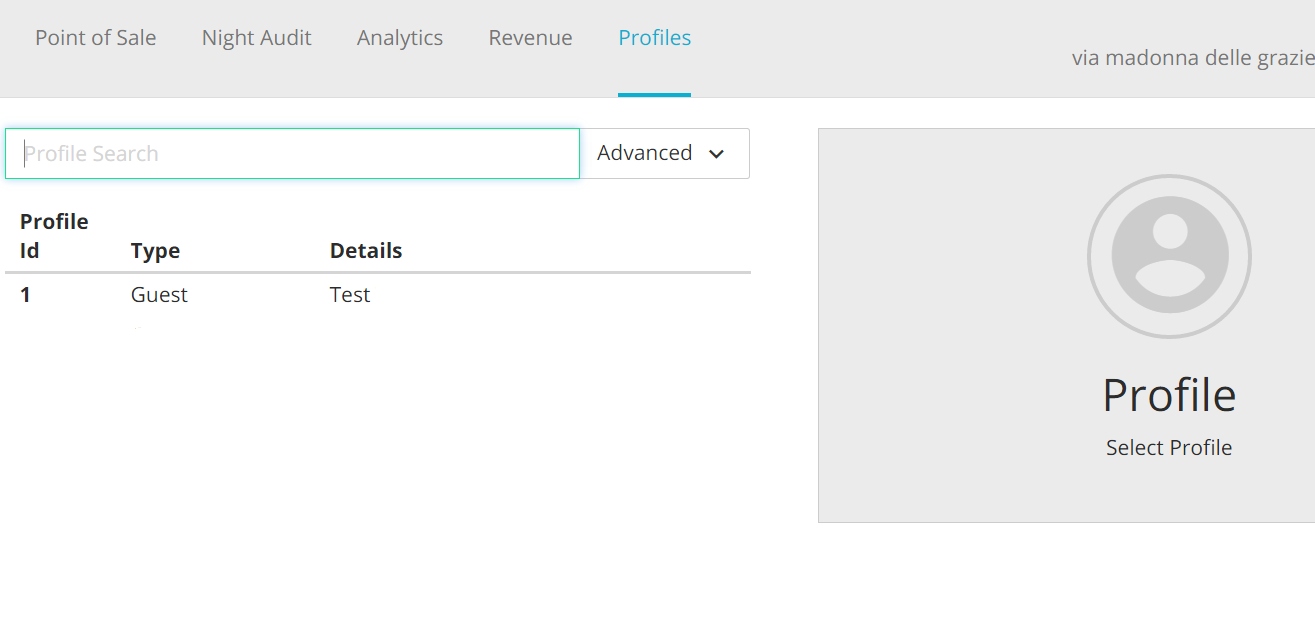
- Clicking on the Profile will load the information panel on the right hand side: click on the tab Credit Card:
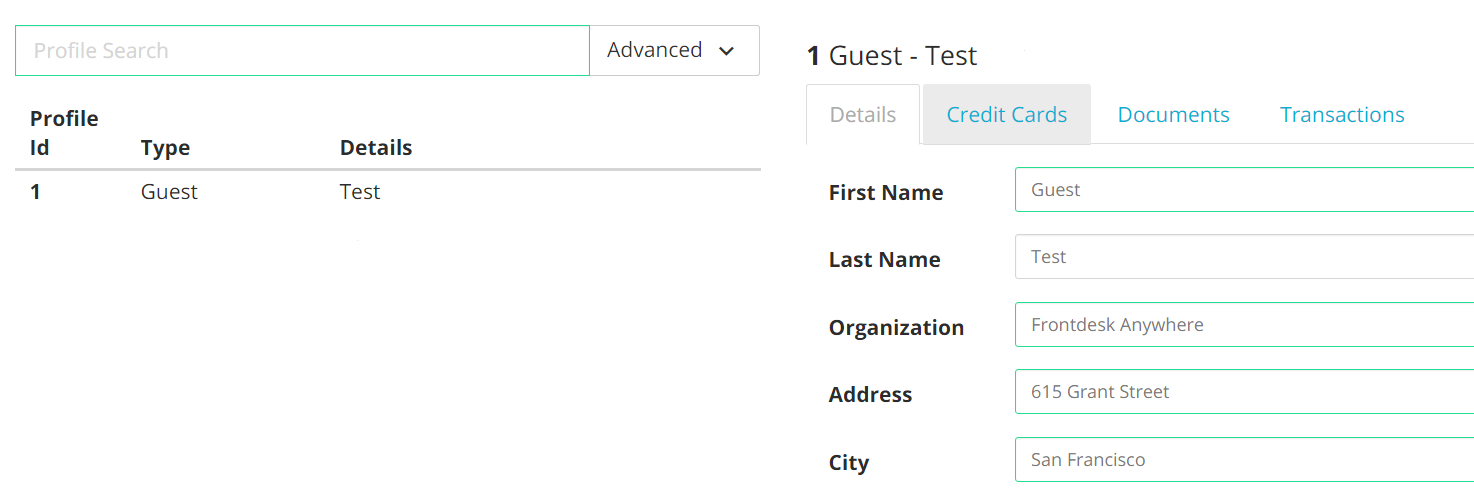
- Just like as if you were to add a credit card in a regular folio, click on the icon with the three horizontal lines and then on the button Add Cards:

- Fill in all details, and click on the green button Save to store the card:
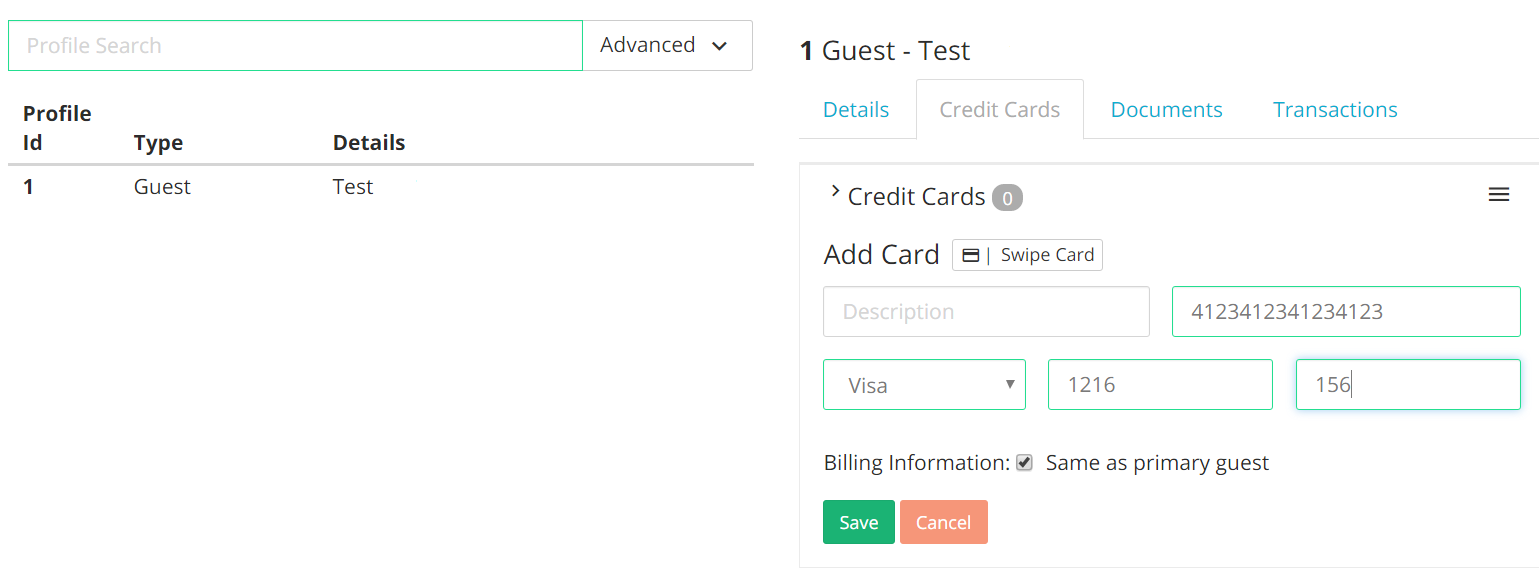
- The credit card is now stored. To see the deatils, just click on the drop down menu with the tag Credit Card:

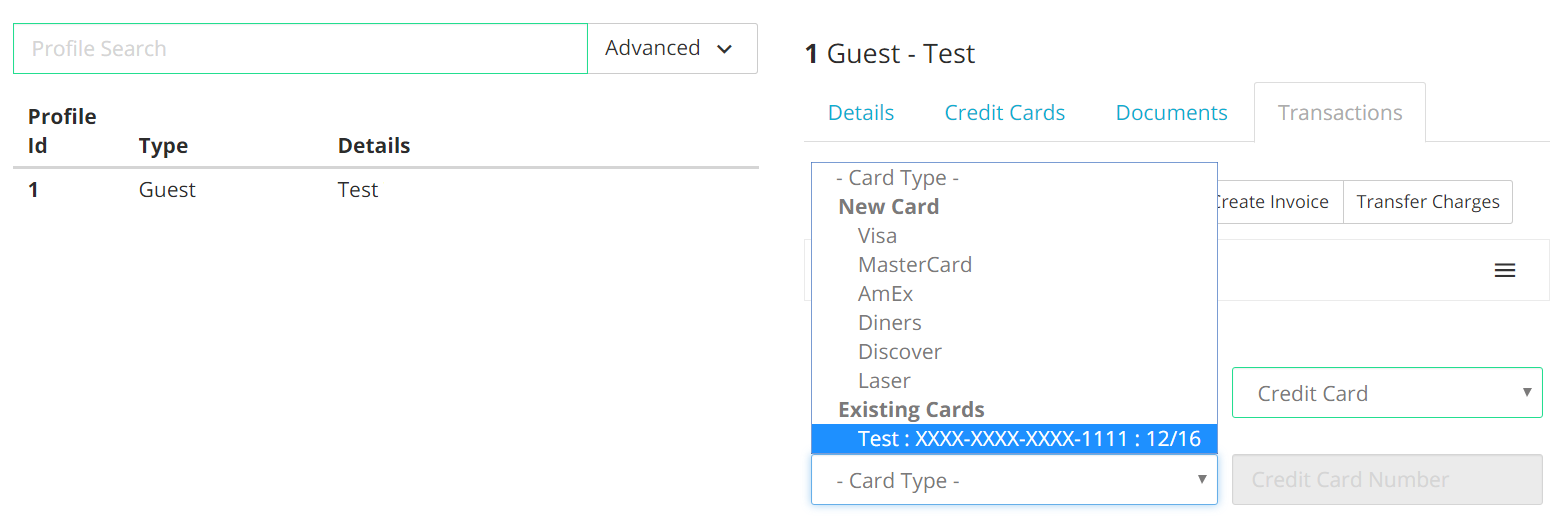
- The card is also easily accessible from the Profile Transactions tab, when the option to choose a credit card is selected:
Tags: