The Tape Chart is a fundamental tool of your Frontdesk Anywhere account: it offers an overview of your current availability and rates, it allows you to make, modify and cancel reservations in a fast and easy way, it offers a quick guest look up.
#Tape Chart
The Tape Chart is a fundamental tool of your Frontdesk Anywhere account: it offers an overview of the property’s current availability and rates and it allows you to make, modify, cancel and look up reservations in a fast and easy way. The Tape Chart will be a starting point for most front desk users, and there are a lot of ways to personalize it: here is a brief rundown of its functionalities!
##Availability
###Displaying Availability
- You can display the hotel’s real time availability in different ways: on top of the Tape Chart, you will notice five different clickable tabs, each with a different time lenght:
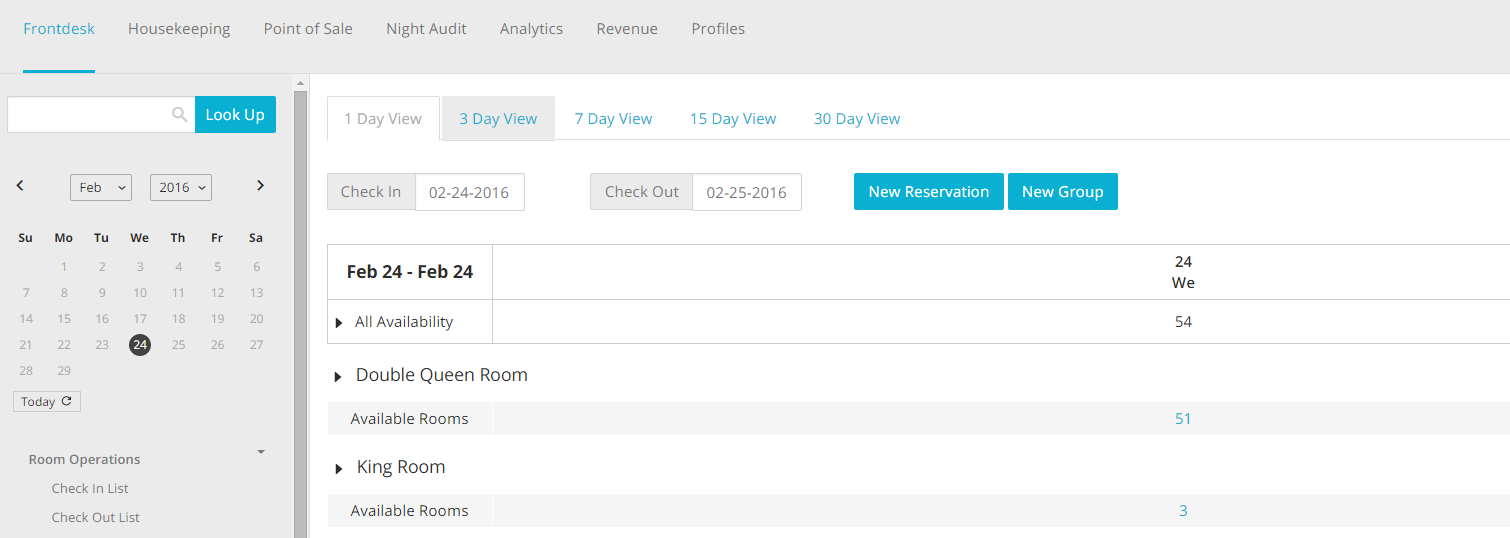
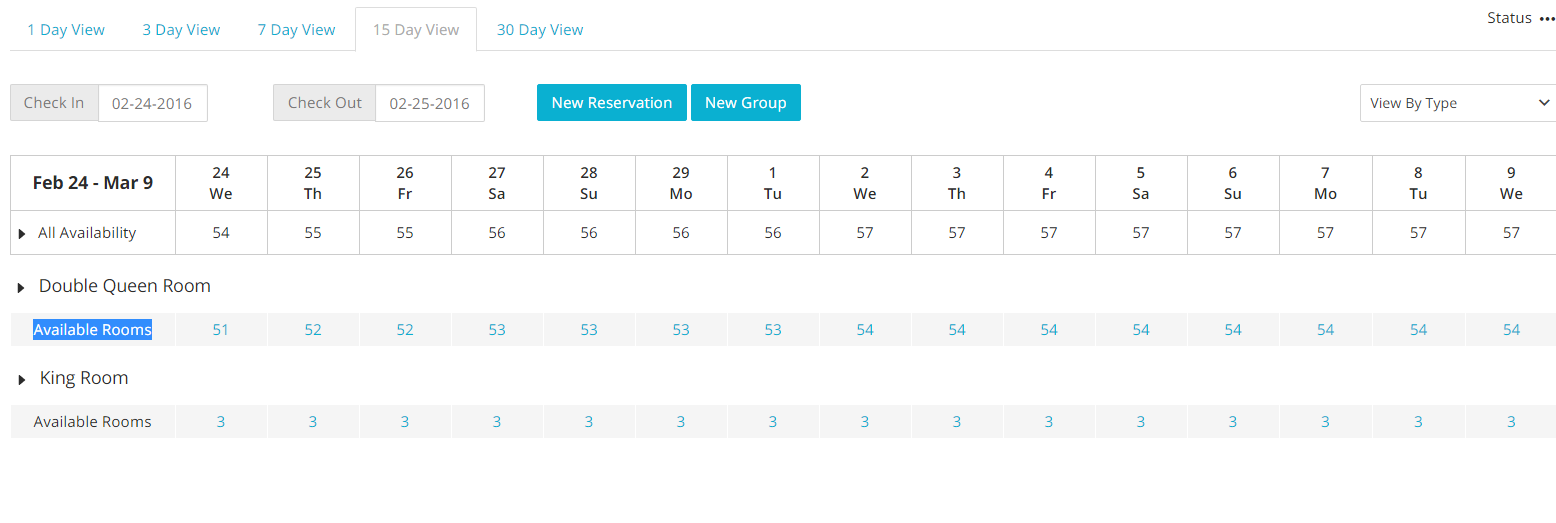
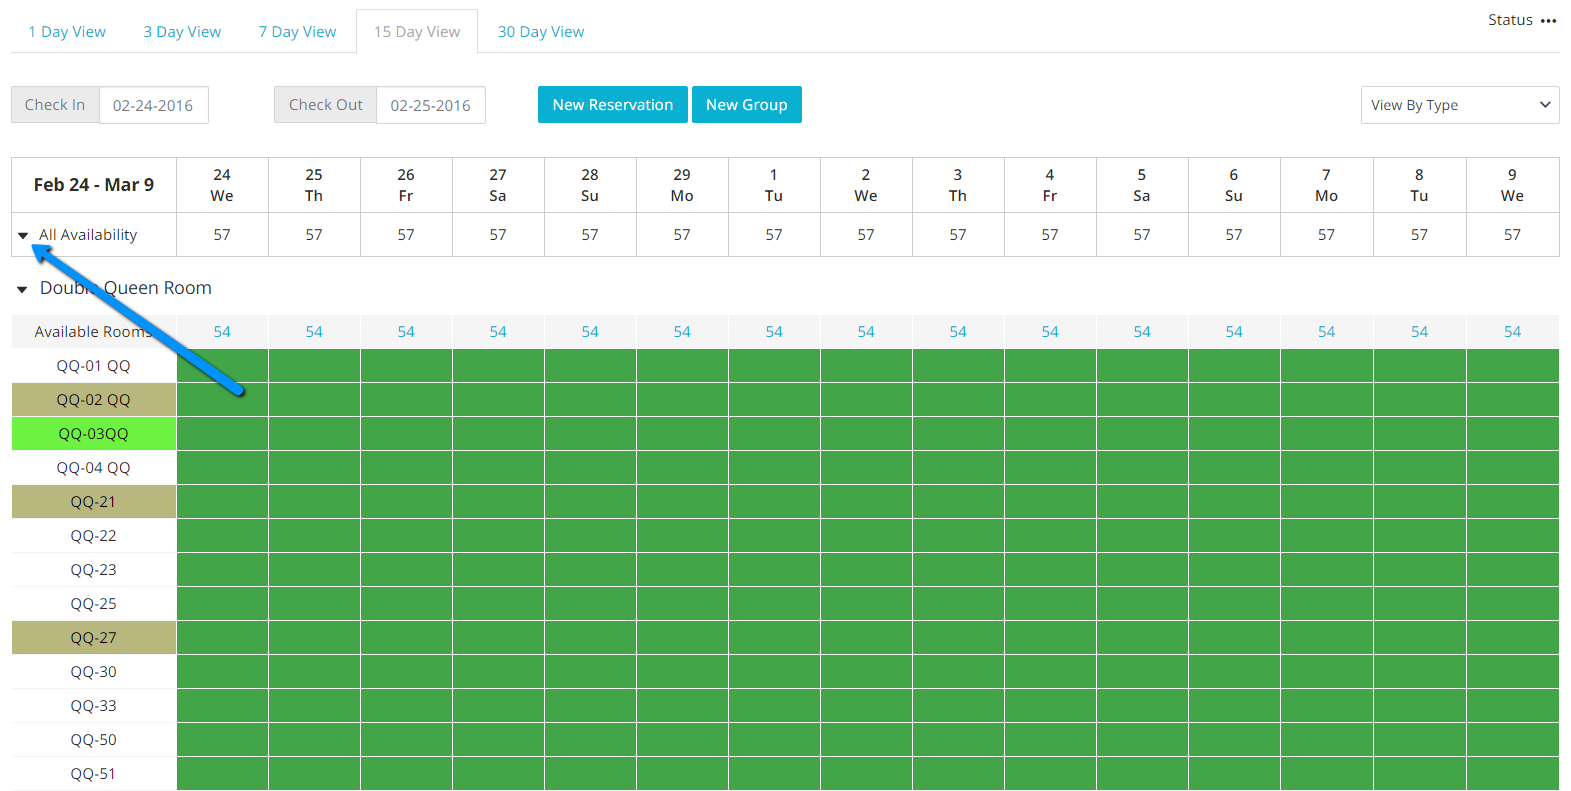
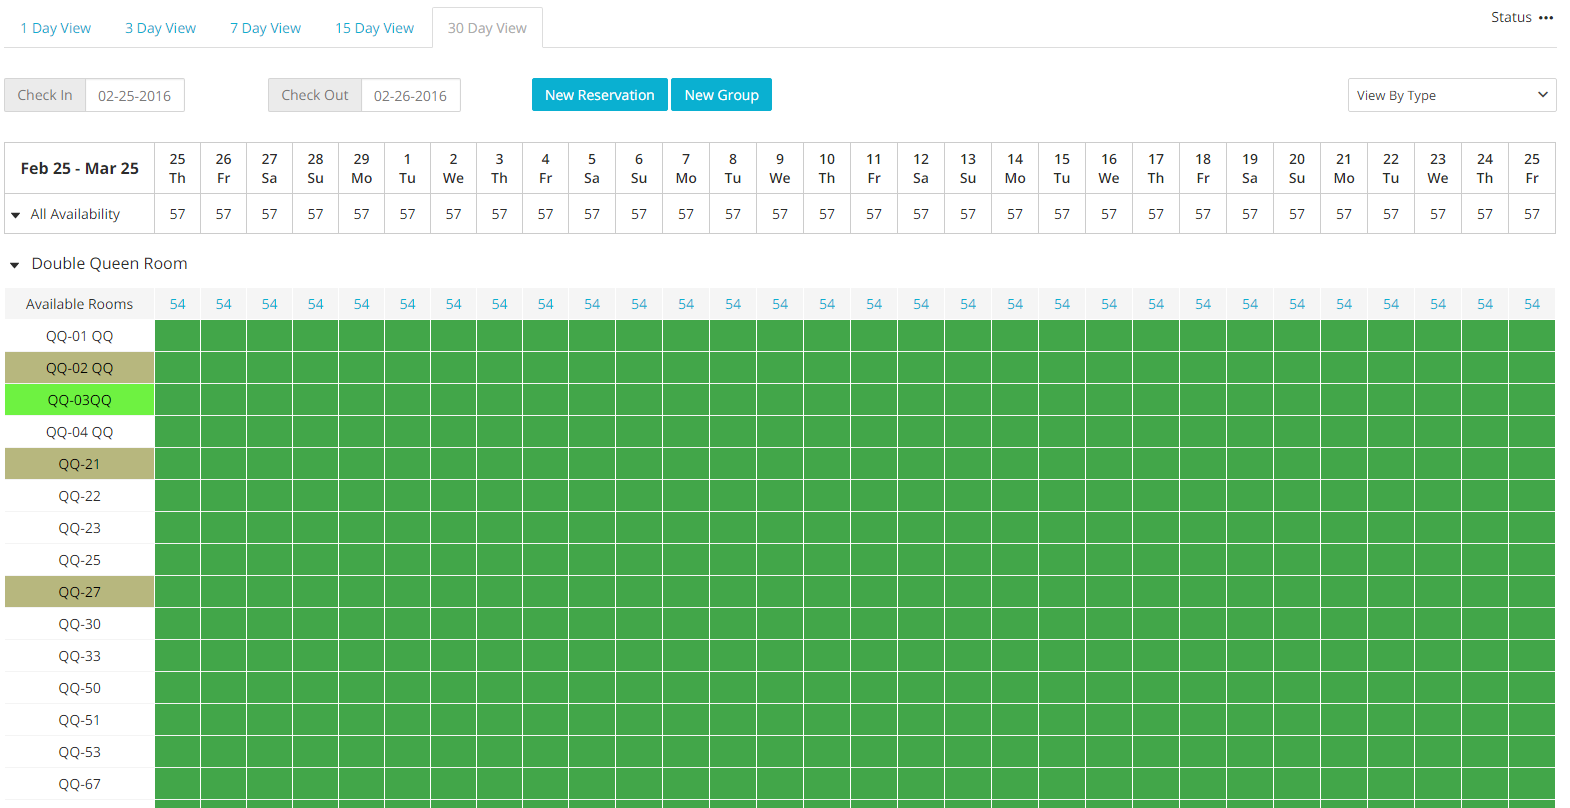
- Clicking on any of those tabs will bring your Tape Chart to show availability for the time lenght of your choice. In the example below, I have chosen to show all availability for 15 days:

- The daily overall availability (run of house) will be shown next to the tag All Availability:
- The daily room type availability will be shown next to the room type names:
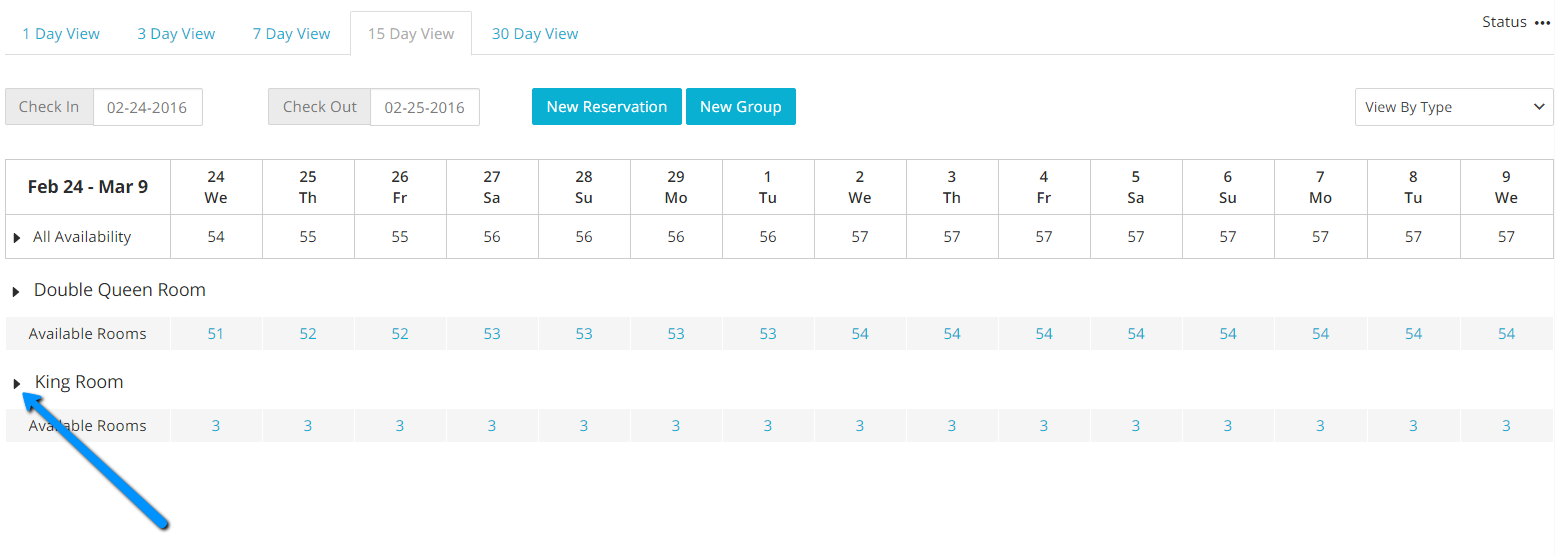
- To expand the Tape Chart to display the available rooms under each type, you will simply need to click on the small arrow on the left hand side of the room type name:
- Likewise, to display all rooms available at the property, click on the small arrow on the left hand side of the written All Availability:
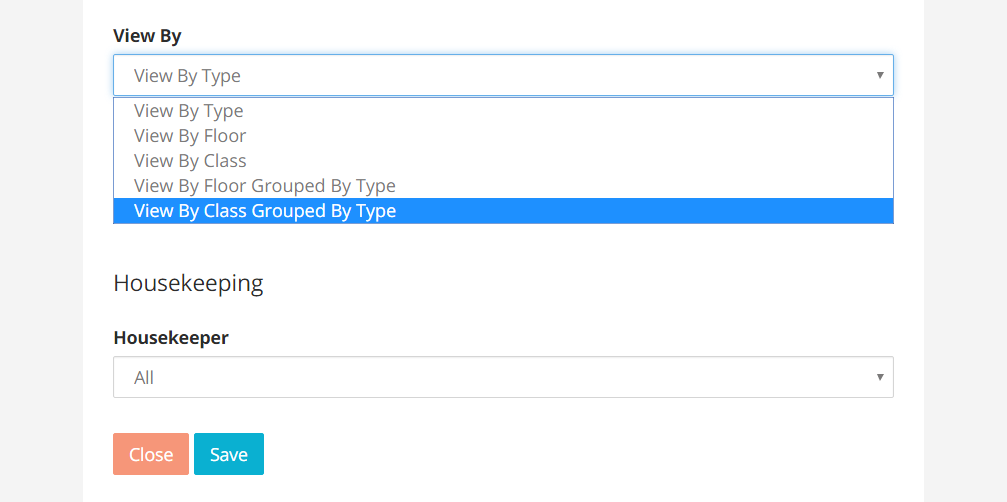
- Availability can also be organized and displayed around Floors, Class or a combination between them. On the left hand side of the Tape Chart, there is a drop down menu with the written View By Type:
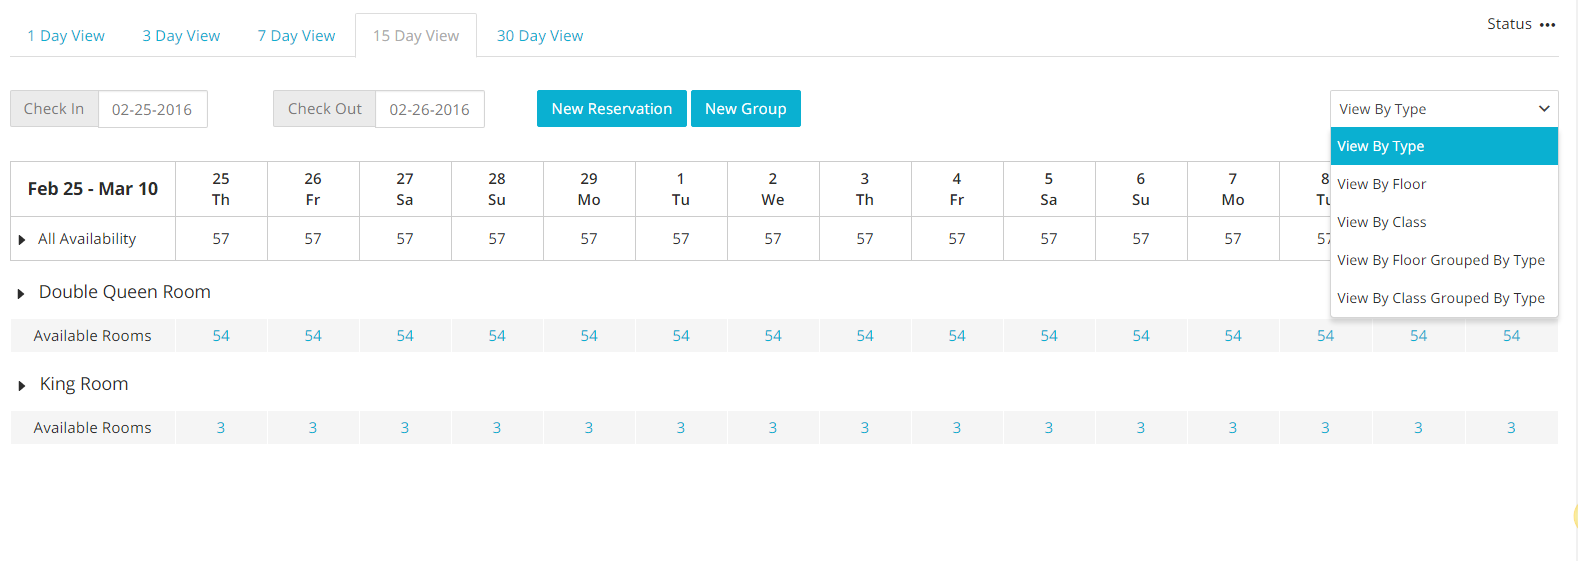
- Clicking on a different option in that drop down menu will update the Tape Chart to show availability accoding to your choice. In the example below, I picked the option Floors:
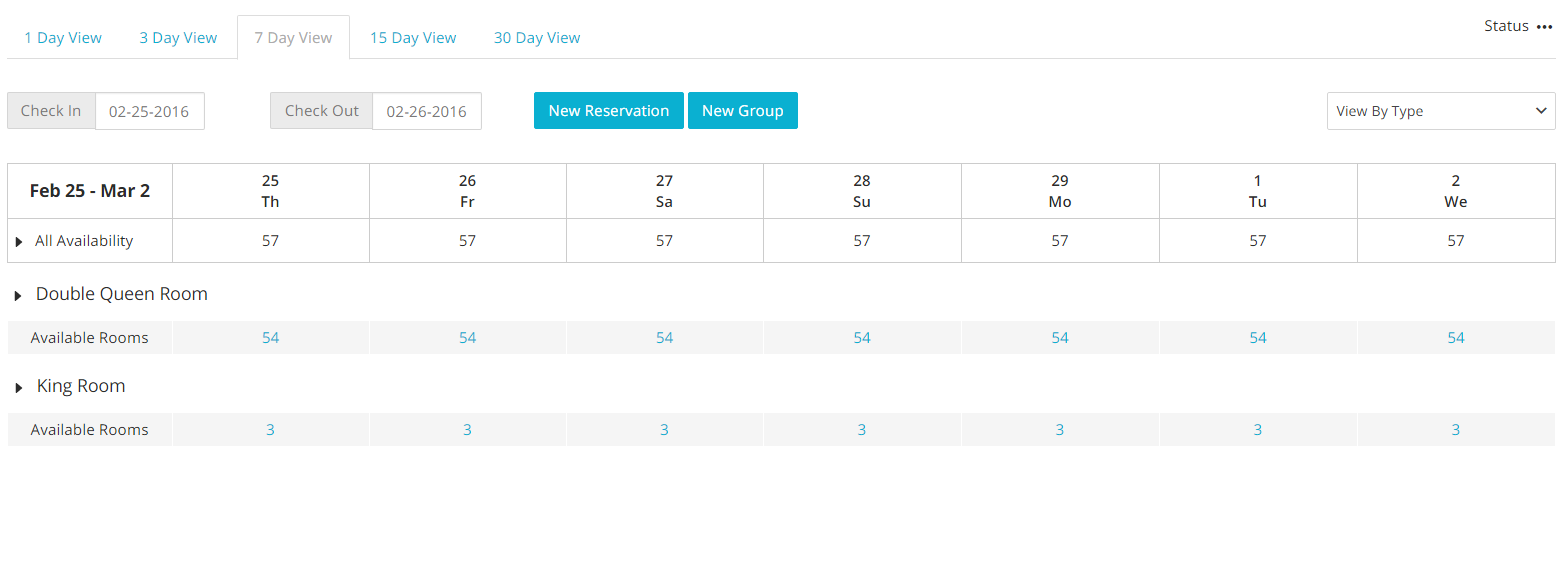
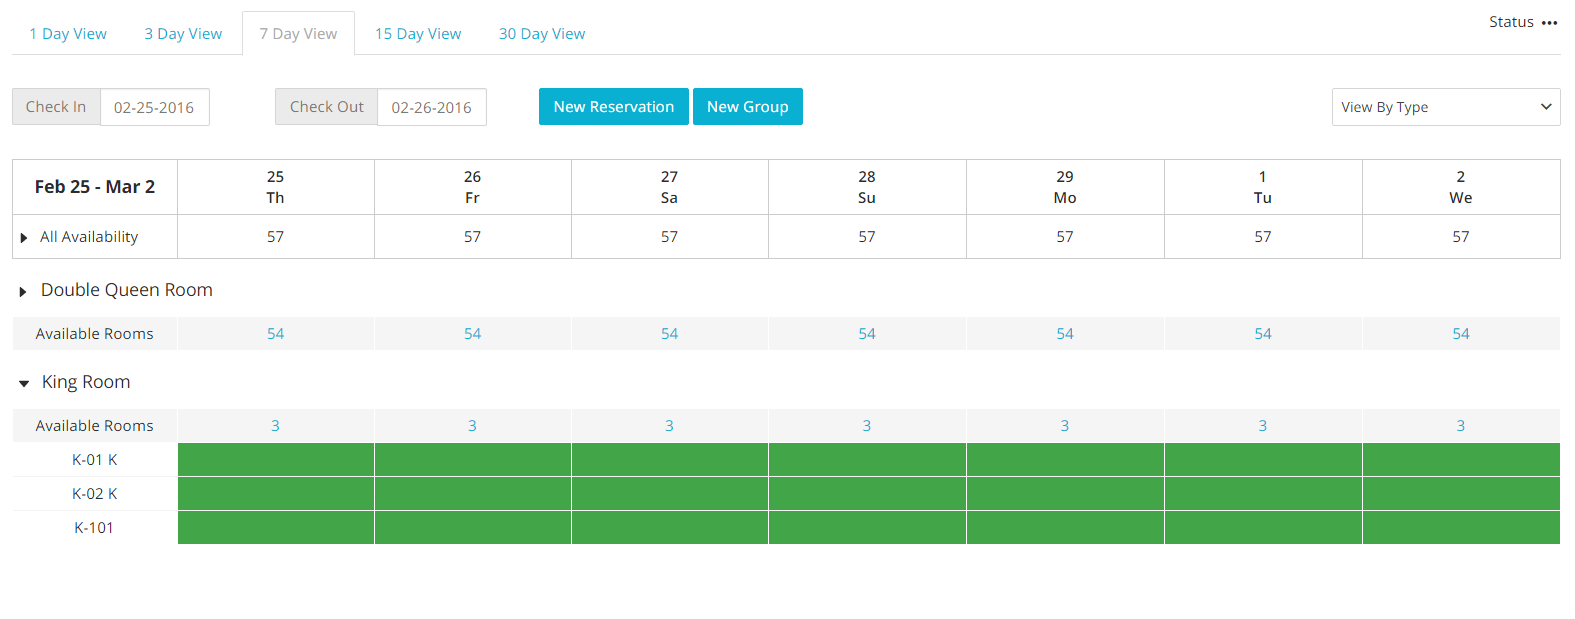
- To expand the view to show each room, always click on the arrow on the left for each tag:
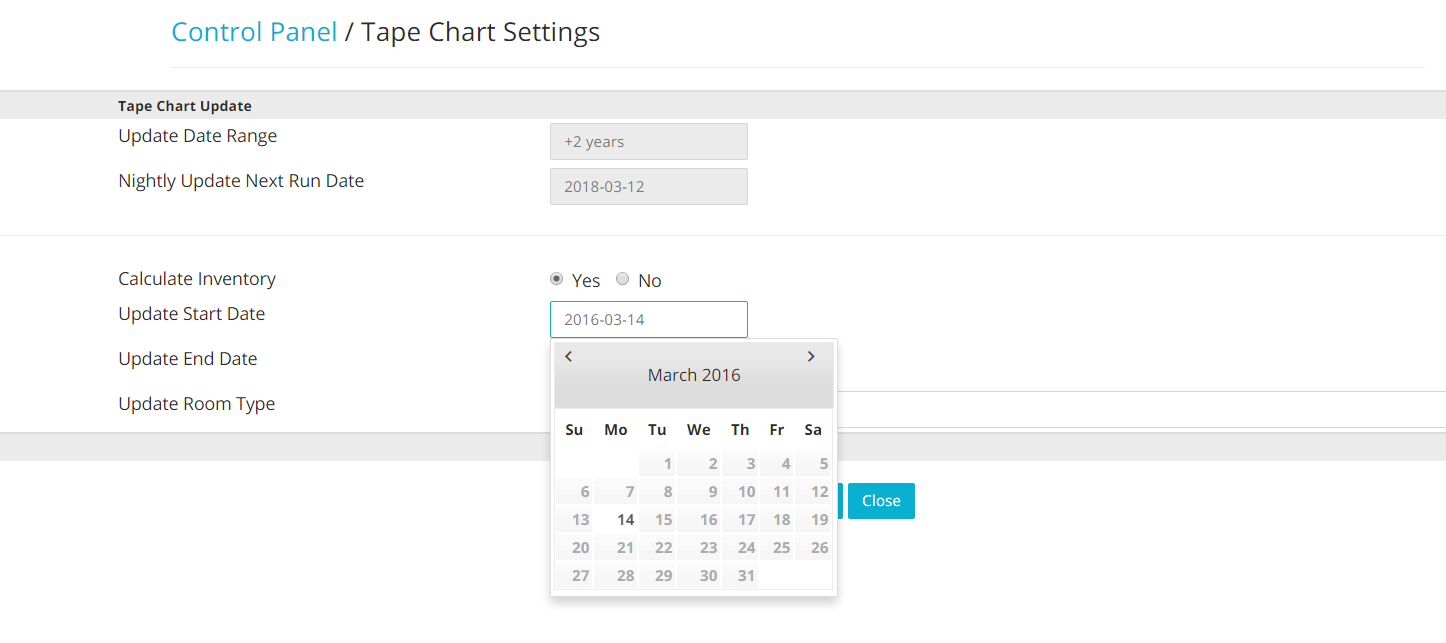
###Setting Up a Default View
It is possible to save your View preferences for your user.
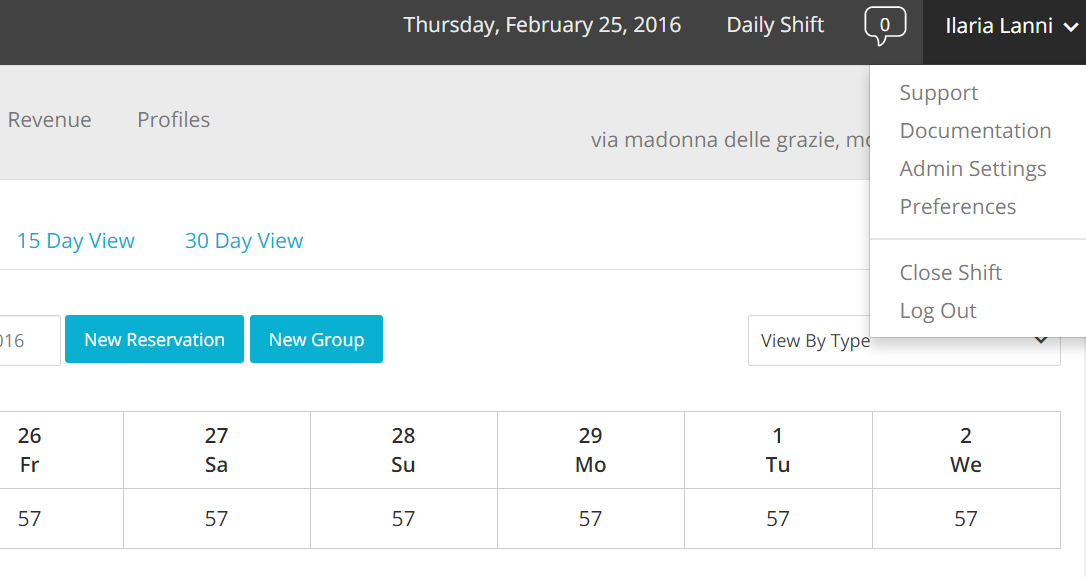
- On the top right hand corner of the screen, click on the dropdown next to your username:
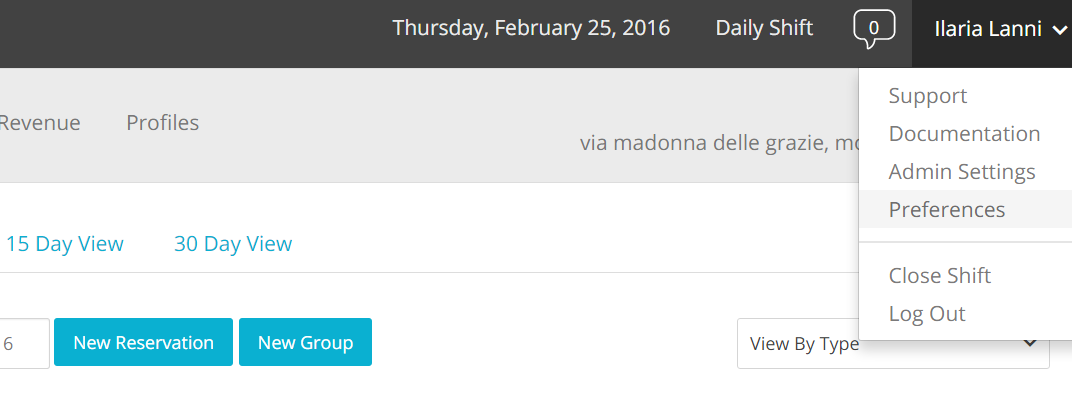
- Click on the option Preferences from that menu: a new panel will pop up.
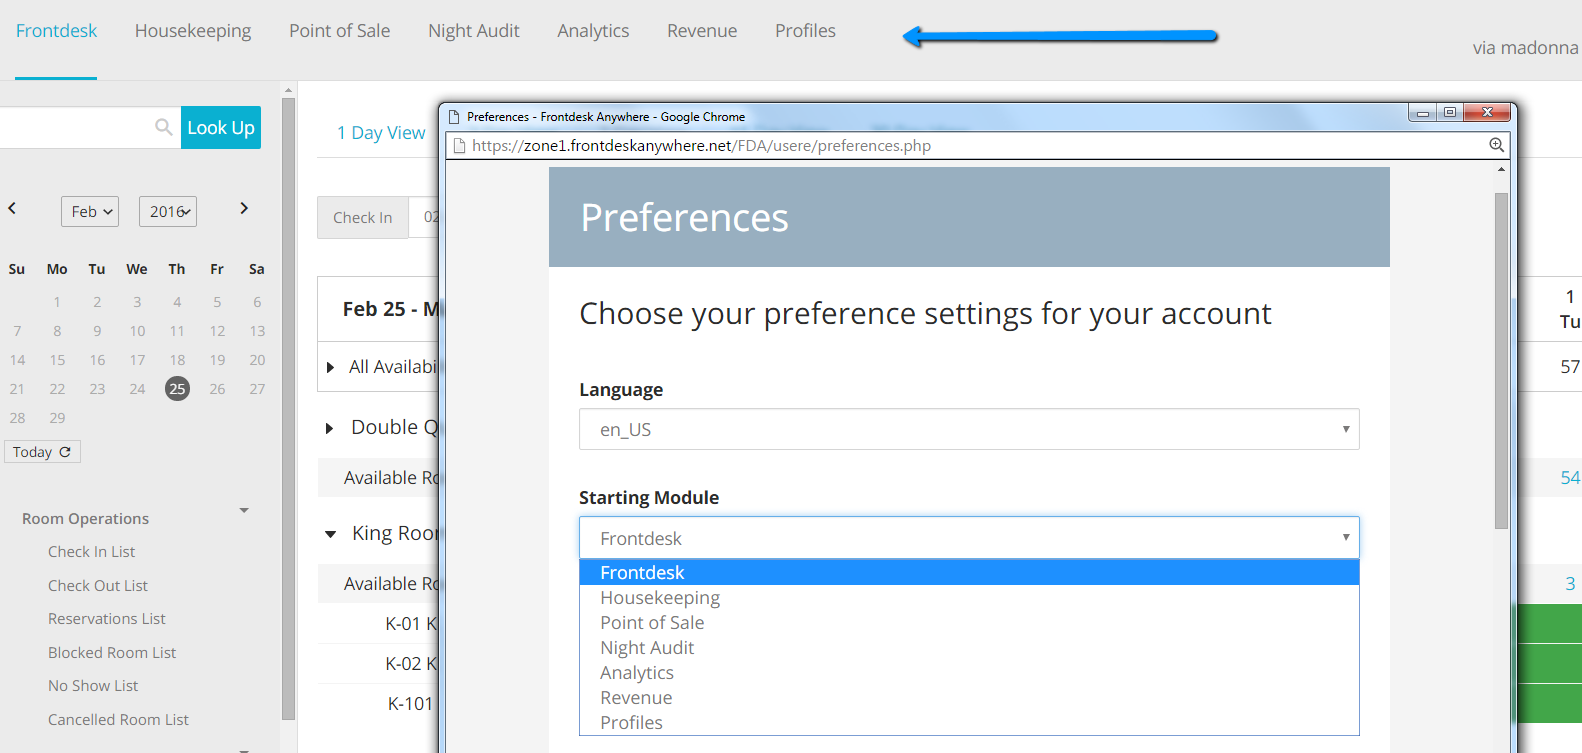
- If applicable, choose what module you want to have as a default one when you access Frontdesk Anywhere: note that each option corresponds to one tab at the top of your Tape Chart.
- Choose the time lenght you want as default for the Tape Chart:
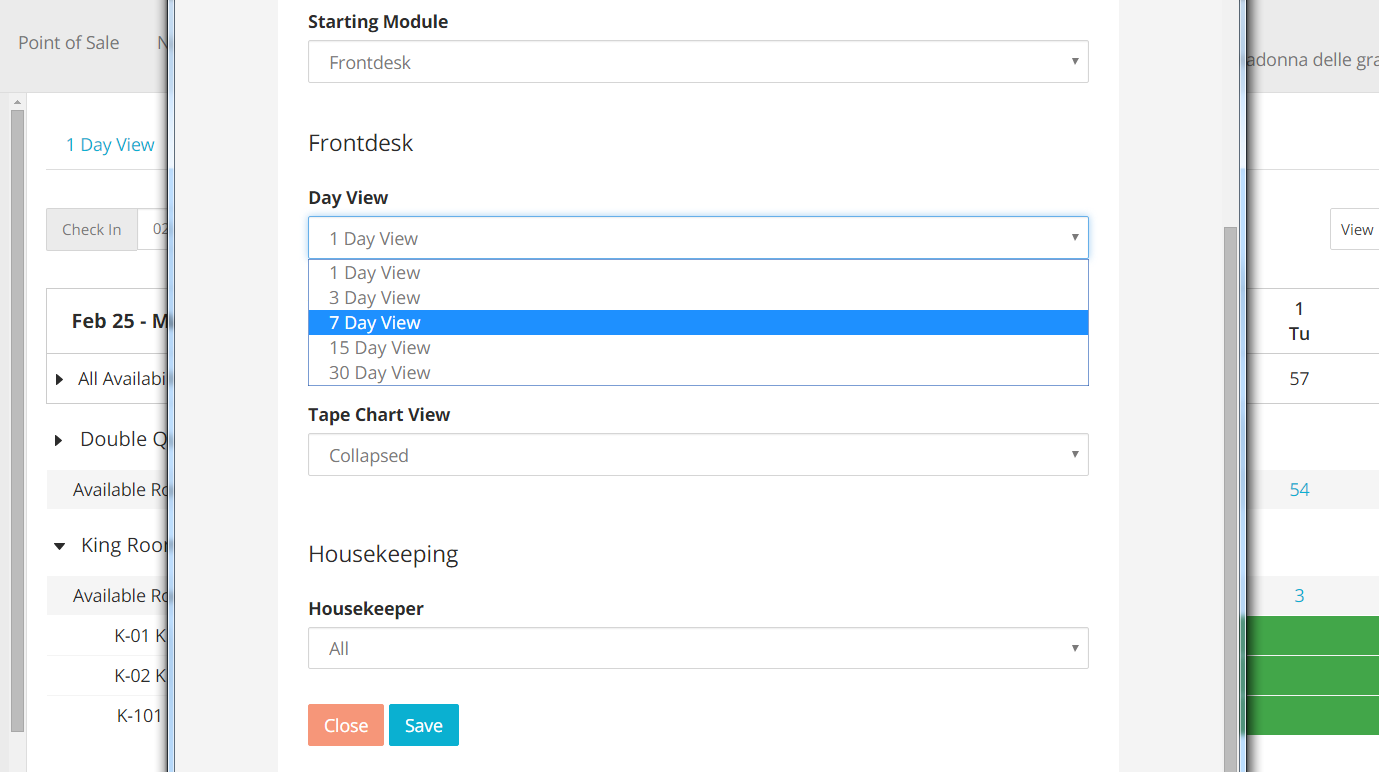
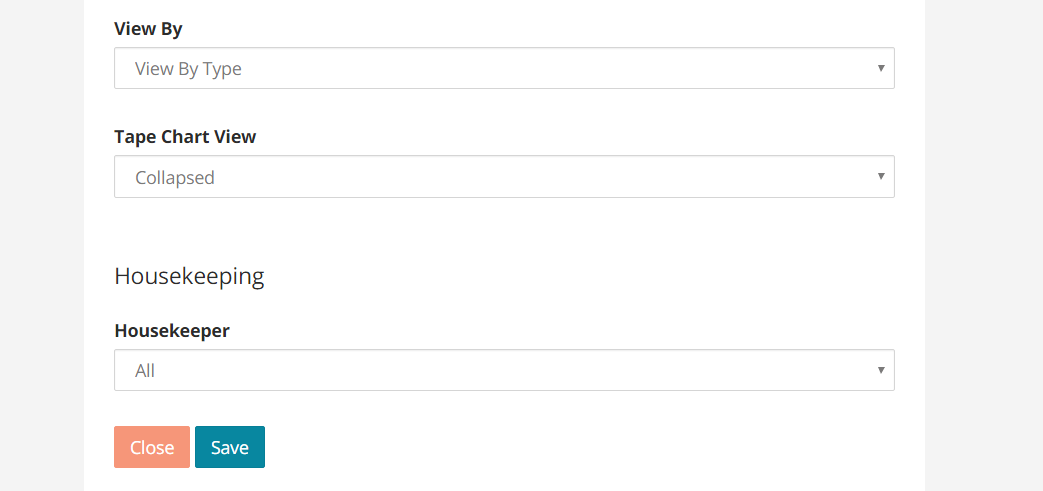
- Select the type of view you want to have the Tape Chart display:
A Collapsed view will only show you availability values without giving you an overview on the room level:

An Expanded view type will show you all availability for all room types:
- Click on the button Save to save your preferences: remember you will have to log out and log back into system in order to see changes being effective.
###Updating the Tape Chart For a Particular Day
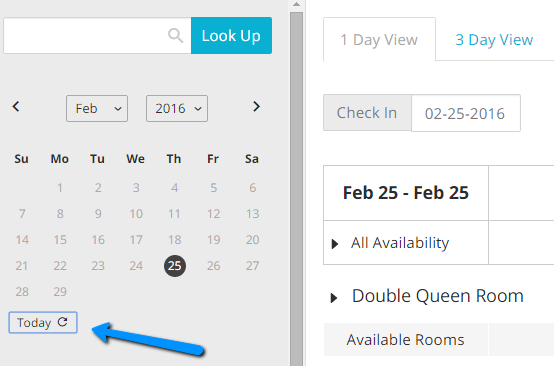
- On the left hand side of the Frontdesk screen there is a Calendar Box that will enable you to move the Tape Chart across dates:
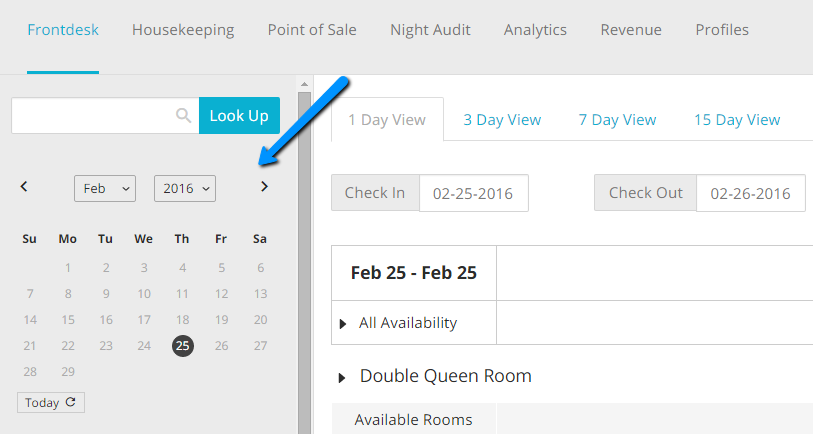
This tool comes very handy when you will have to check availability for a particular date or date range for a certain room.
- To bring the calendar back to today’s date, click on the button with the tag Today right underneath the calendar box:
###Unassigned Bookings
Unassigned Bookings are reservation folios that do not have yet a room assigned.
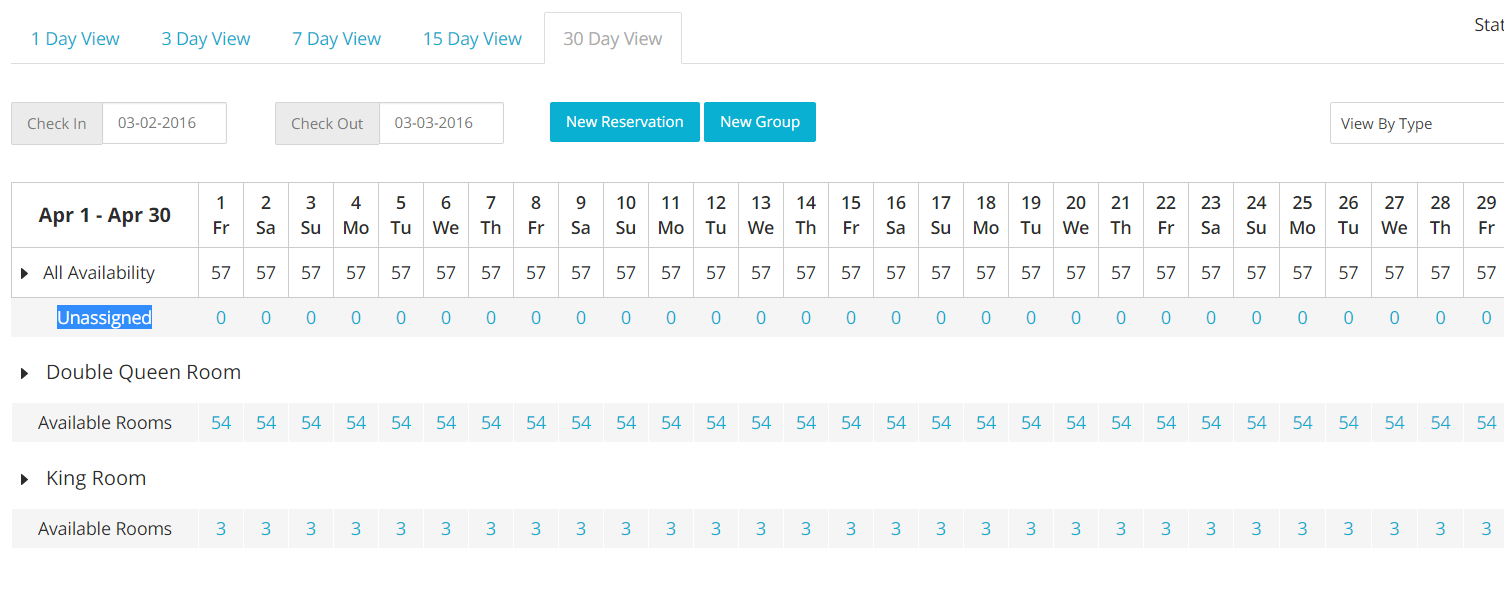
- When the Tape Chart is collapsed, you will be able to see the number of unassigned bookings in the row tagged Unassigned:
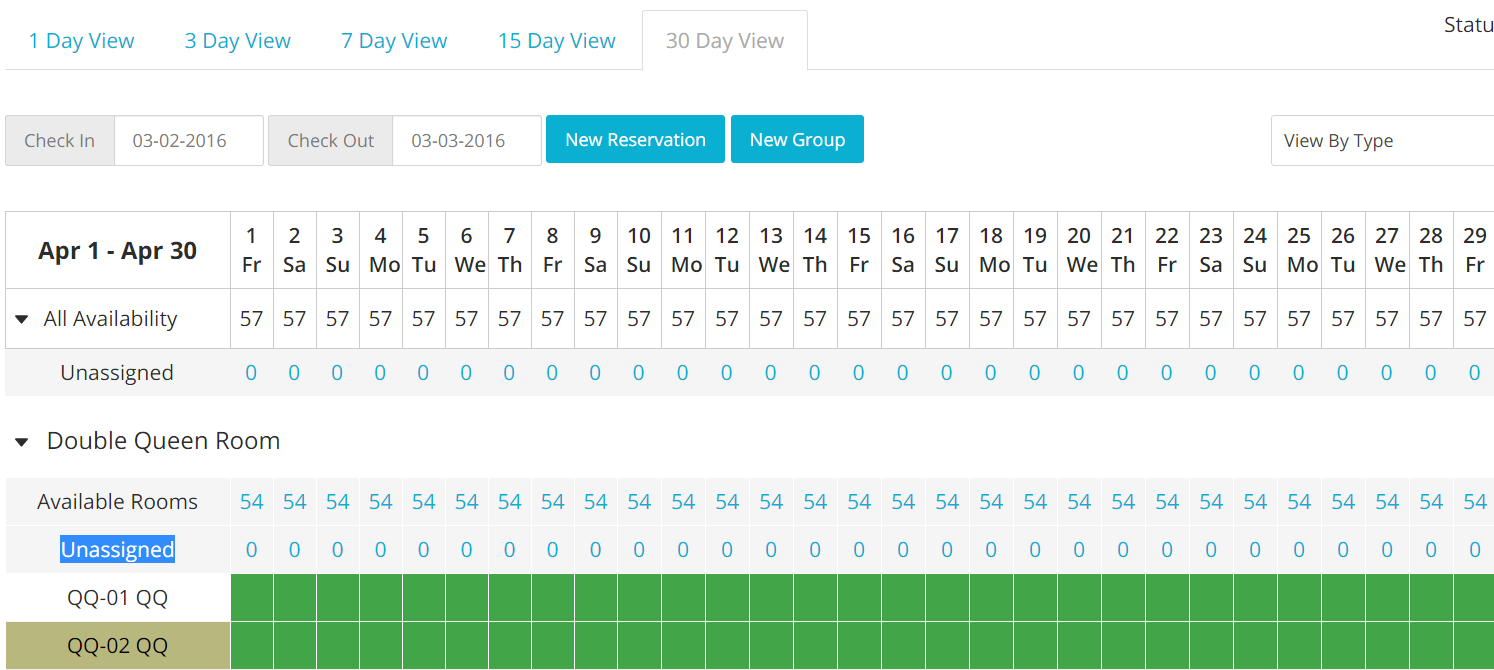
- If you expand the Tape Chart, you will be able to see an Unassigned row also on room type level:
- Unassigned bookings can be due to different scenarios:
-
Your account might have been configured as receiving all bookings as unassigned; if this is so, then there will be no automatic room assignment for any incoming bookings.
-
Your account configuration might have the Reservation Split function disabled: this means that if a reservation comes in for a certain room type, and there is no continuous availability for any room under that type, the system will place the reservation into the Unassigned row (versus enabling a split reservation, where the latter is split into different rooms available under that type).
Note: Unassigned Bookings are not necessarily overbookings. Unassigned bookings count towards the overrall availability, both for run-of-house and room type level.
To Edit your account configuration, check the Admin Settings section of this manual.
- Your account has been configured with an Overbooking Allowance, which allows room types to receive more reservations than the real number of rooms.
To Edit the Overbooking Allowance configuration, click here
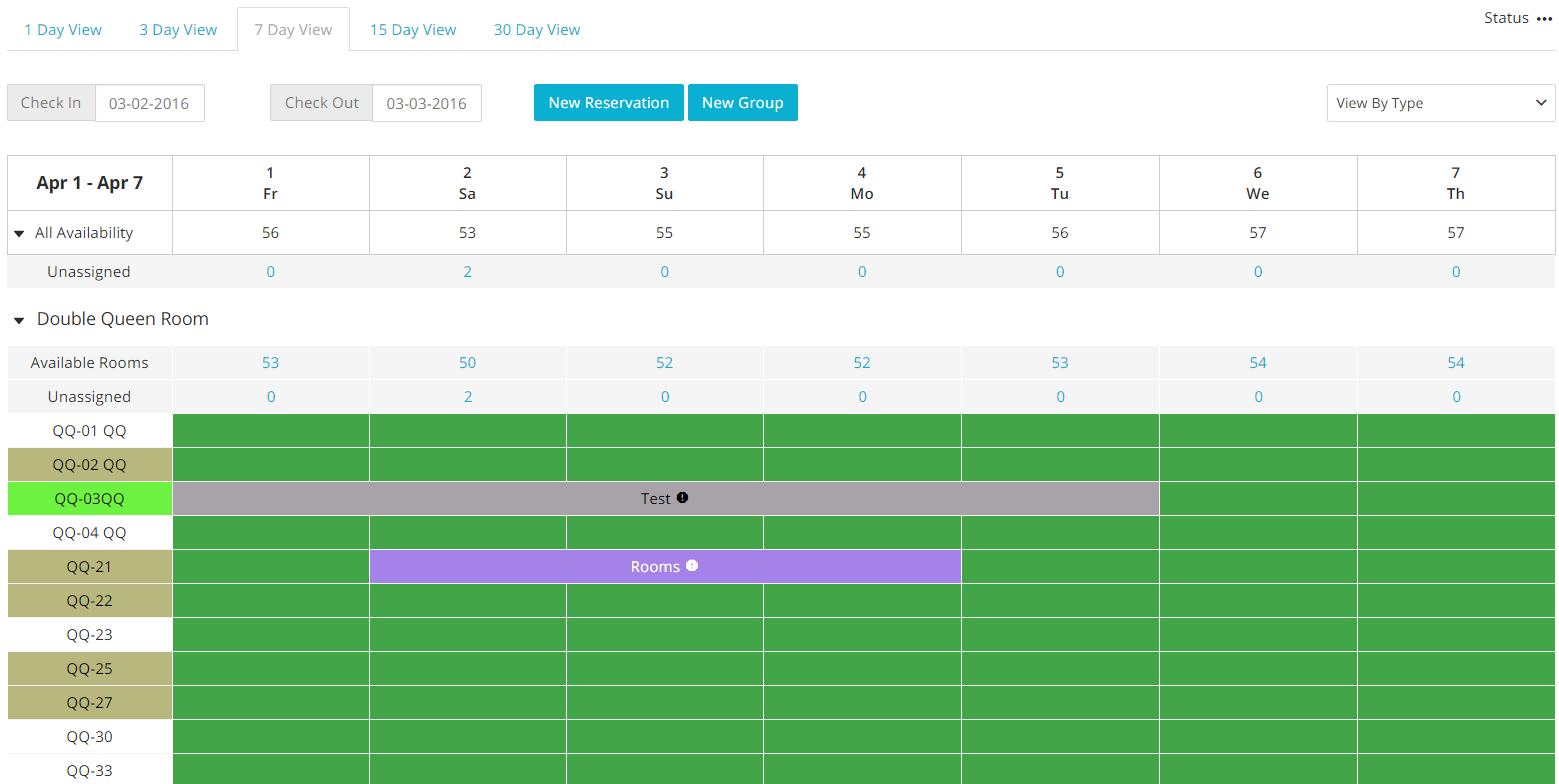
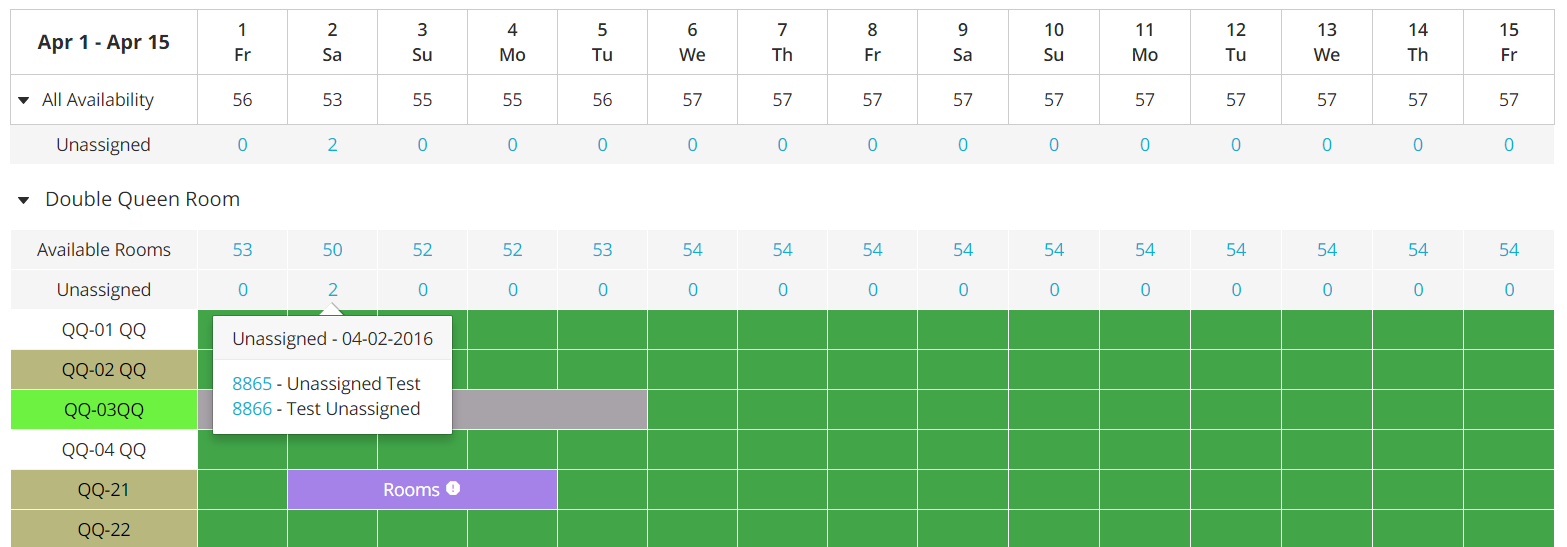
- When unassigned reservations are present in your system, the number “0” on the Unassigned row will be replaced with the number corresponding to the number of unasigned reservations. In the example below, notice that there are 2 unassigned reservations on April 2nd:
- To assign a room to an unassigned booking, click on the number of unassigned bookings:
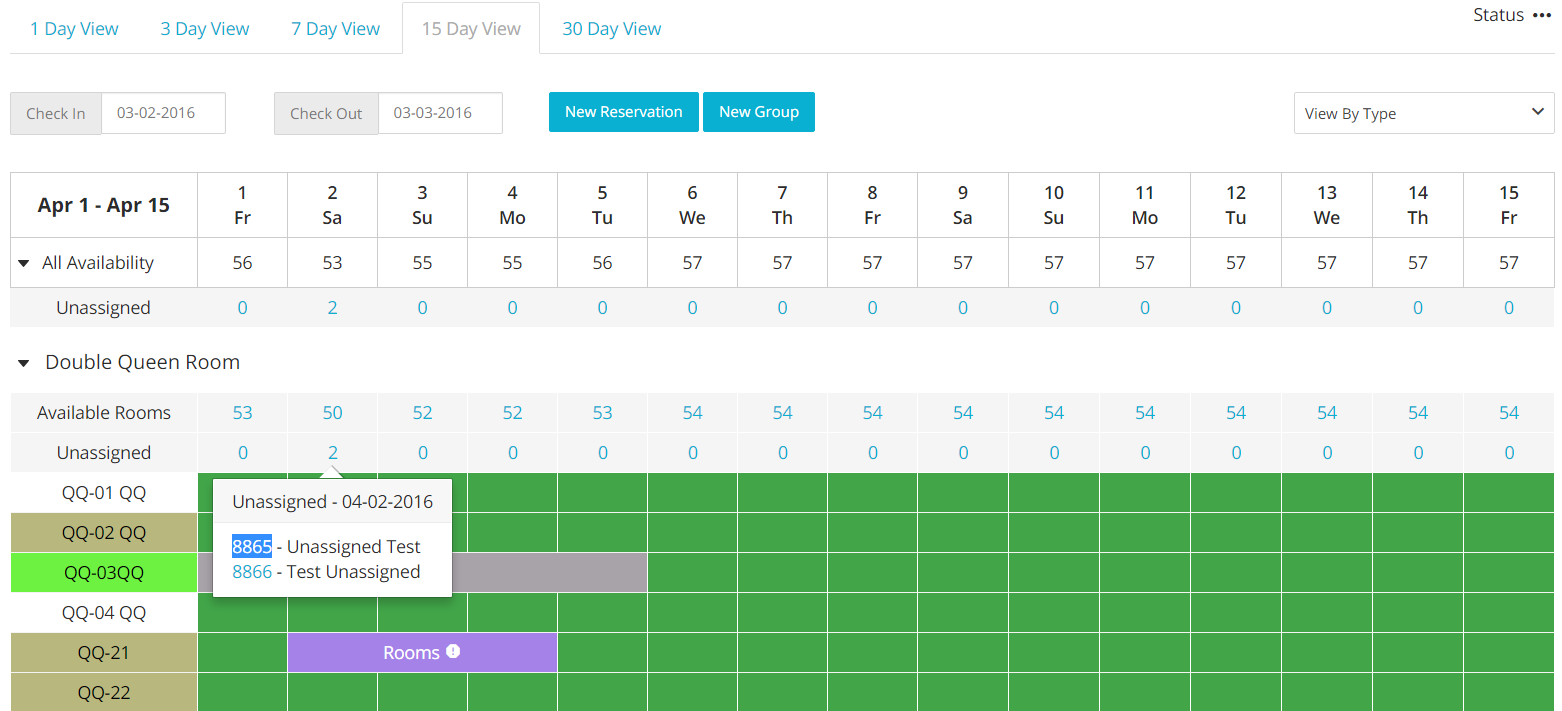
- Select the booking you want to assign by clicking on the folio number:
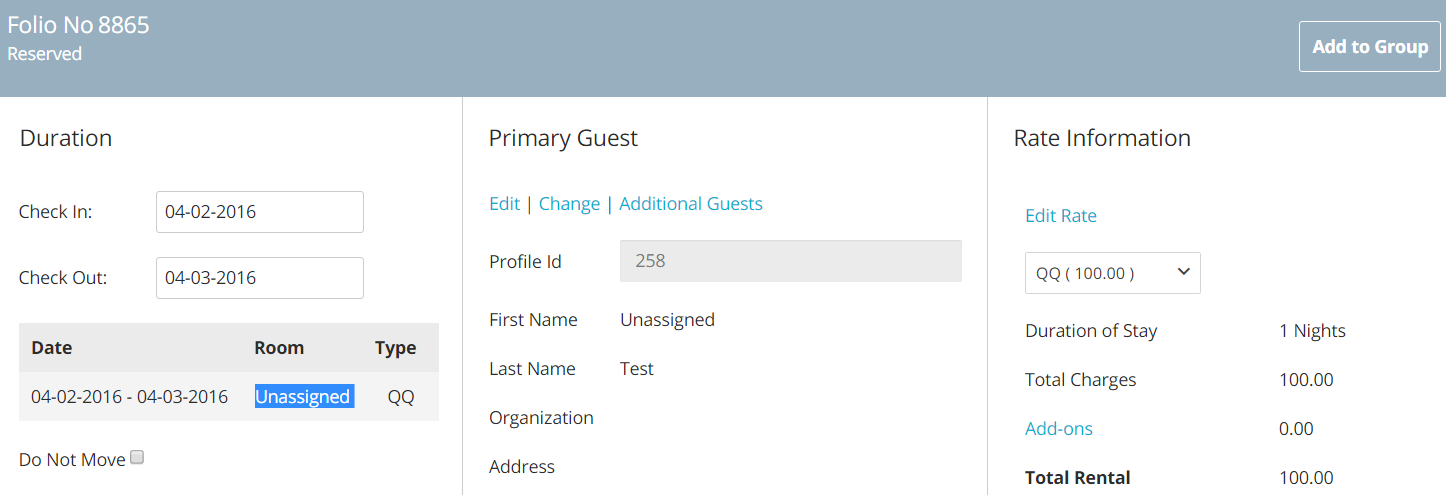
- Click on the Unassigned link and select the room you want to assign the reservation:
##Guest Look-Up
You can search your reservations by using different variables.
- If you have the guest’s name or the reservation number, you may enter them in the Look Up box on the left hand side of the tape Chart:
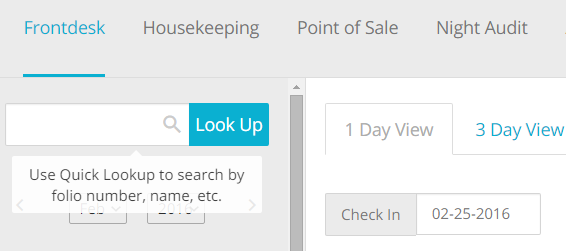
- Click on the blue botton Look Up to open the search panel:

- The search panel will list all results matching the information you typed in:
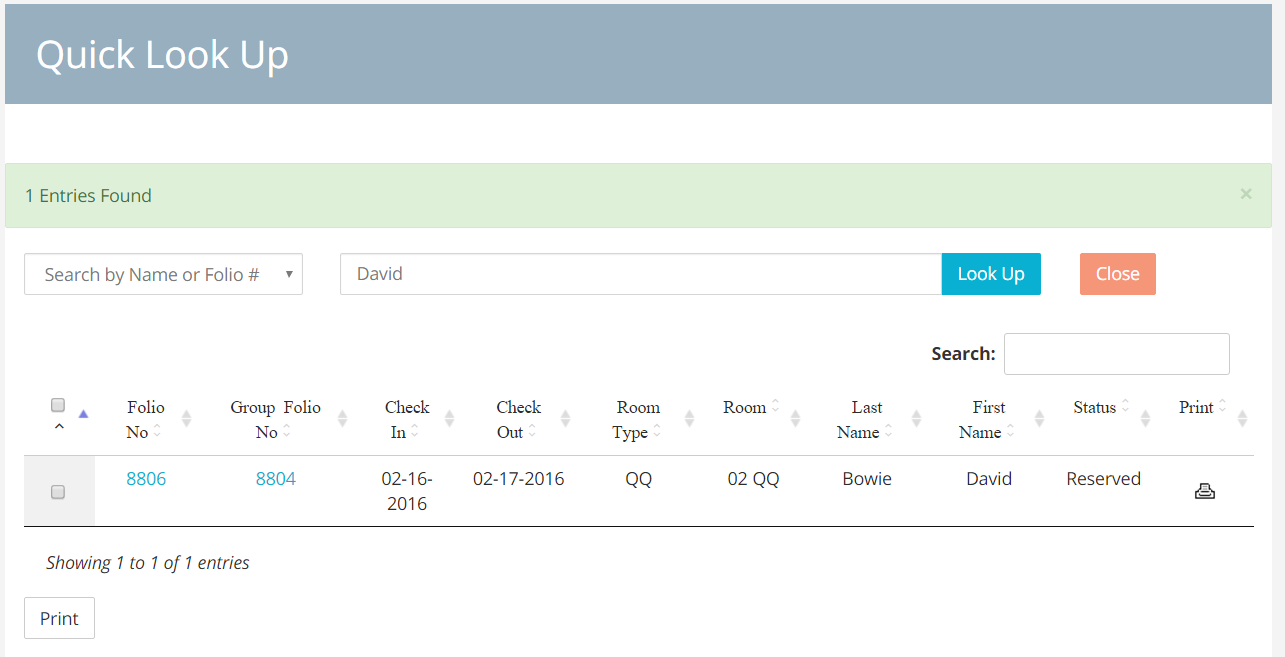
- Each Folio number and Group Folio number shows up in a blue, clickable link: clicking on any of them will bring up the relevant Folio/Group Folio screen:

- You can perform an advanced search by choosing different variables from the drop down menu next to the editable box for the Look Up:
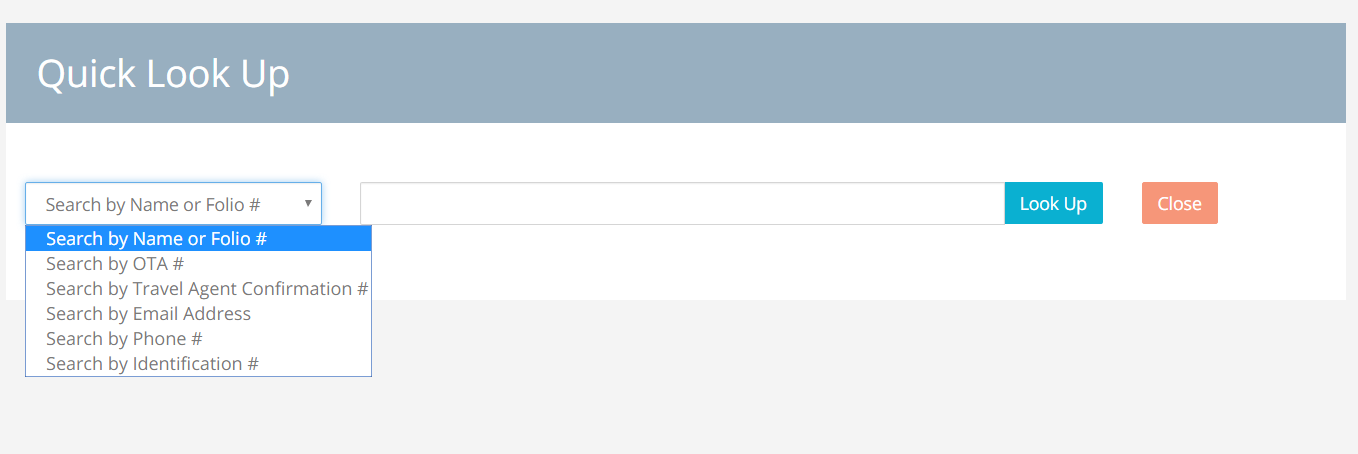
Warning: You will be able to perform advanced searches only by accessing the Search Panel and choose the right option among the ones available from the drop down menu. Fromt the Tape Chart Look Up button, you may only look up names or folio numbers.
##Room and Group Operations
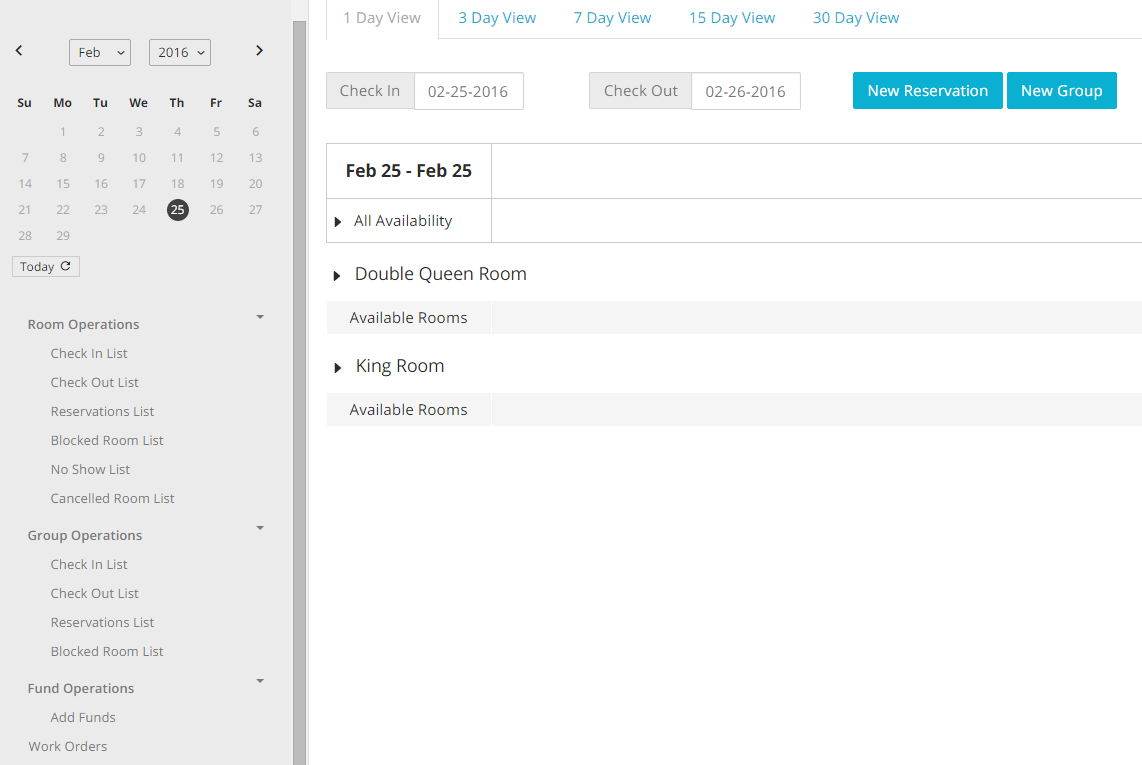
On the left hand side of the Tape Chart, under the calendar box, you will see different links that will enable you to pull up different types of information, depending on what action you are trying to perform.
###Looking up Check-Ins/Outs
- To look up al reservation by check-in/out date, click on the link Check-In List (or Check-Out List) under the tag Room Operation on the left hand side of your Tape Chart:

- A new panel will pop up: choose your filters, and click on the button Search to run the report:
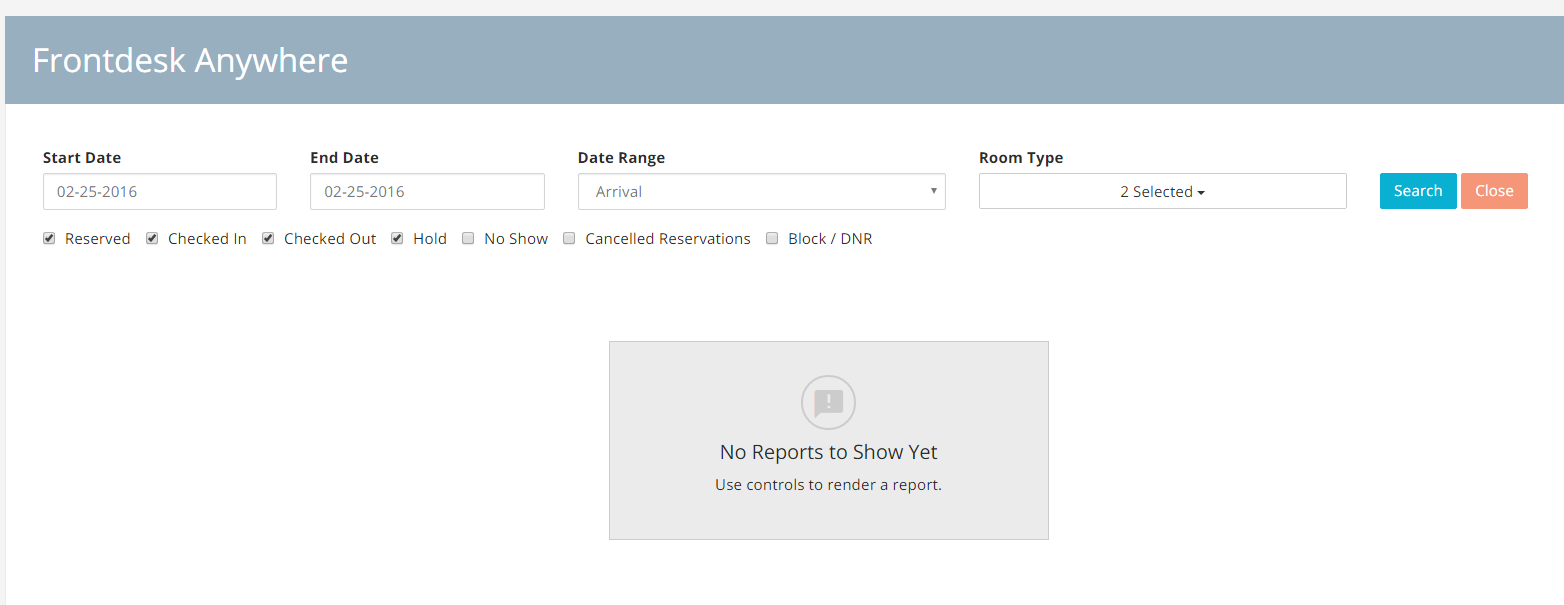
- The results will show below the filters: note that all guest information will appear in this list, along payment and reservation information:
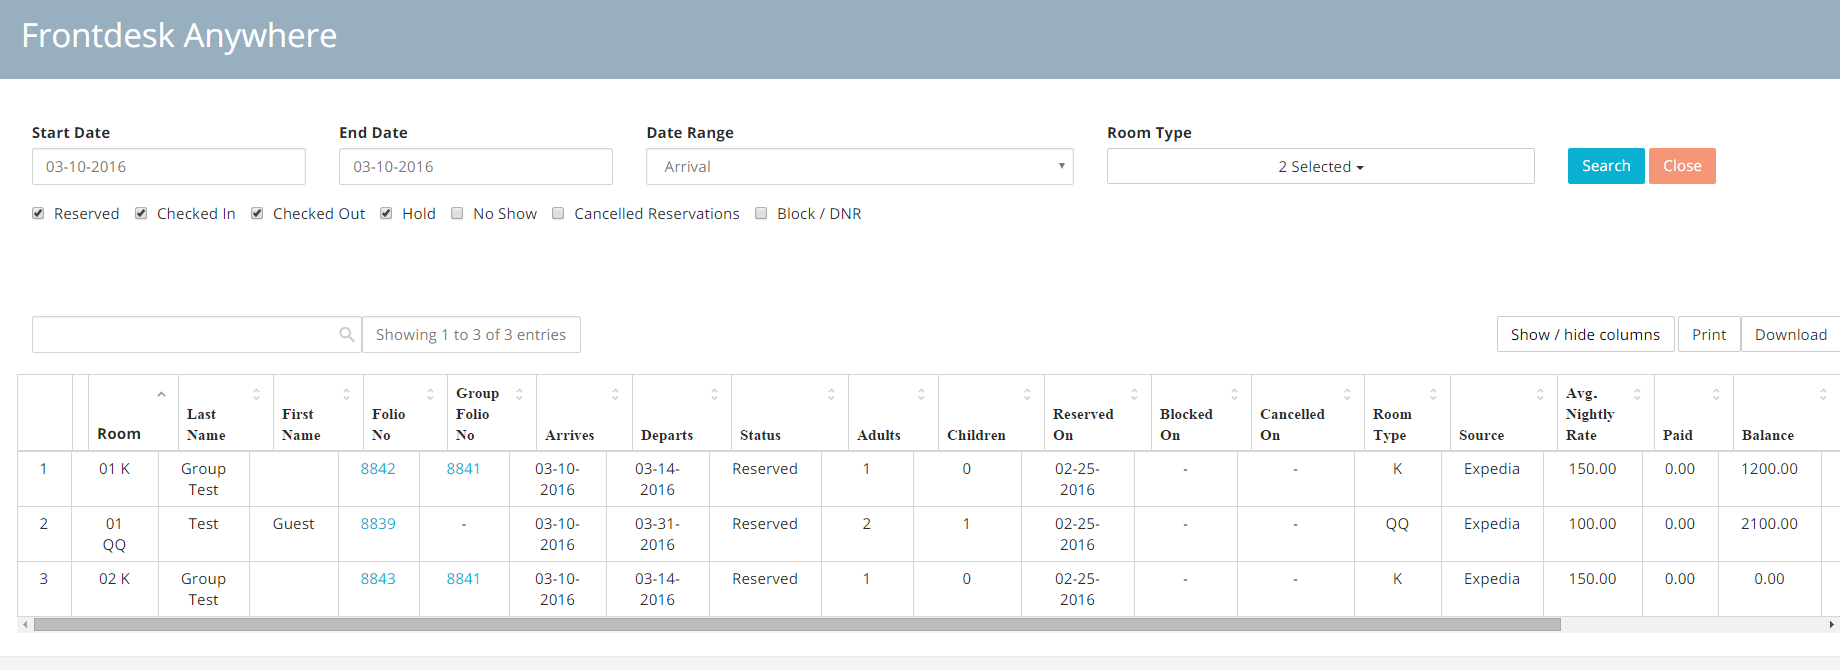
- You can organize each column in ascending/decreasing order by clicking on the arrows next to each of the column title:

- You can narrow your results by looking for a particular name or information in the editable box on the top of the results panel:

- You can also filter your results by reducing the type of information you wnat to show. To do this, click on the button Show/Hide Column:
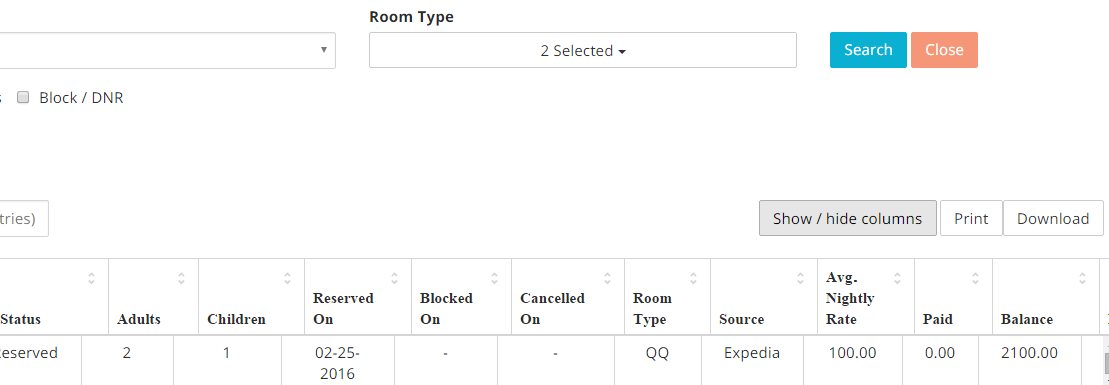
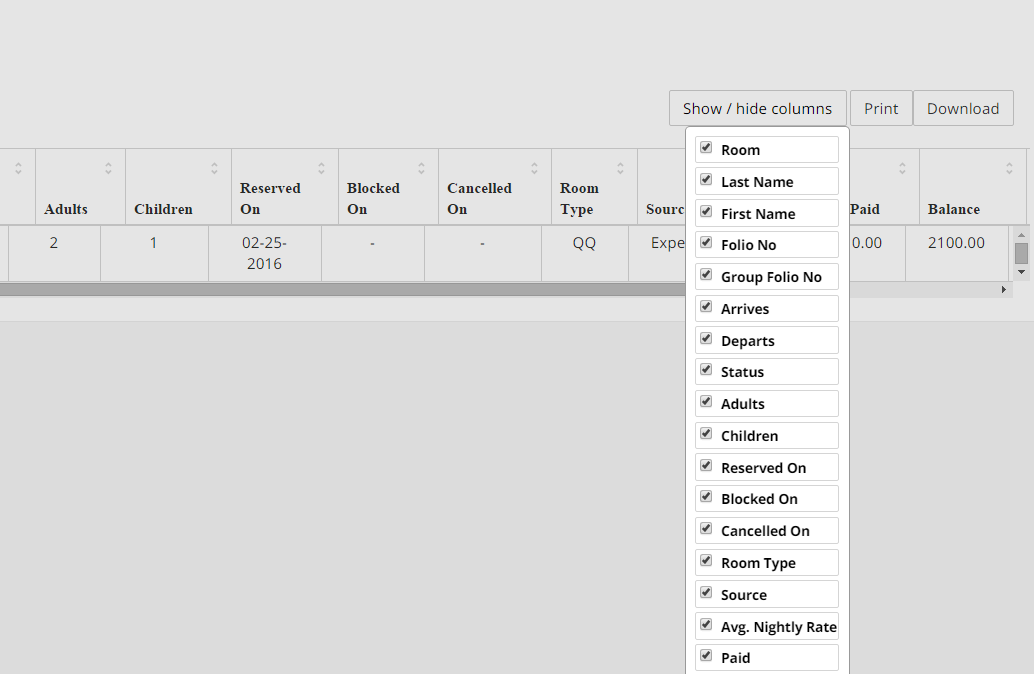
- A list of all the information type displayed for the results will appear, along with check-boxes that will make information type visible or not: check or un-check the boxes according to whether you want or do not want the type of info to show:
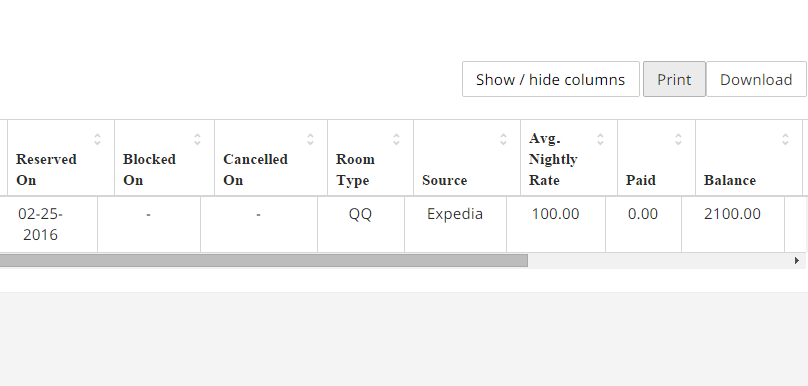
- To print the results list, click on the button Print on the right hand side of the screen:
- To download the list result, click on the button Download on the right side of the panel:

###Searching Reservation by Creation Date
The Reservations List will enable you to look reservation up by the date they have been reserved.
- Click on the link Reservations List on the left hand side of the Tape Chart:

- A new panel will pop up: choose your filters. Note that the Date Range filter has been defaulted to the option Reserved On: this will ensure that the search is performed on the reservation creation date. Click on the button Search when done:
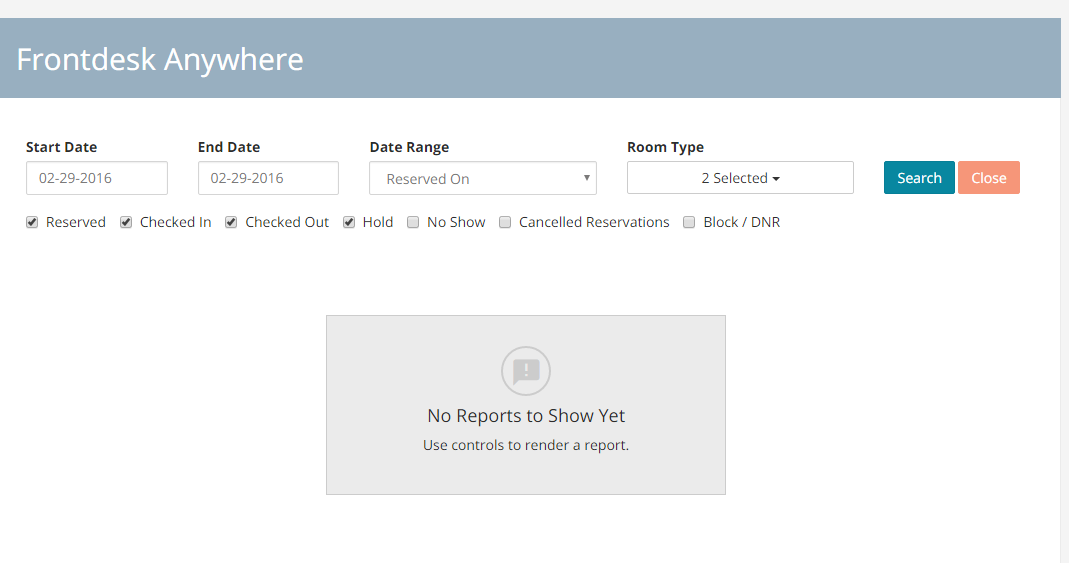
- You can organize each column in ascending/decreasing order by clicking on the arrows next to each of the column title:
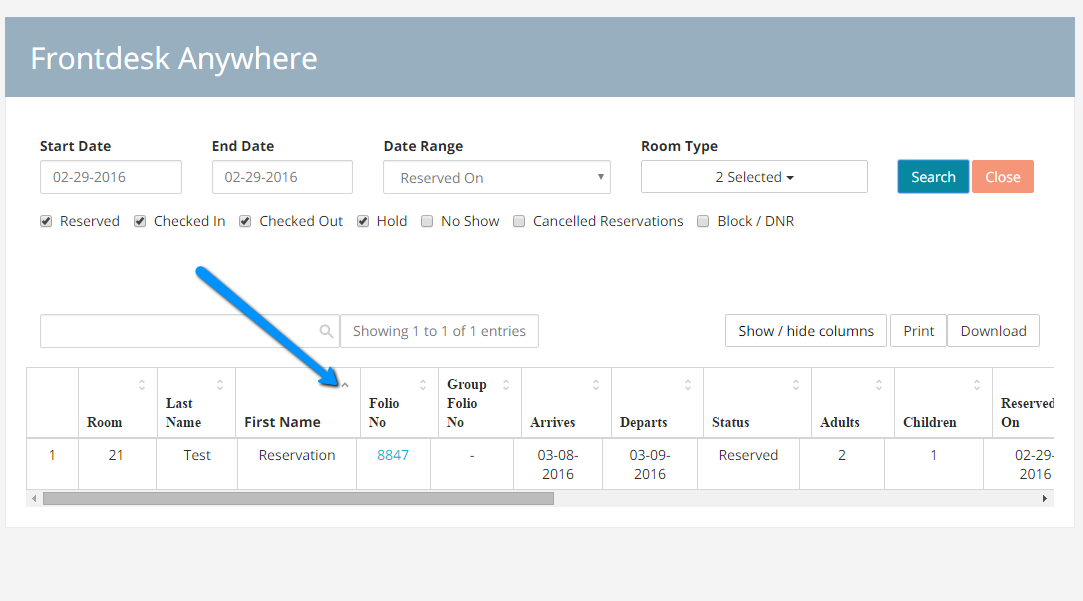
- You can also narrow down your results by limiting the information shown in the list: simply click on the button Show/Hide Columns:
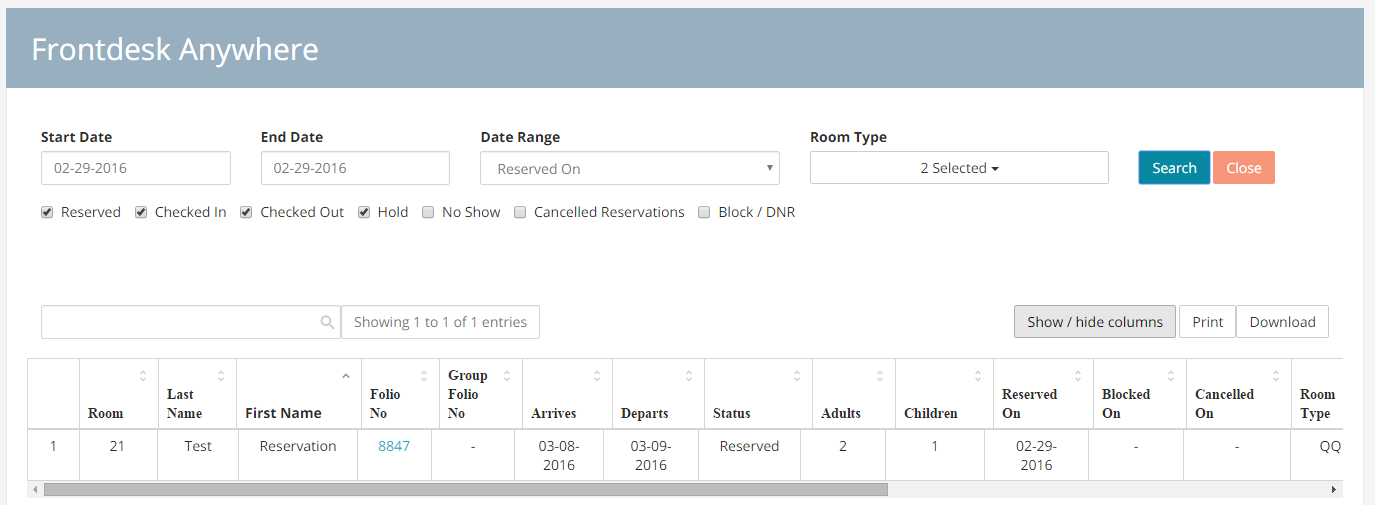
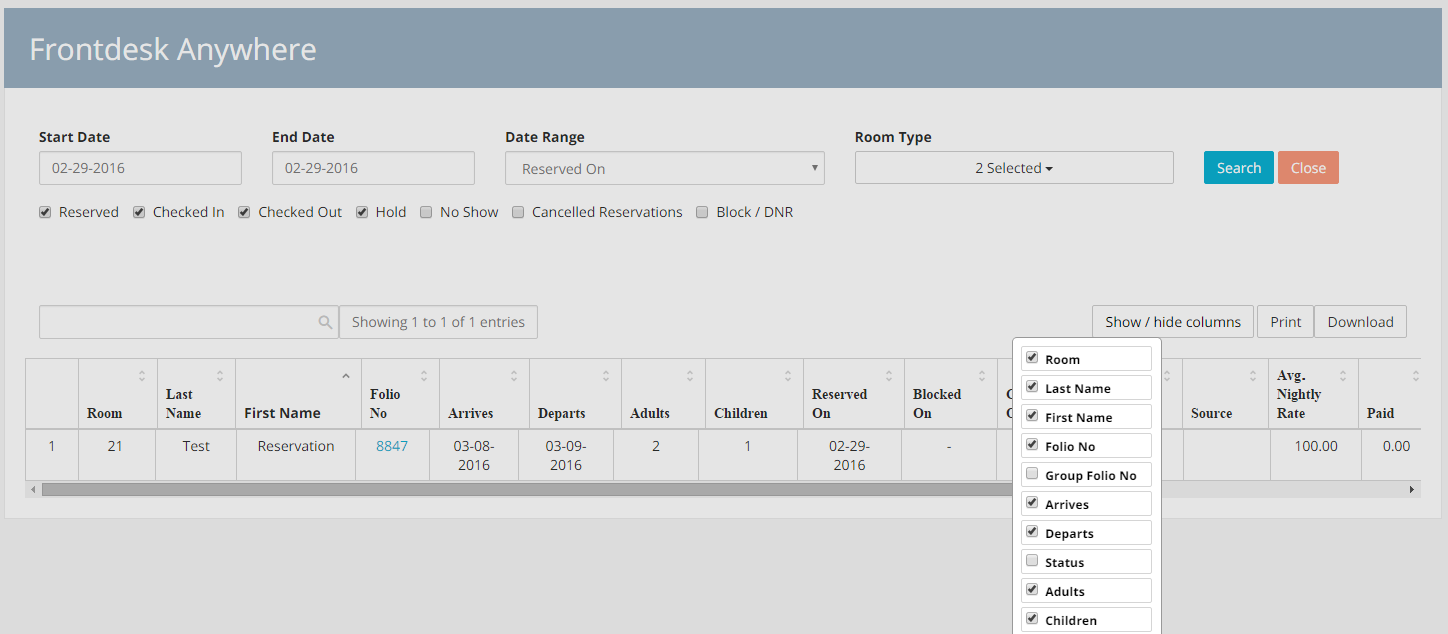
You can pick what you want the list to display by checking or un-checking the box next to the field title:
- To print the list, click on the grey button Print on the top right of the list:

- To download the list, click on the grey button Download:

###Looking Up Block/Cancelled Reservations and No Shows
- Depending on what reservation status you want to search, click on the link Blocked Room List, No Show List or Cancelled Room List:

- A new panel will pop-up: note that check-boxes with the reservation status will default to the option that is relevant to the reservation status you want to search for (blocked/cancelled/no-shows):

- Select your filters and click on the button Search:
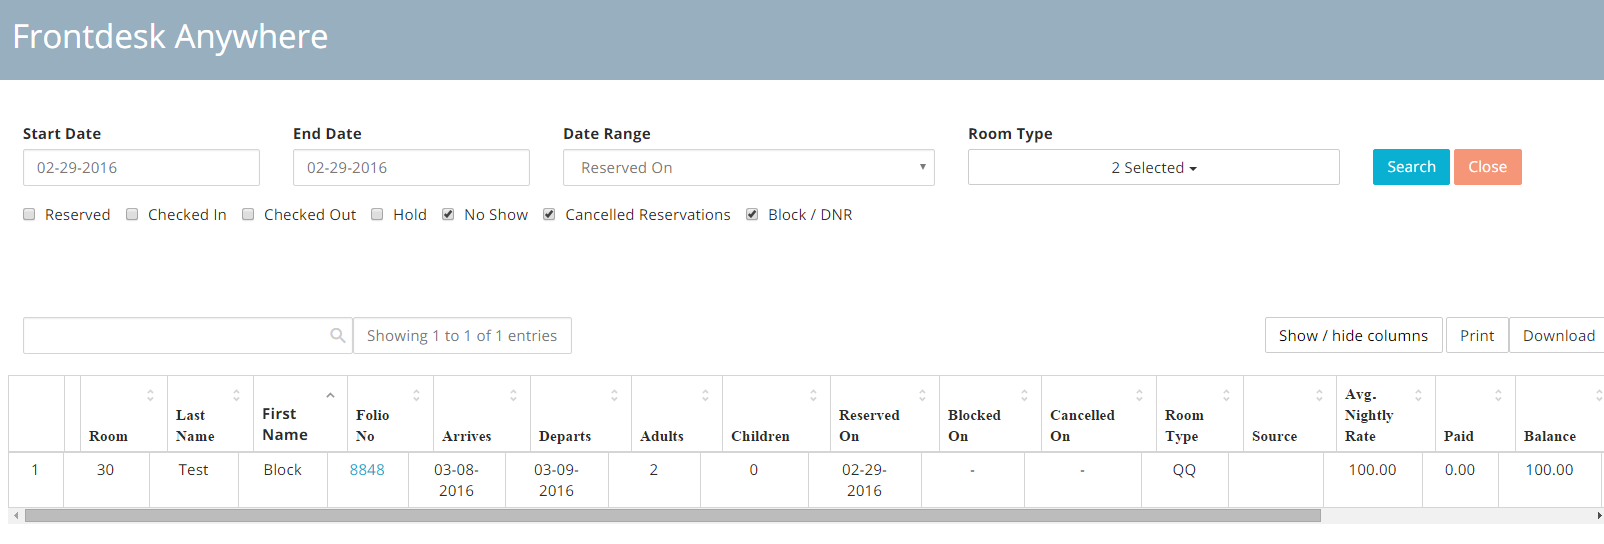
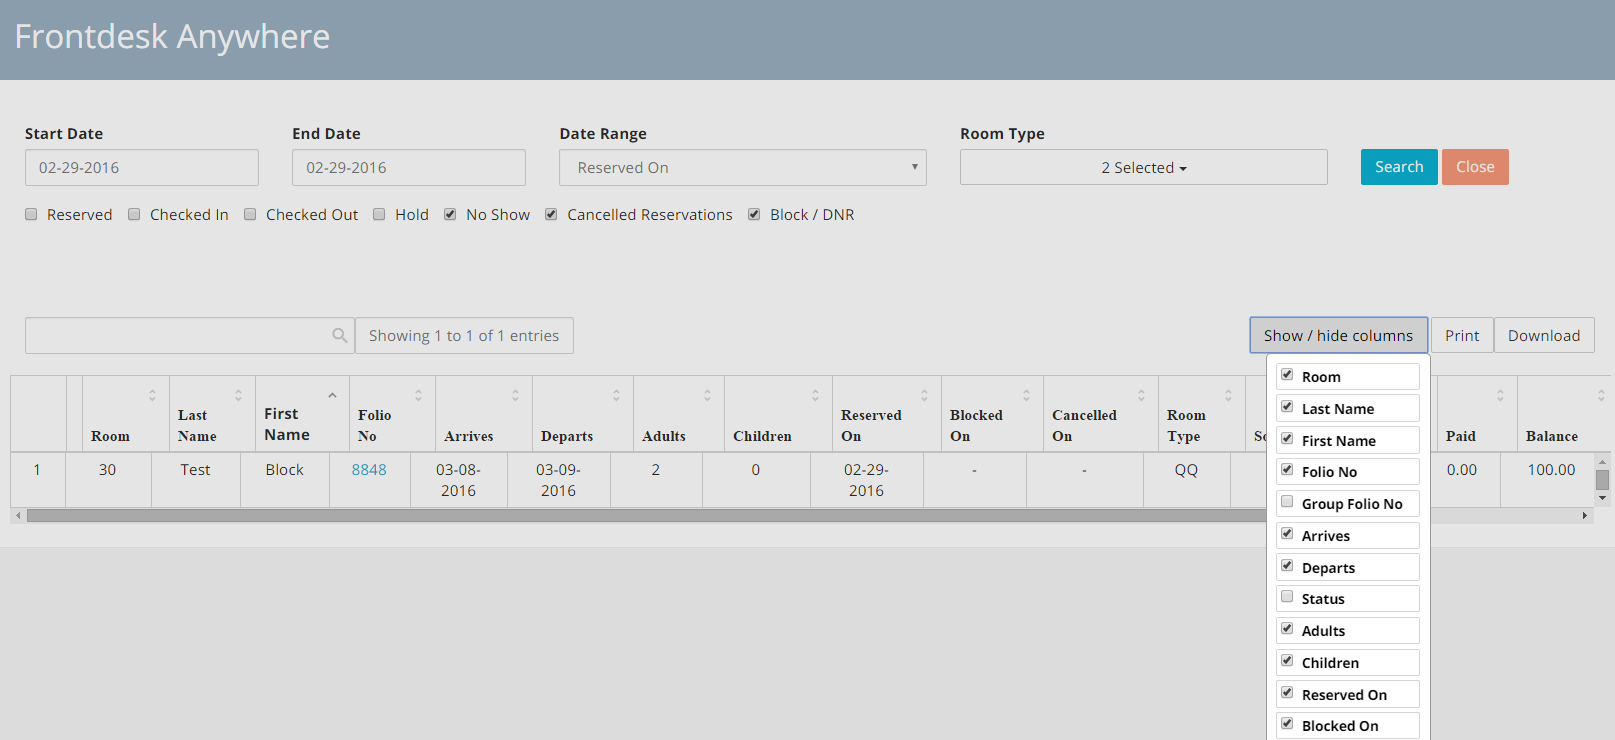
- You can define what fields you want the list to show by clicking on the button Show/Hide Columns: check or un-check the box according to whether you want the corresponding field to show or not:
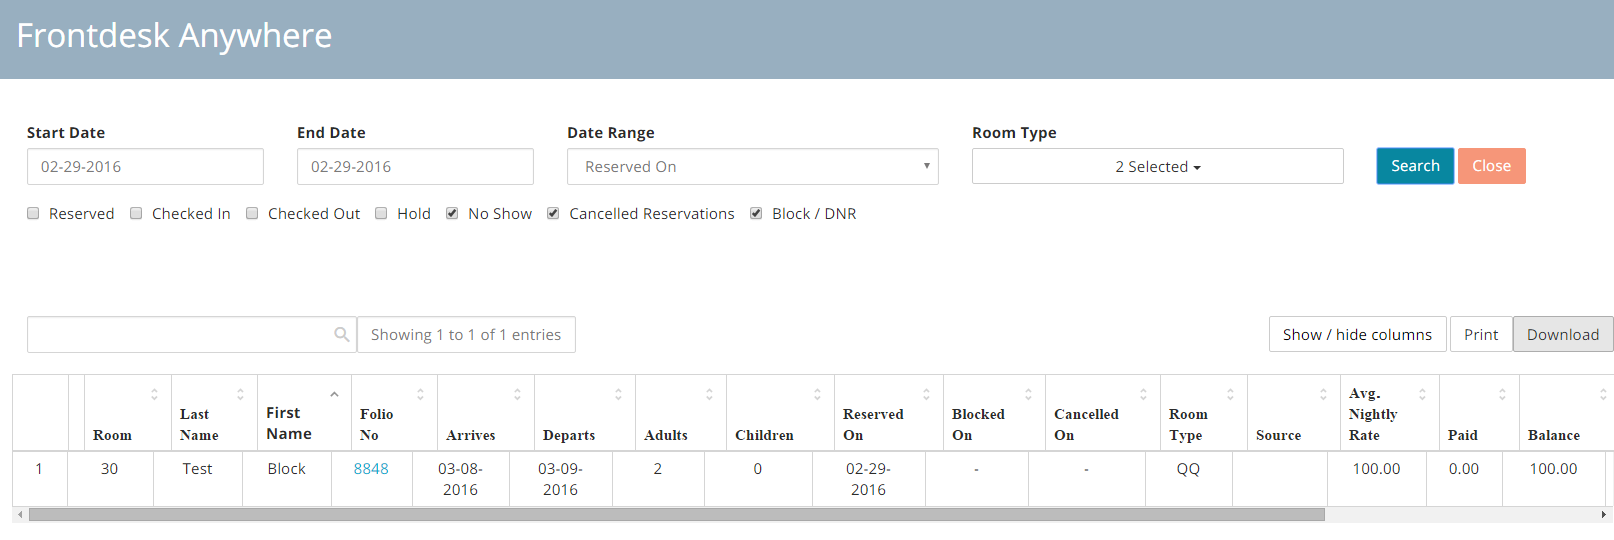
- You can print or download the list by clicking on the relevant button on the right hand side of the panel:
- You can define what fields you want the list to show by clicking on the button Show/Hide Columns: check or un-check the box according to whether you want the corresponding field to show or not:
