If your property offers extra items for sale different from lodging charges, you can operate on those by using the POS (Point Of Sale) section. POS products are organized around POS Points and POS Categories. You can think of a POS Point as being, for example, a ‘restaurant’ or a ‘coffee shop’, a POS Category as being ‘food’ or ‘beverages’, and a POS Item as being ‘walnuts’ or ‘coffee’
POS Points
Start by creating your POS Points.
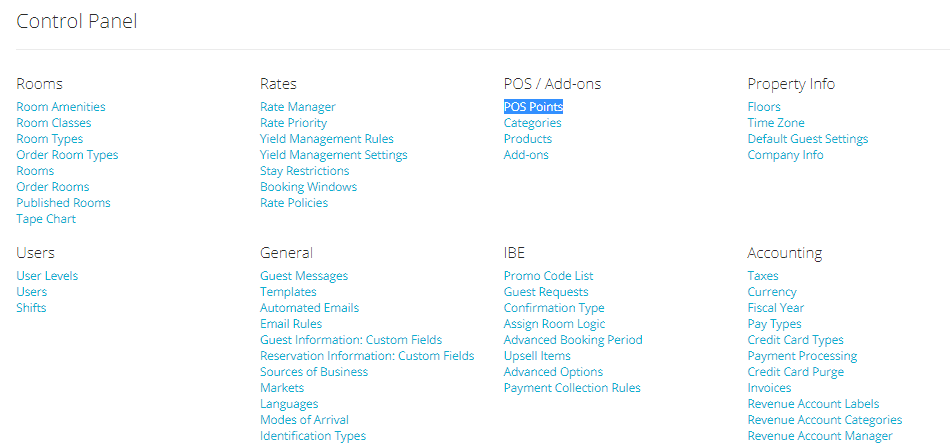
- In the Admin Settings, click on the link POS Point link under section POS/Add-Ons:
- To create a Pos Point, click on the blue Add a POS Point button:

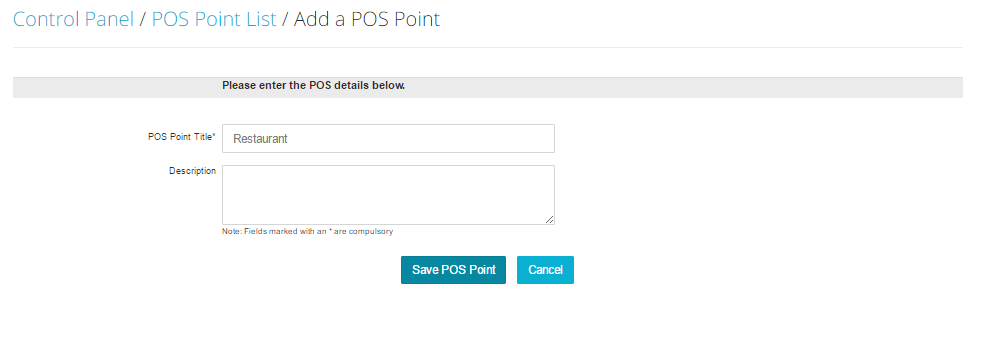
- Fill in the Pos Point Titile field with the POS name and click on the button** Save POS Point**:
- To DEACTIVATE a POS Point, uncheck the box under the column Status for the Point you wish to erase:

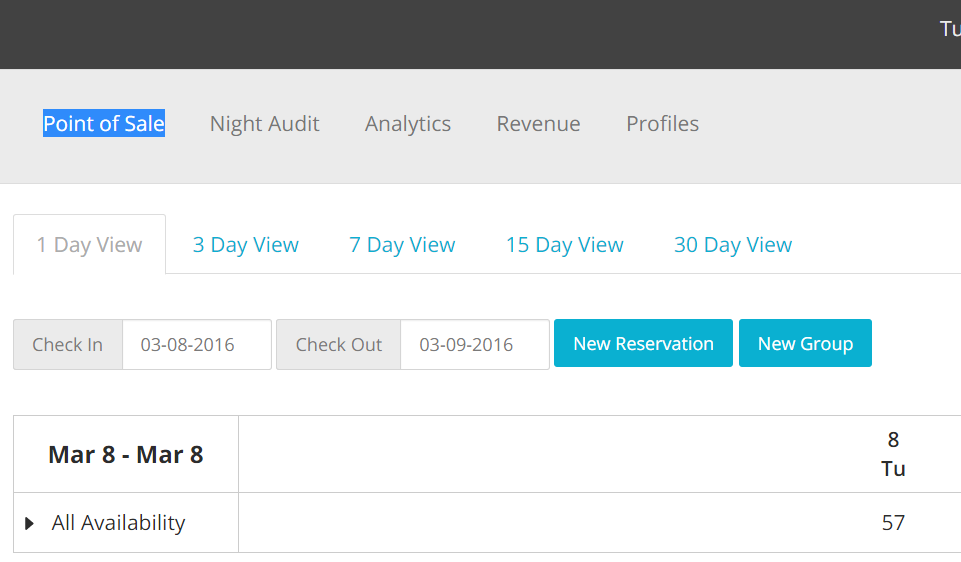
- Your POS Point will be accessible via the POS tab on top of your Tape Chart:
POS Categories
Once POS Points are created, you can go ahead and create your Categories.
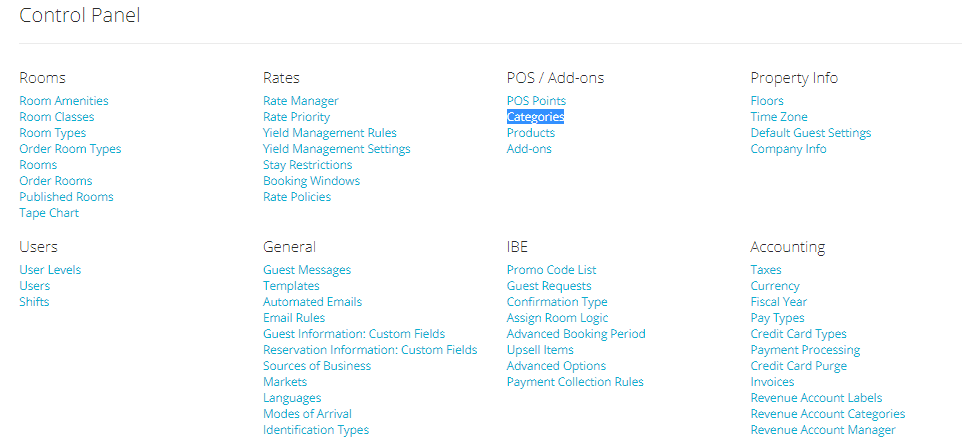
- In the Admin Settings, click on the link Categories, under section POS/Add-Ons:
- To add a category, click on the button Add a POS Category:

- Type in the Category name in the field Title and apply the category to the POS Point it belongs to, by using the scroll down menu next to the tag POS Point:
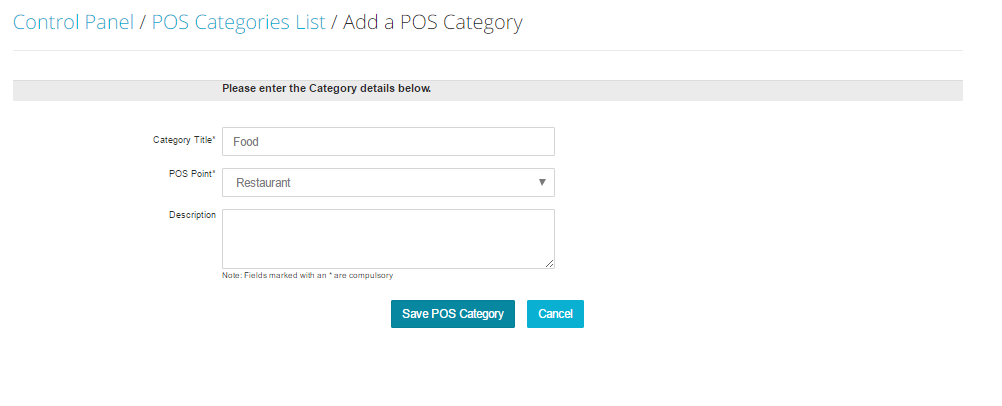
Click on the blue button Save POS Category when done.
- To EDIT a POS Category, click on the link Edit on the elft side of the panel:

- To DEACTIVATE a POS Category, uncheck the box under column Status on the right hand side of any category:

- To DELETE a POS Category, check the box on the left side of the category you want to erase, and click on the button Delete Selected POS Categories:

POS Products
After creating your POS Points and Categories, you can finally proceed to set up all items you want to sell!
- In the Admin Settings, click on the link Products under section POS/Add-Ons:
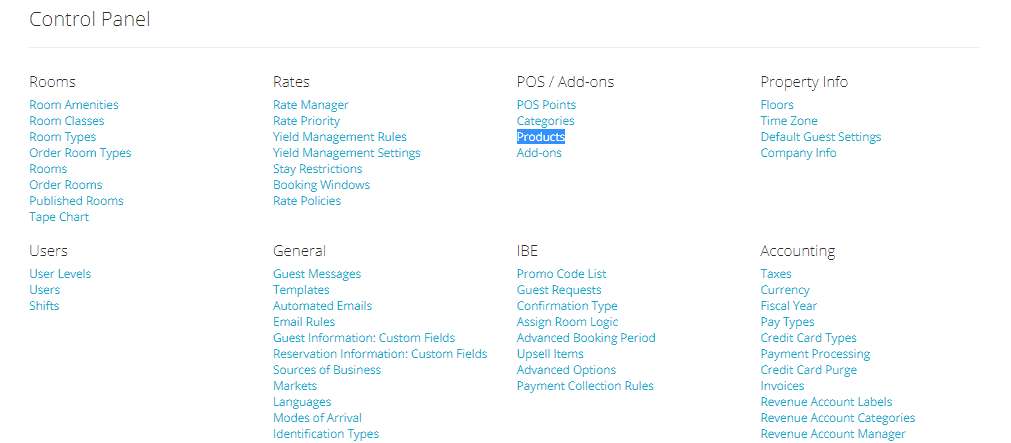
- Click on the blue button Add a POS Product:

- You will need to fill in all information. Enter the name and the code for the product you are creating (these can be the same), and select the Pos Point where the item belongs by selecting the right option from the scroll down menu:
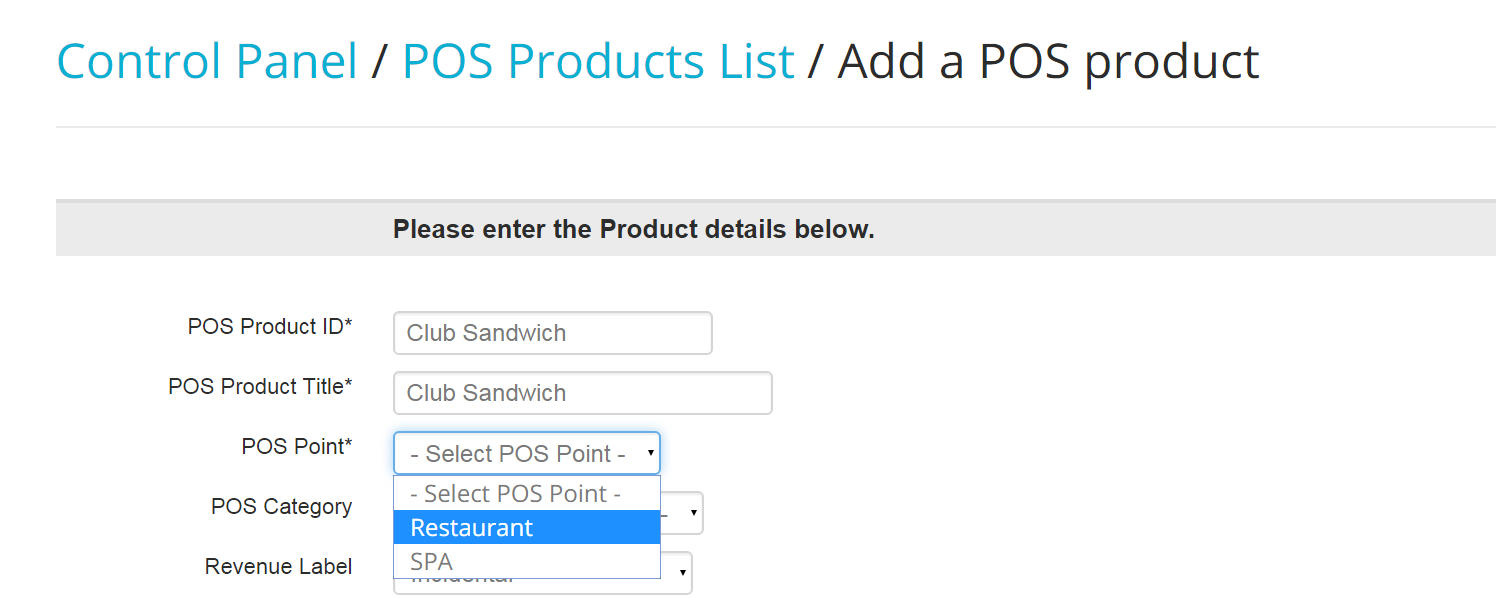
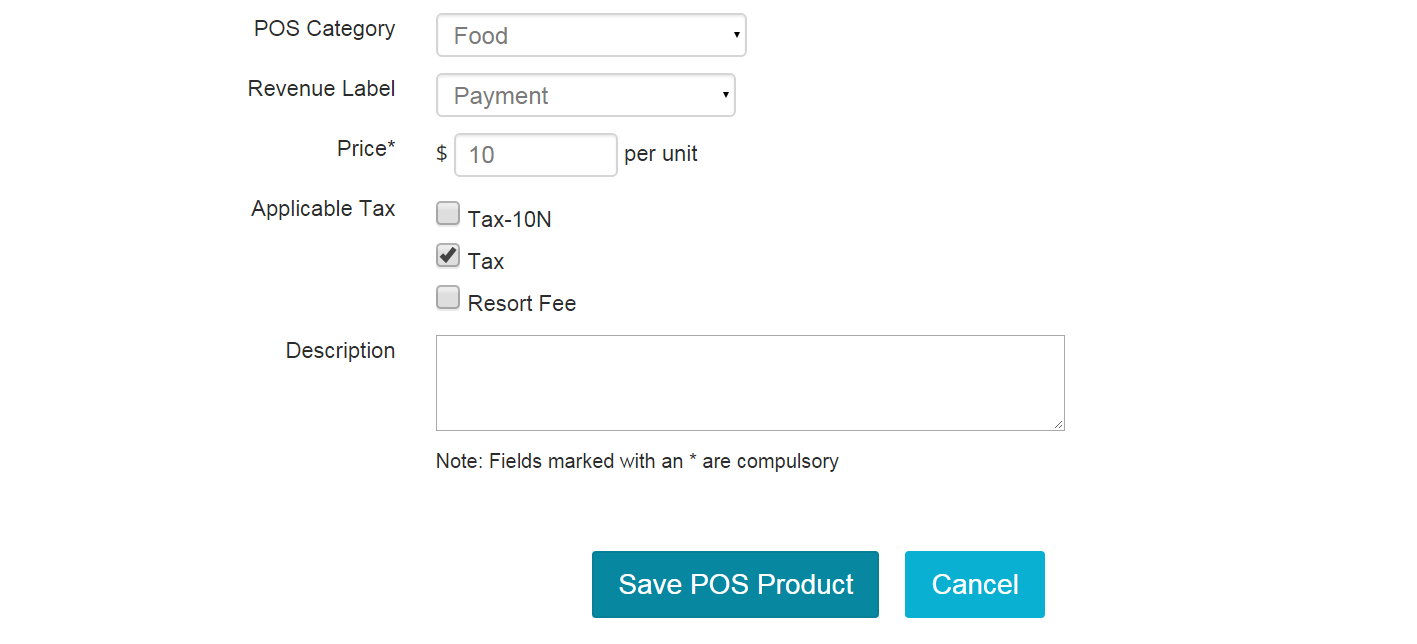
- Once a Pos Point is chosen, the options in the scroll down menu Pos Category will update to show what categories are actually linked to the Pos Point you chose:

- Complete all information by assigning the right Revenue Label to the item, the price and check the box for any tax you want to apply. Once done, click on the blue button Save POS Product:
- To DEACTIVATE a POS product, just uncheck the box under column Status:

- To DELETE a POS Product, select it by checking the box on the left hand side of its name and click on the blue button Delete Selected POS Product:

- To EDIT a POS Product, click on the blue link Edit on the right hand side of any product:

The procedure is the same as adding a new one!
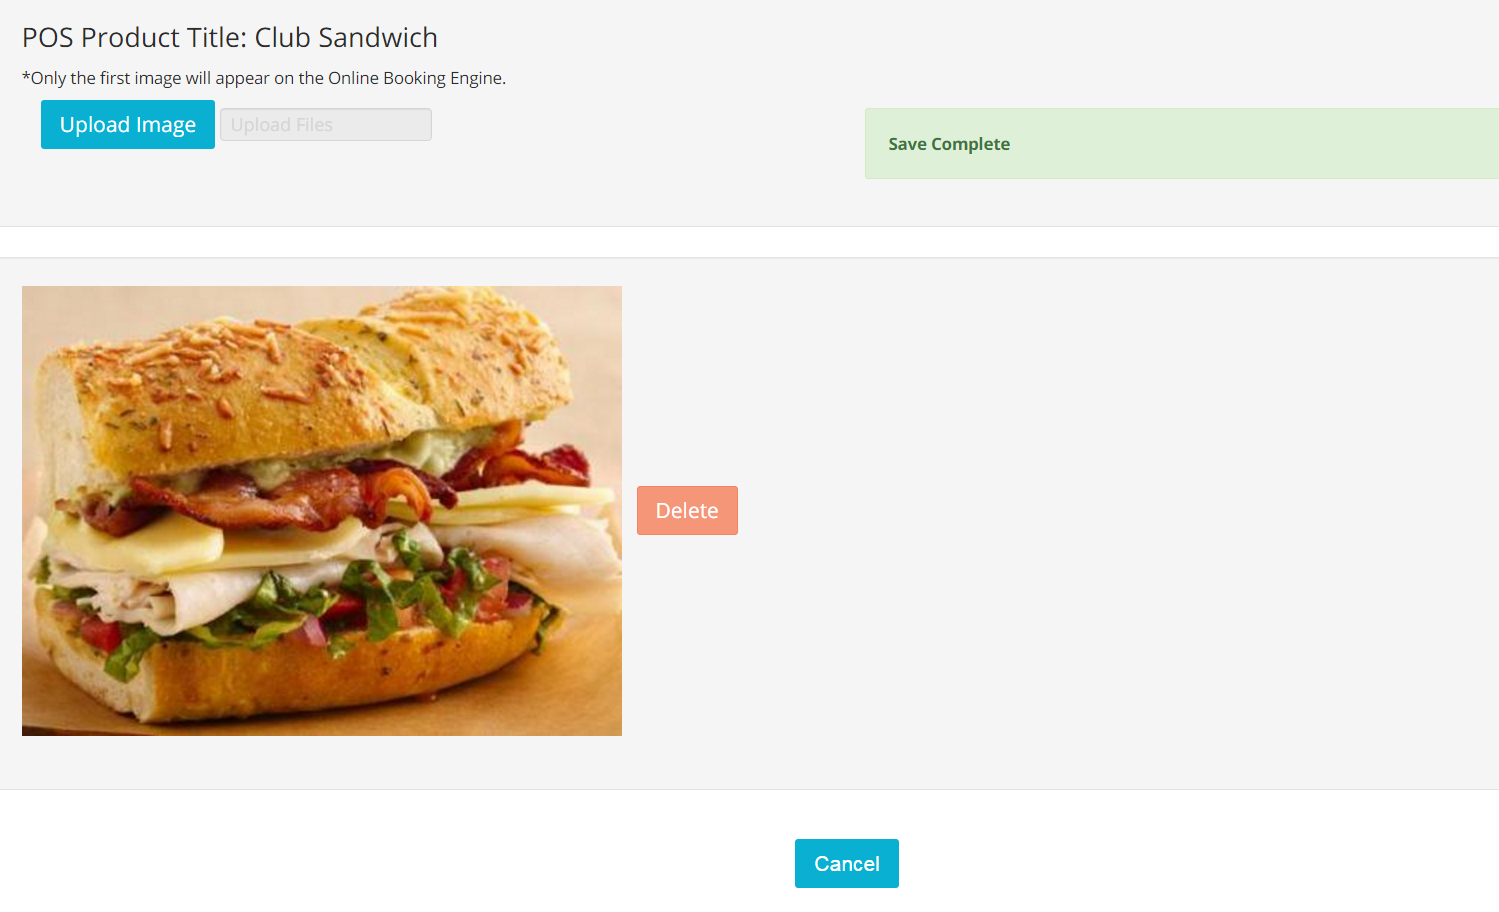
- You can also add pictures to your POS items, if you choose to add these products on your IBE. Click on the blue link Images on the right hand side of any product:

- Click on the blue button Upload Image and choose an image to add:
Charging POS Products
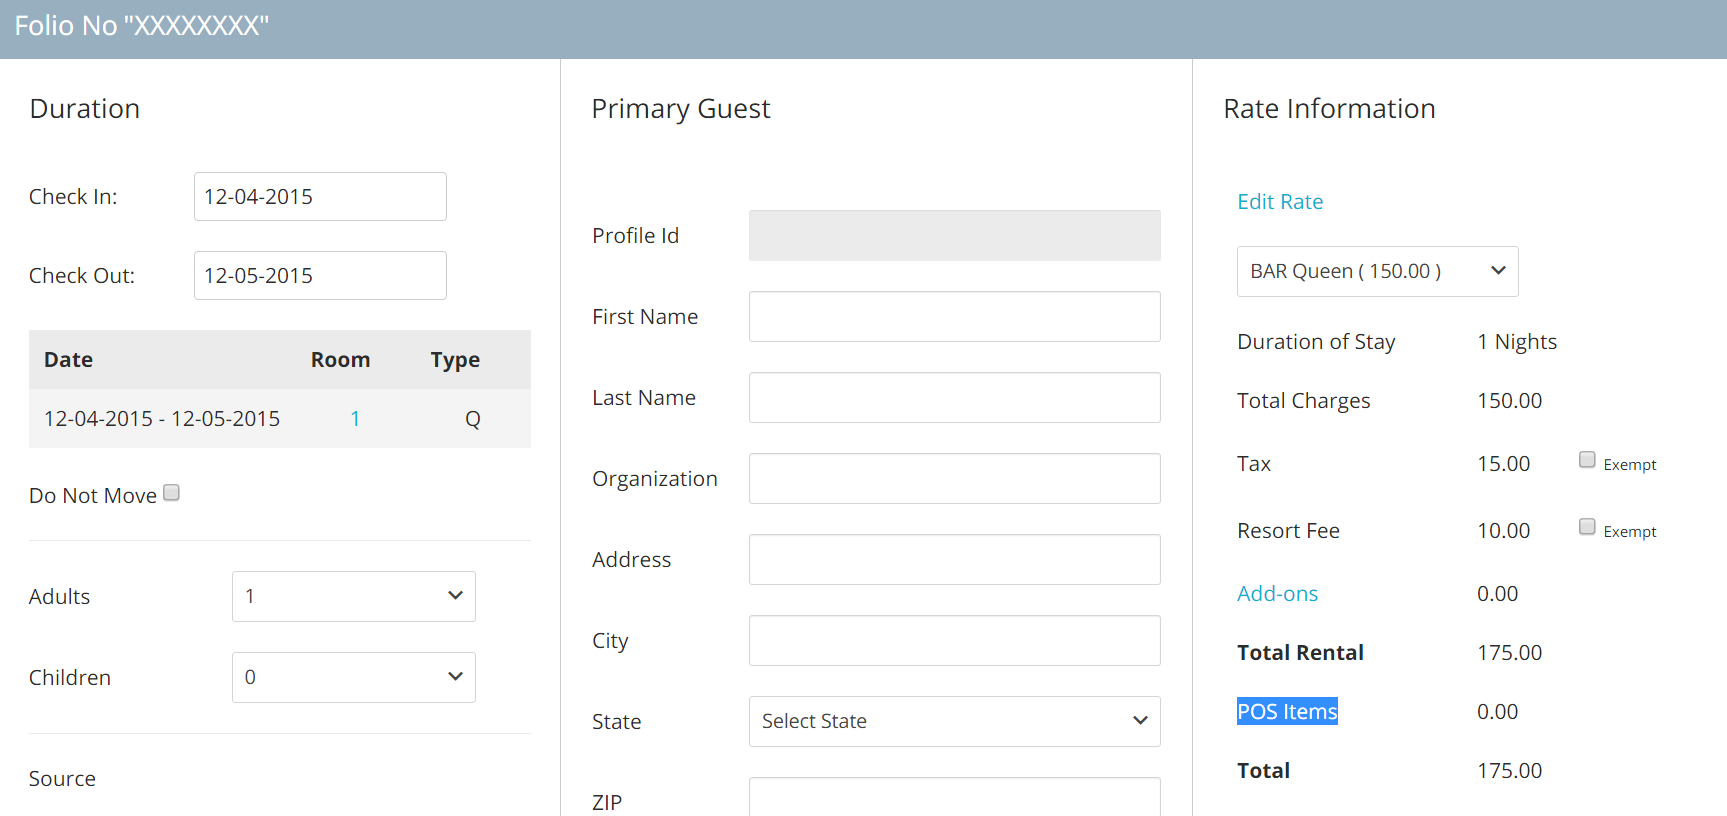
- Add a POS product charge from any reservation folio, bly clicking on the blue link POS Items on the right hand side of any folio:
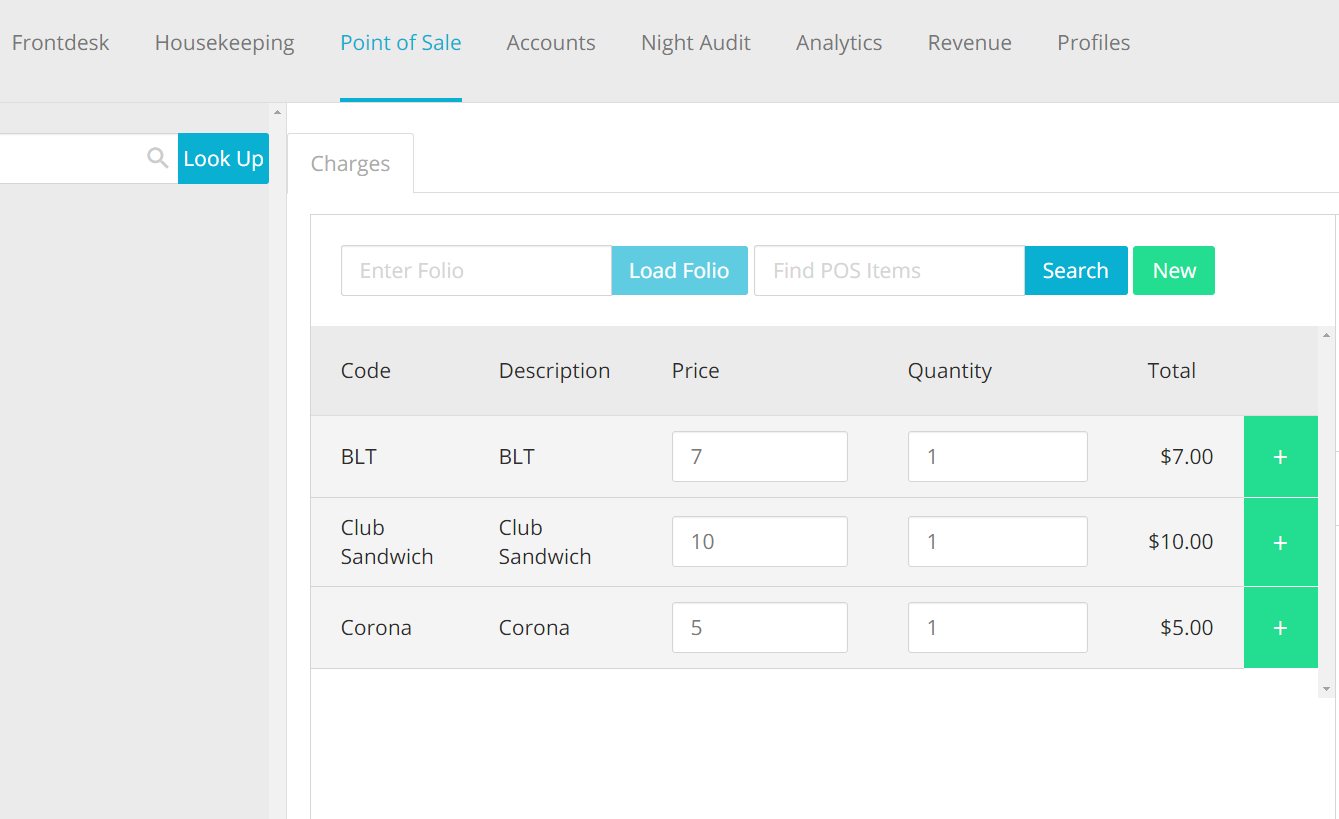
- You can also operate on POS products without them having to be added to a specific room reservation, by clicking on the tab Point of Sale on the top of your Tape Chart:

- All active POS products will appear as a list in the tab: you can click on the green button New to add items:
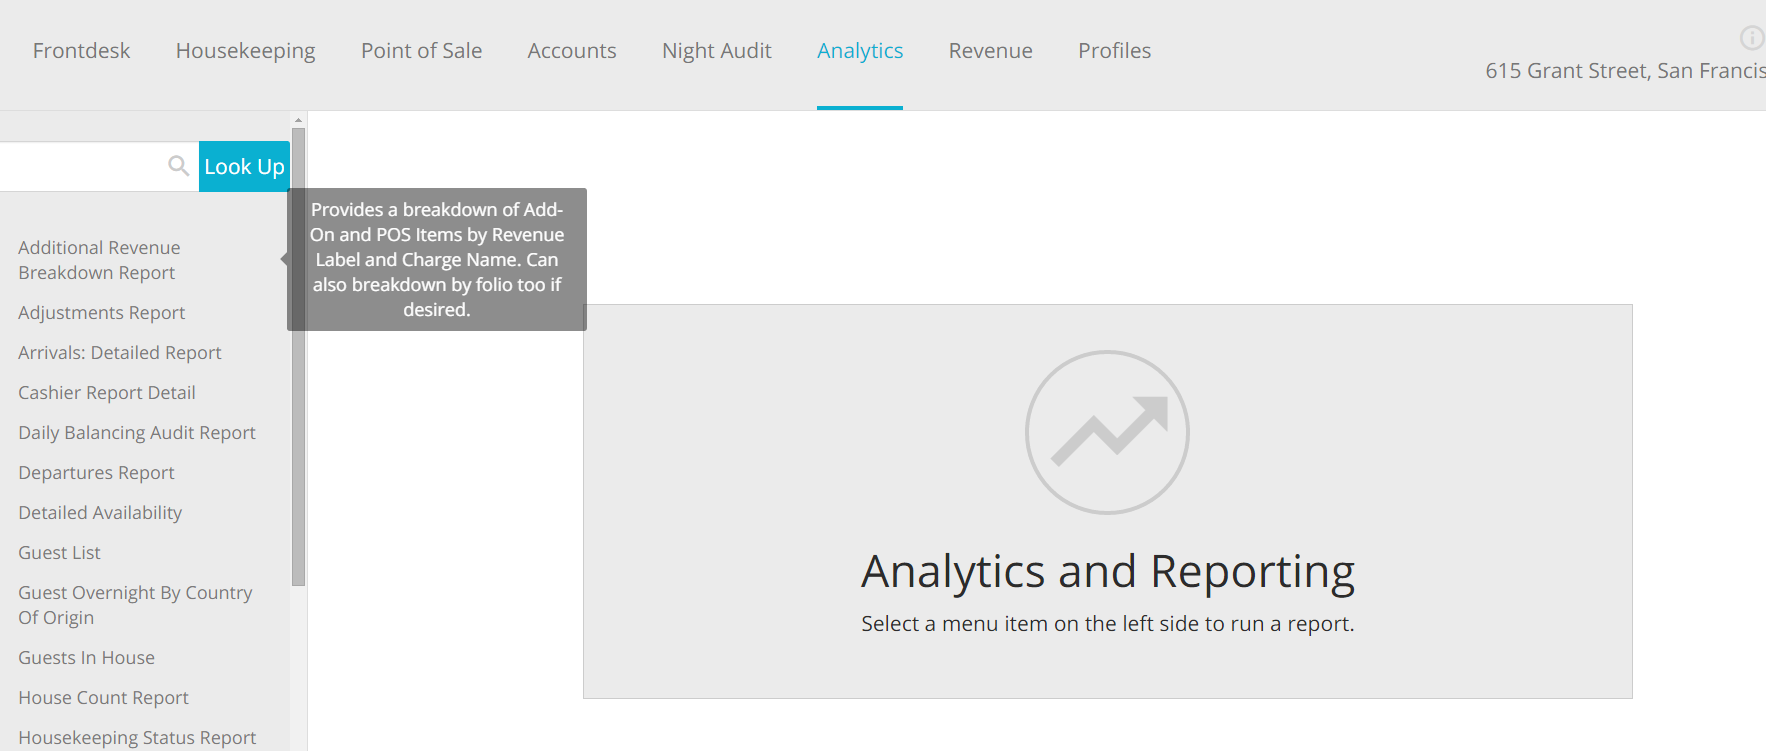
- You can also report on POS Products: the most specific report will be the Additional Revenue Breakdown report, under tab Analytics:
Tags: